Please enjoy my Faux Quilting video – Stamping a Pinwheel Pattern, using my faux quilting stamps
What have I inspired YOU to do today?
What have I inspired YOU to do today?
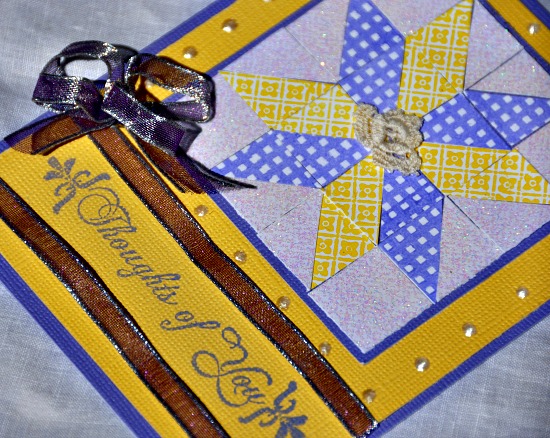
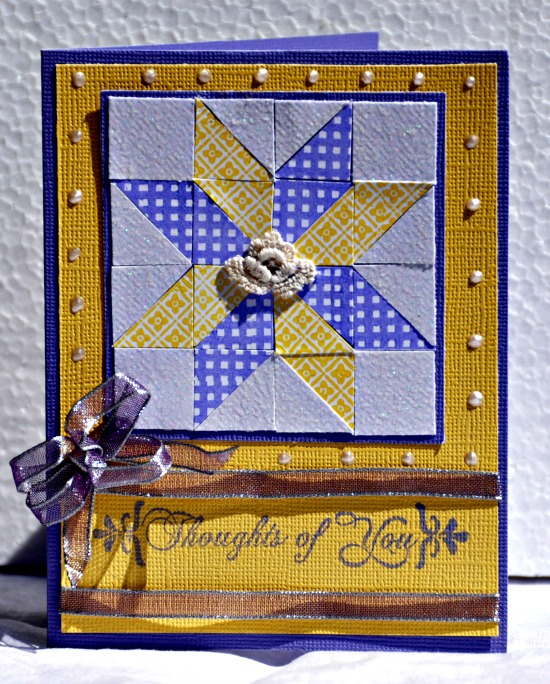
I used a card kit that has been in my stash for years because it already has stickers ready to be put in a quilt. 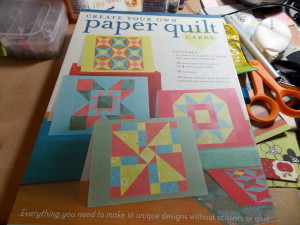
Materials Used:
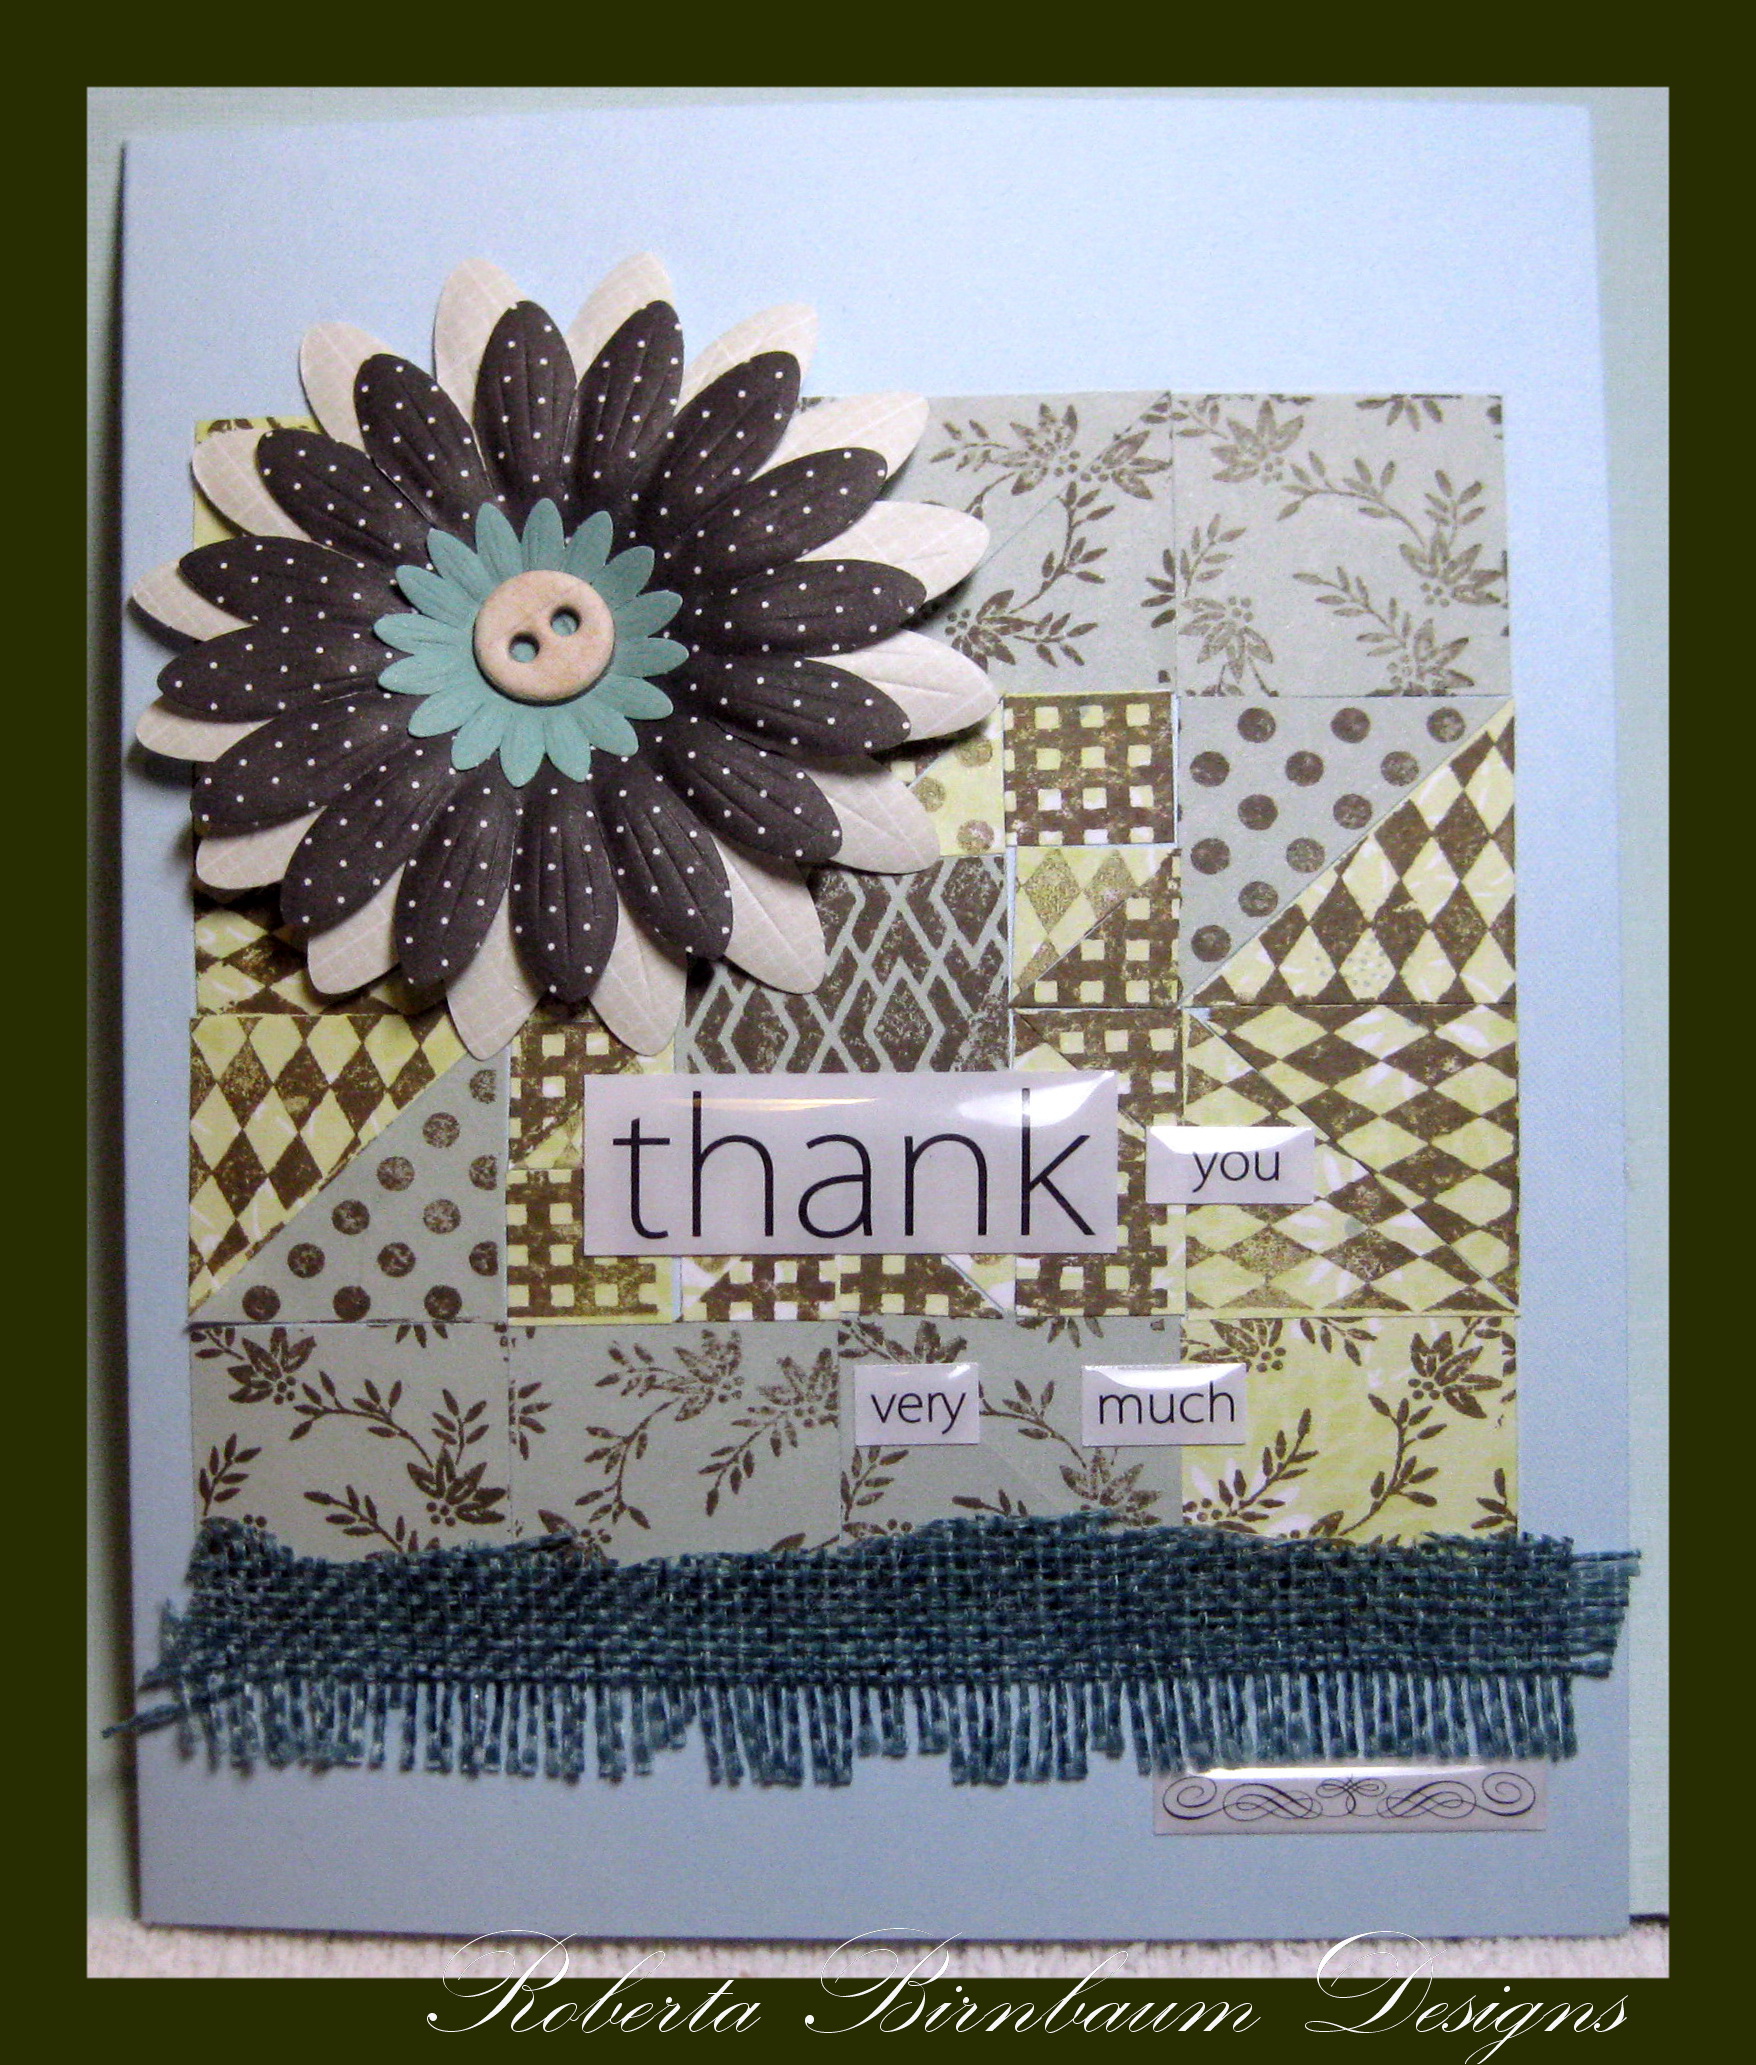
Create Your Own paper quilt Cards by Potter Style, Paper flowers from Creative Memories, Burlap from Maya Road, Clearsnap Black ink, Ann Butler faux-quilted stamps, Recollections sentiment stickers, Beacon glue
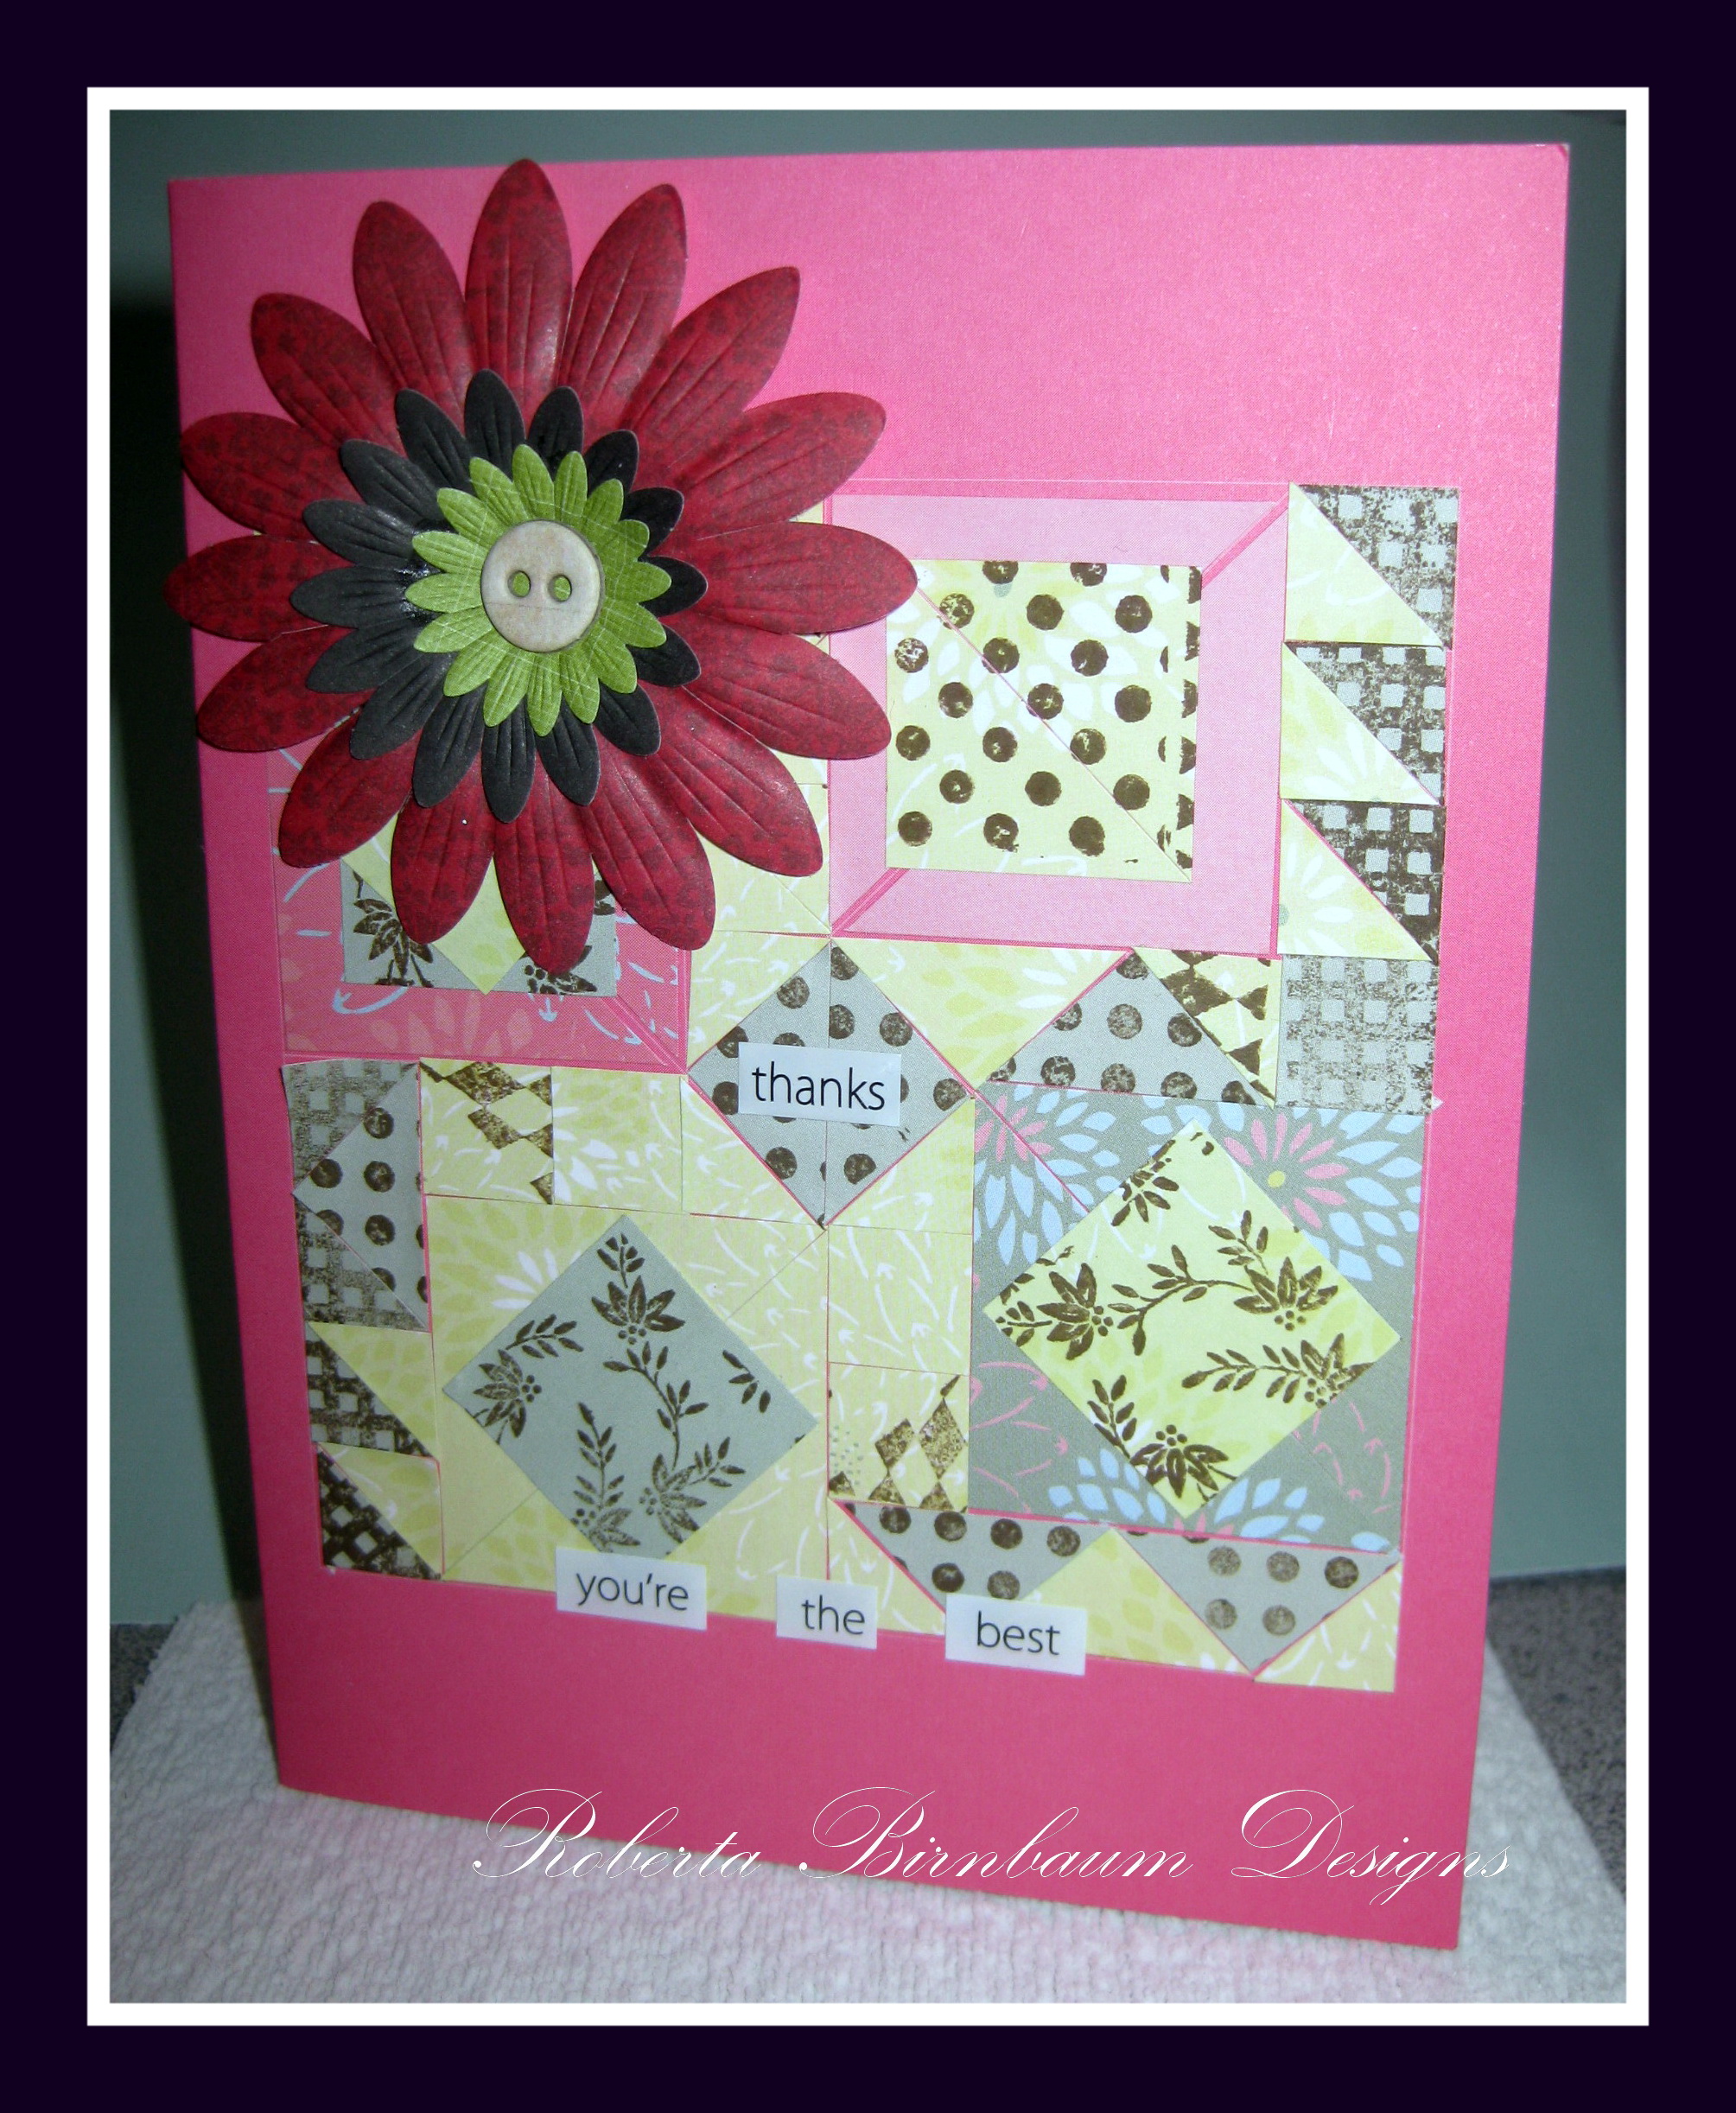
I started by stamping over the stickers from the kit:  and then created my pattern. It was so easy! It was a great way to showcase different patterns from Ann’s faux-quilted stamps collection.
Sometimes it’s nice to be able to take shortcuts! 🙂
Thank you for joining me today and I hope you have a wonderful weekend.


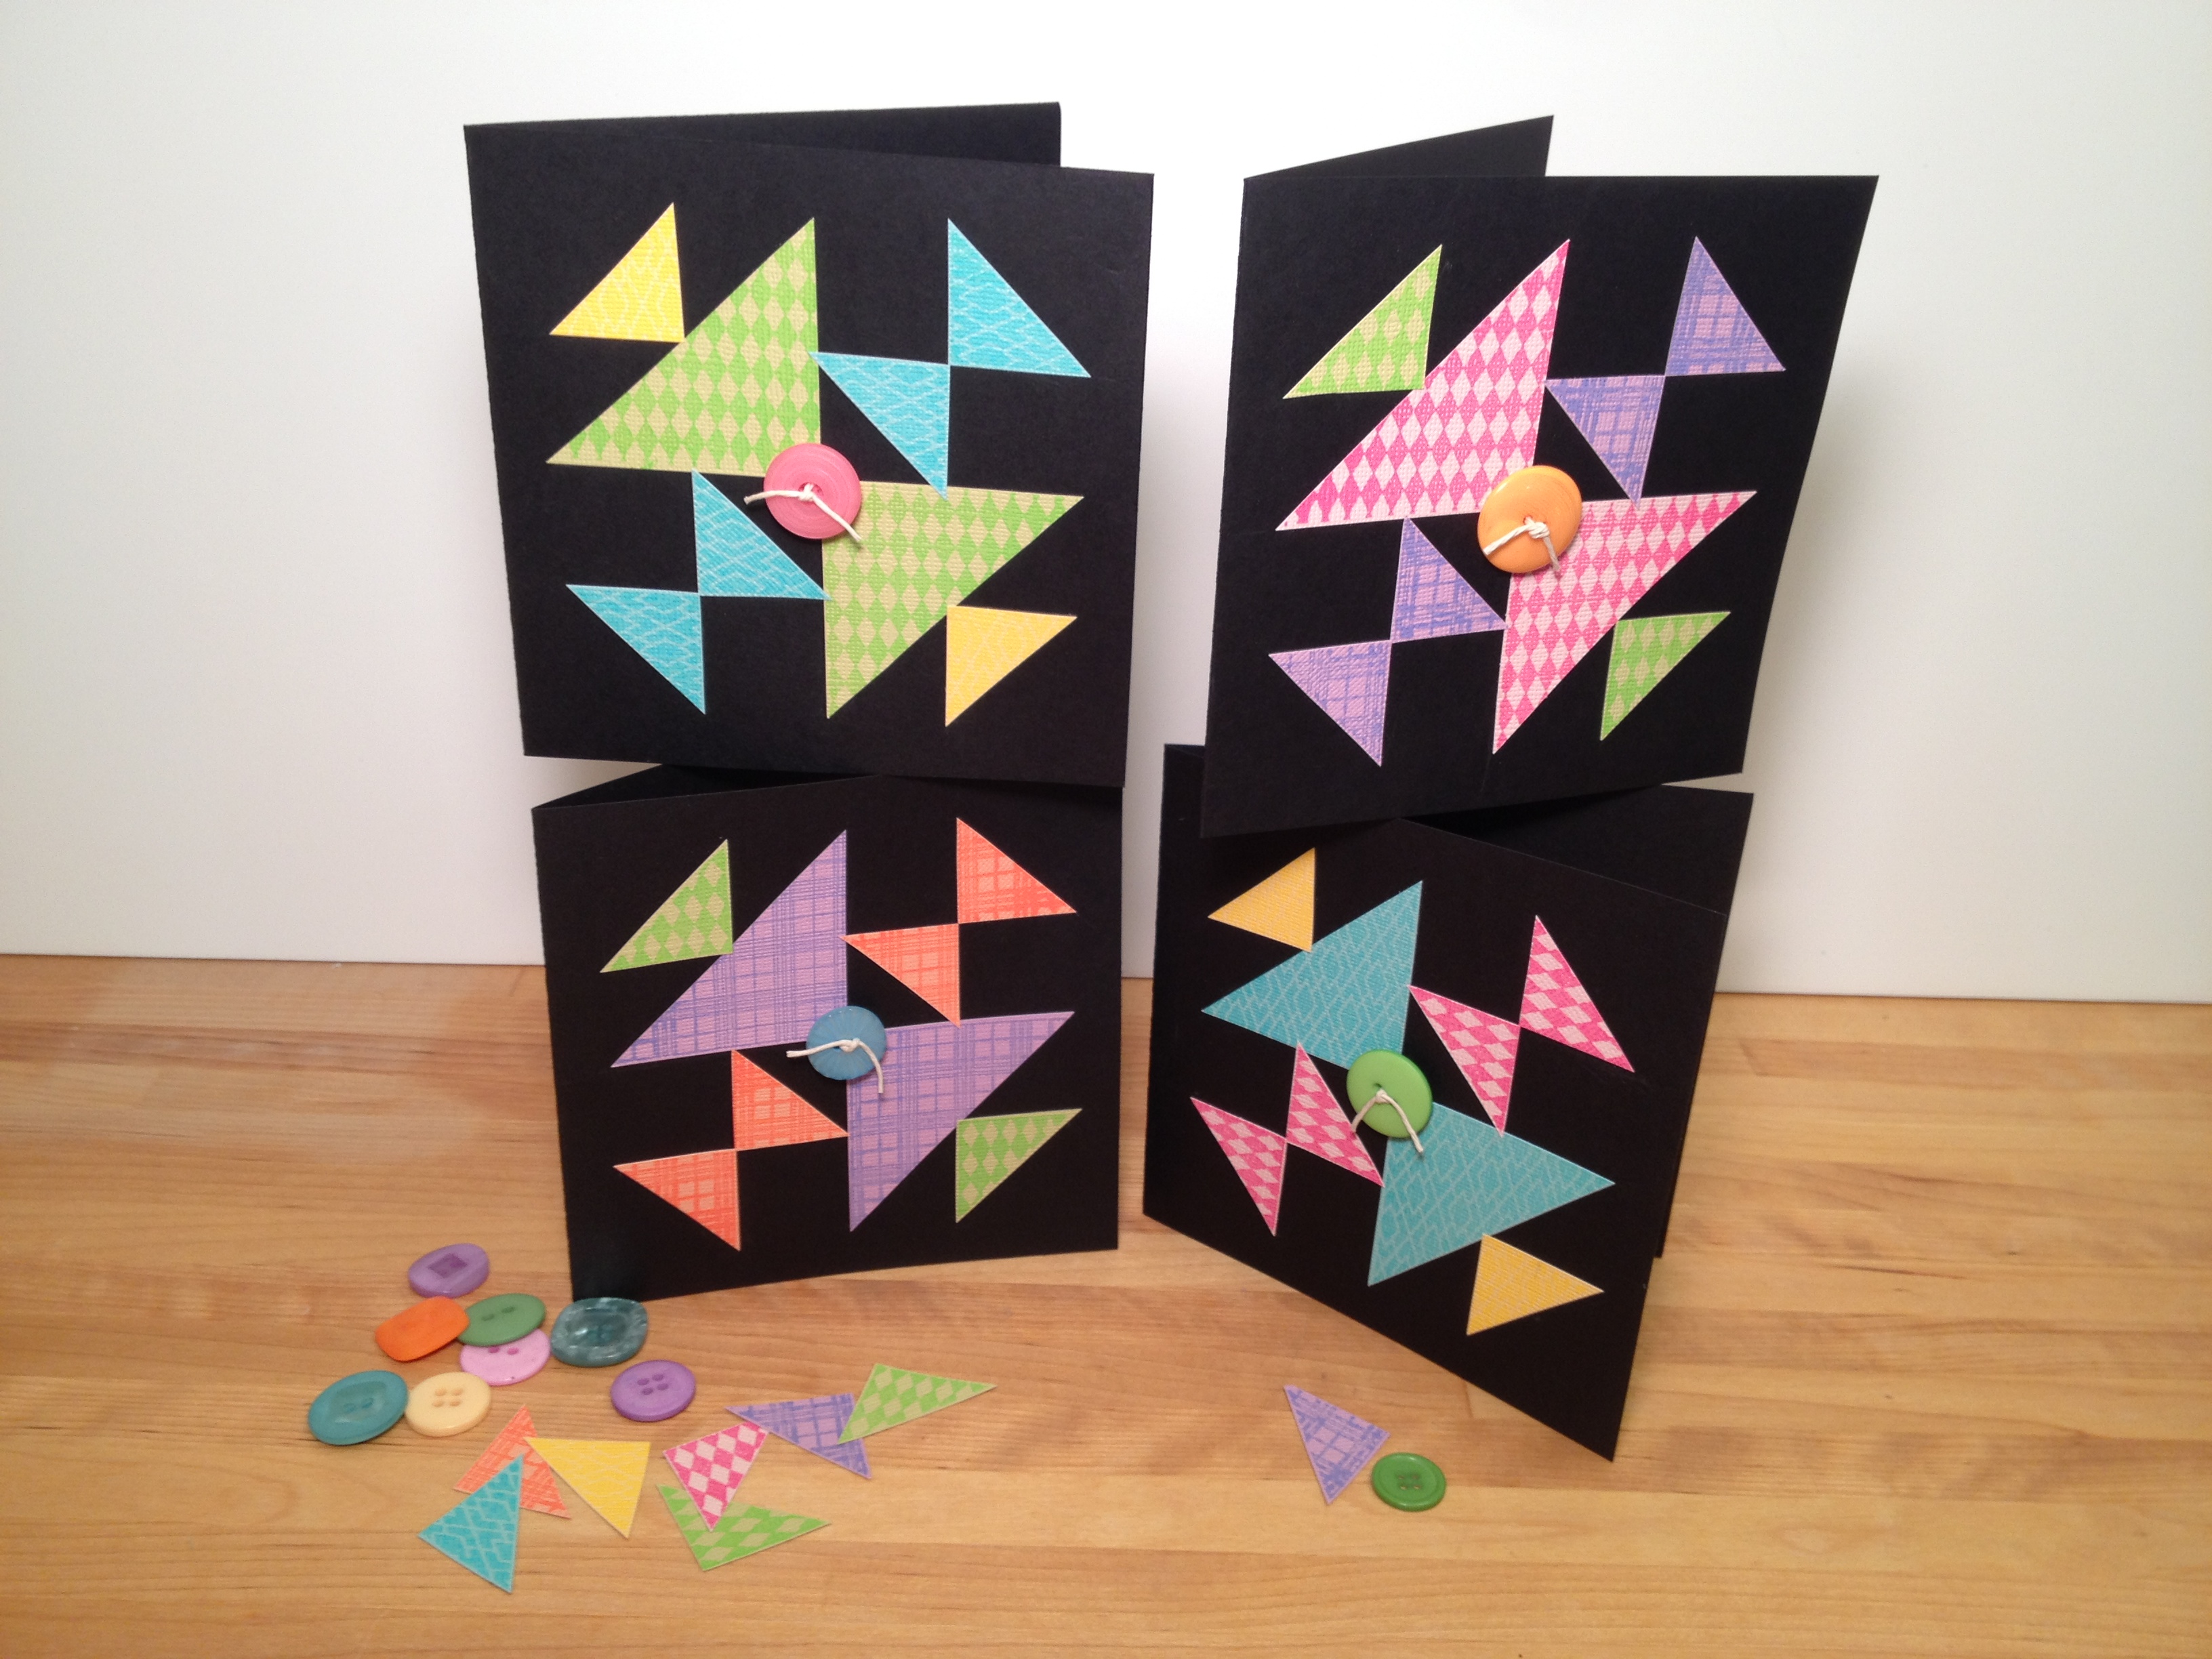
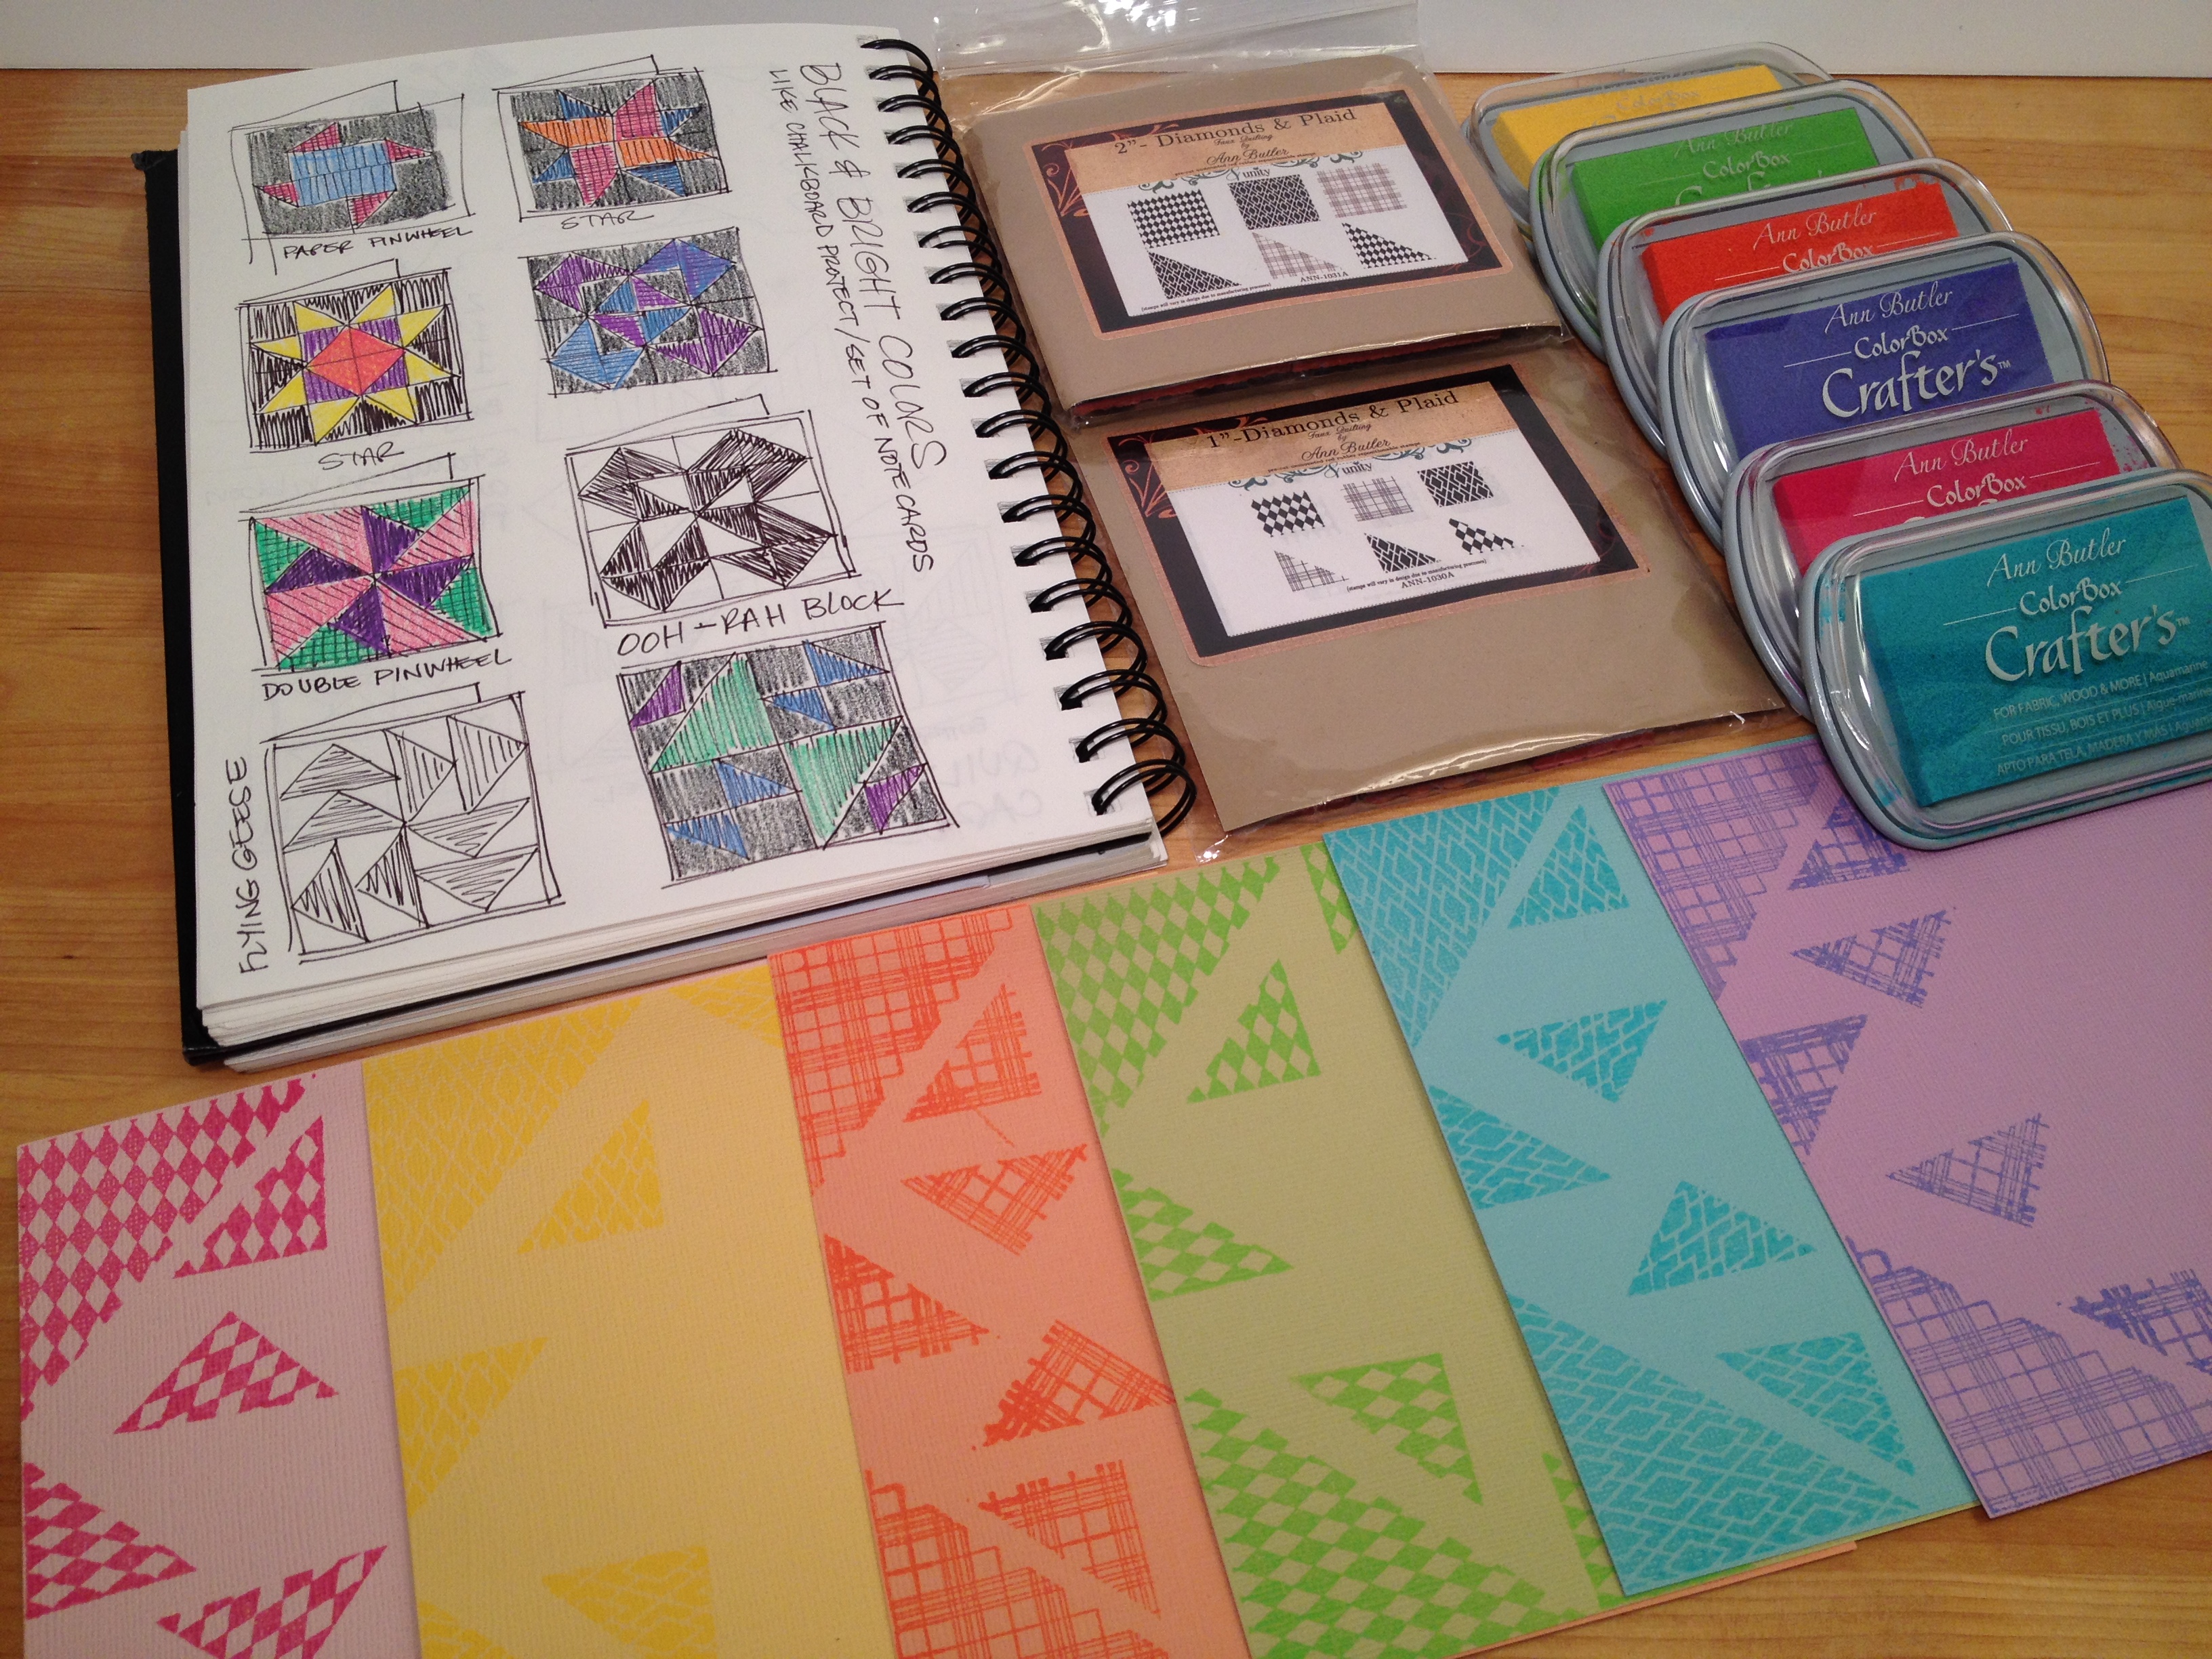
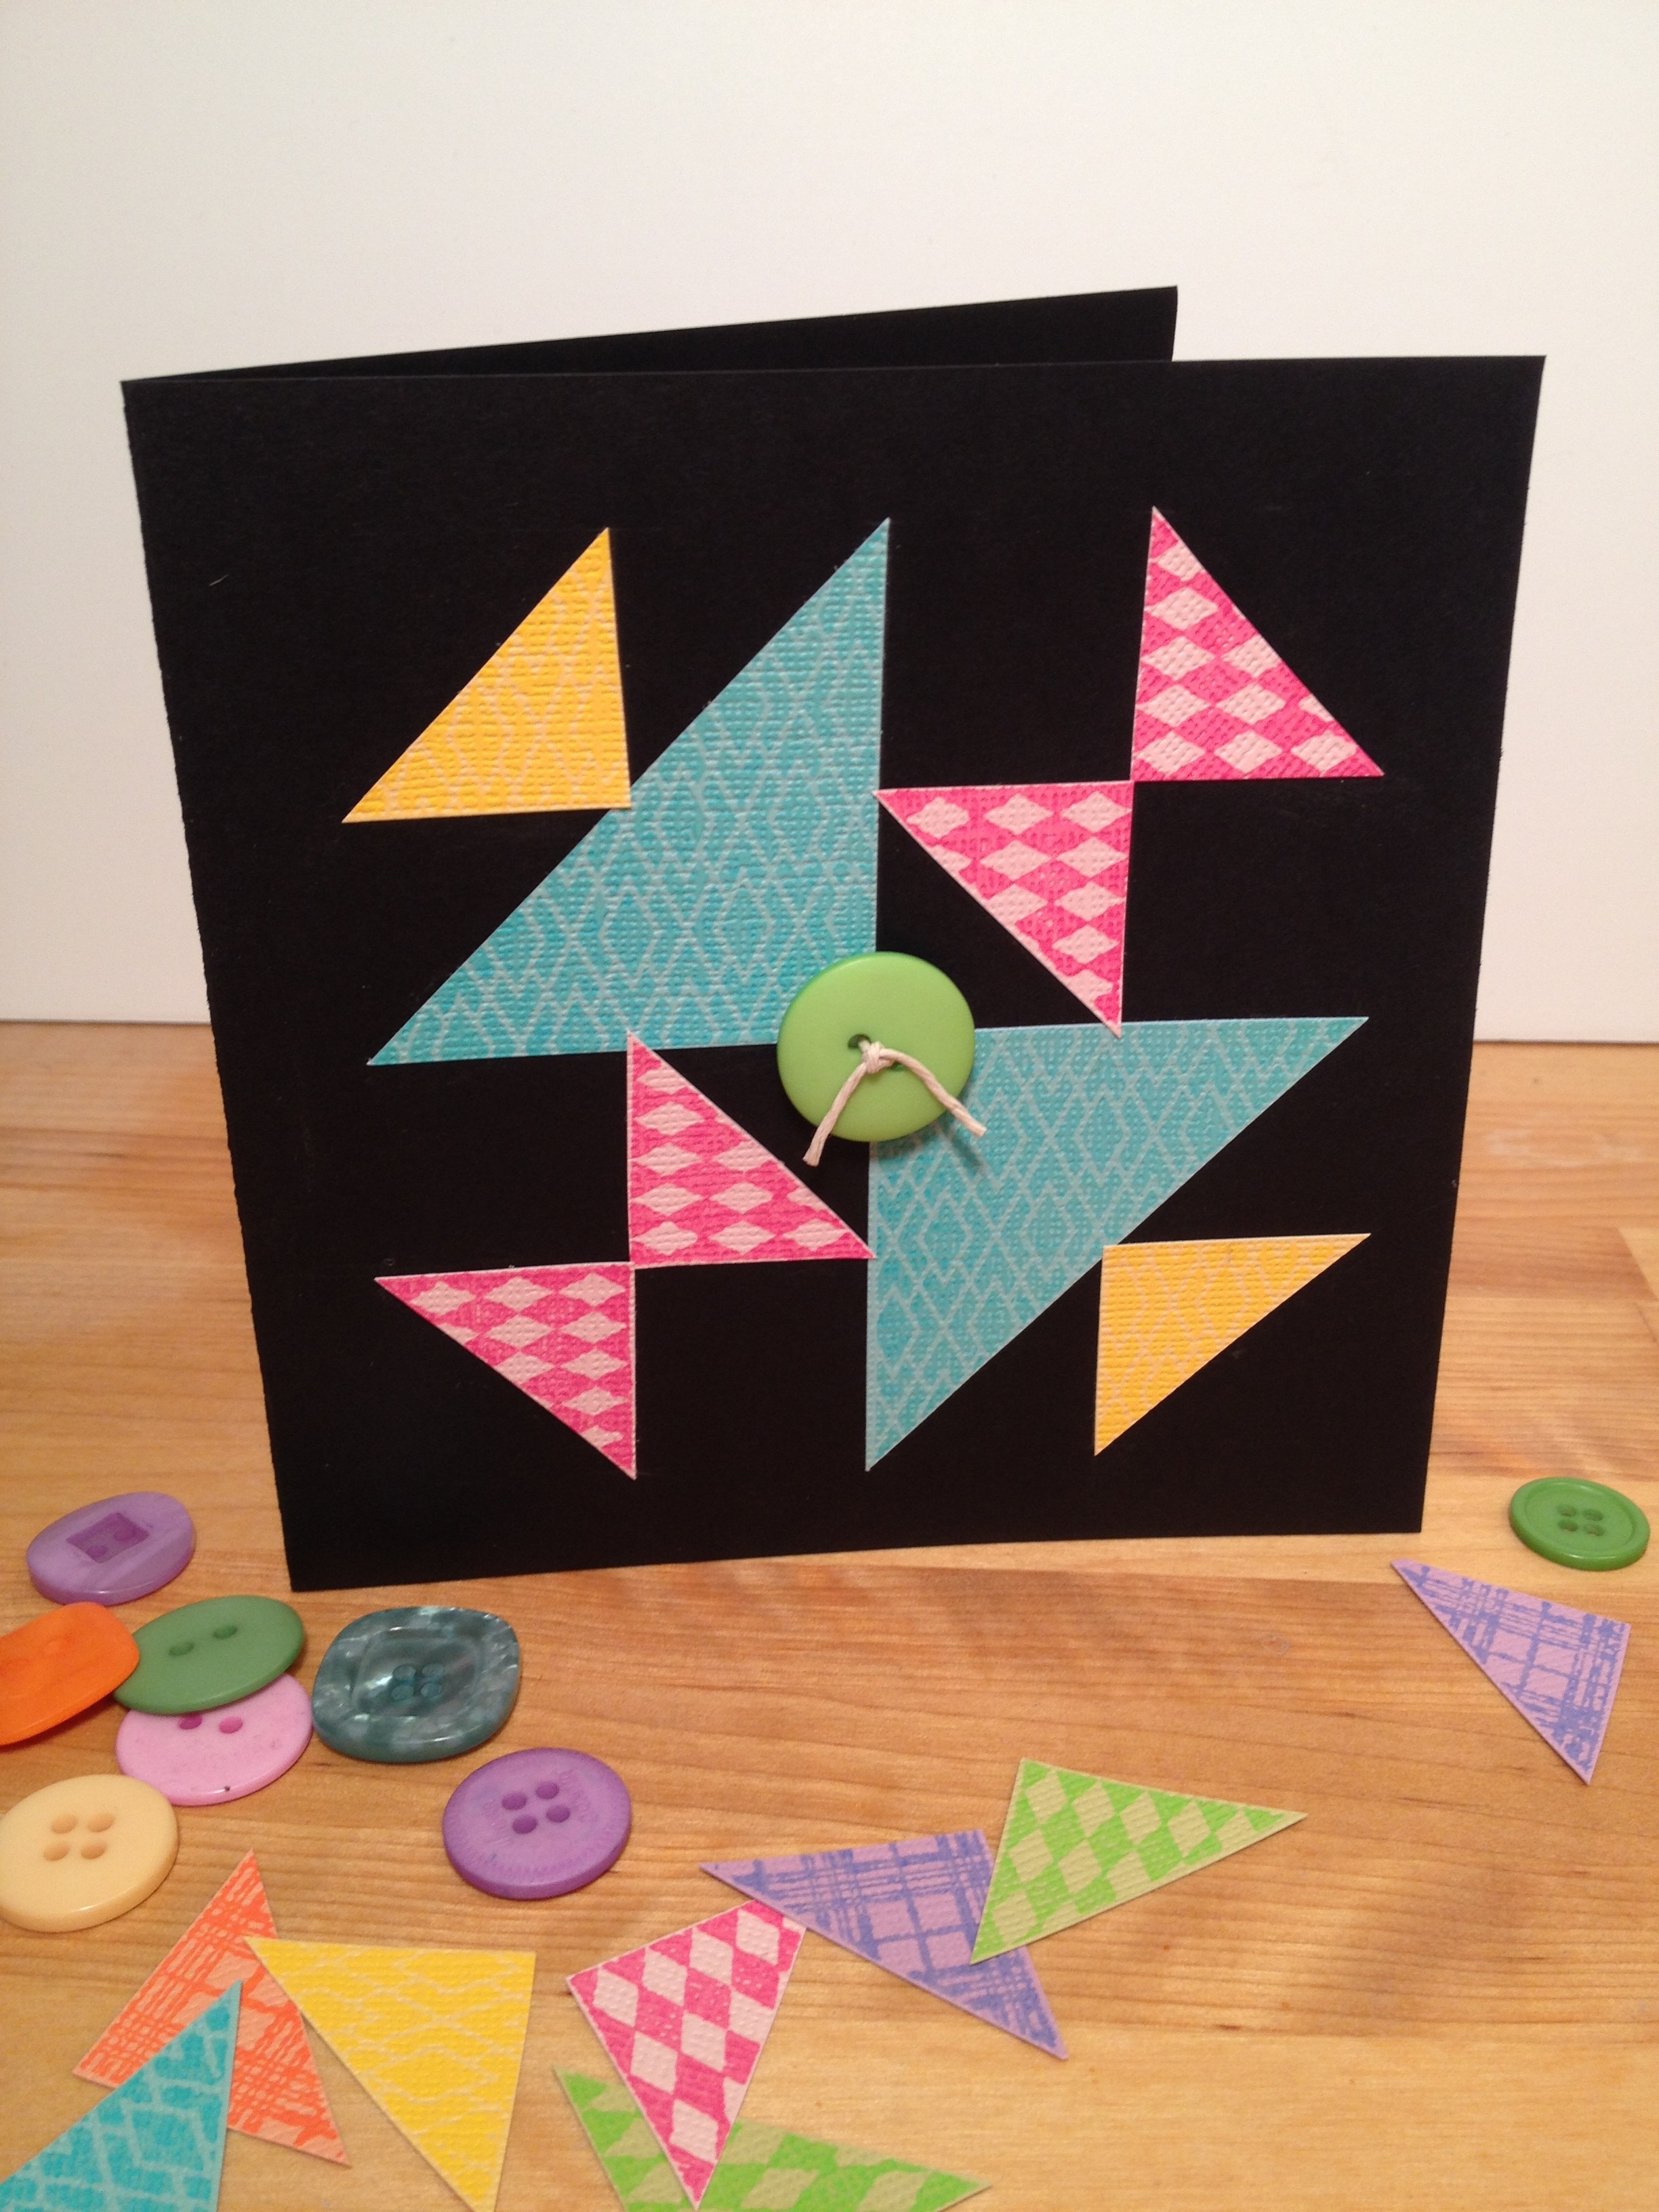
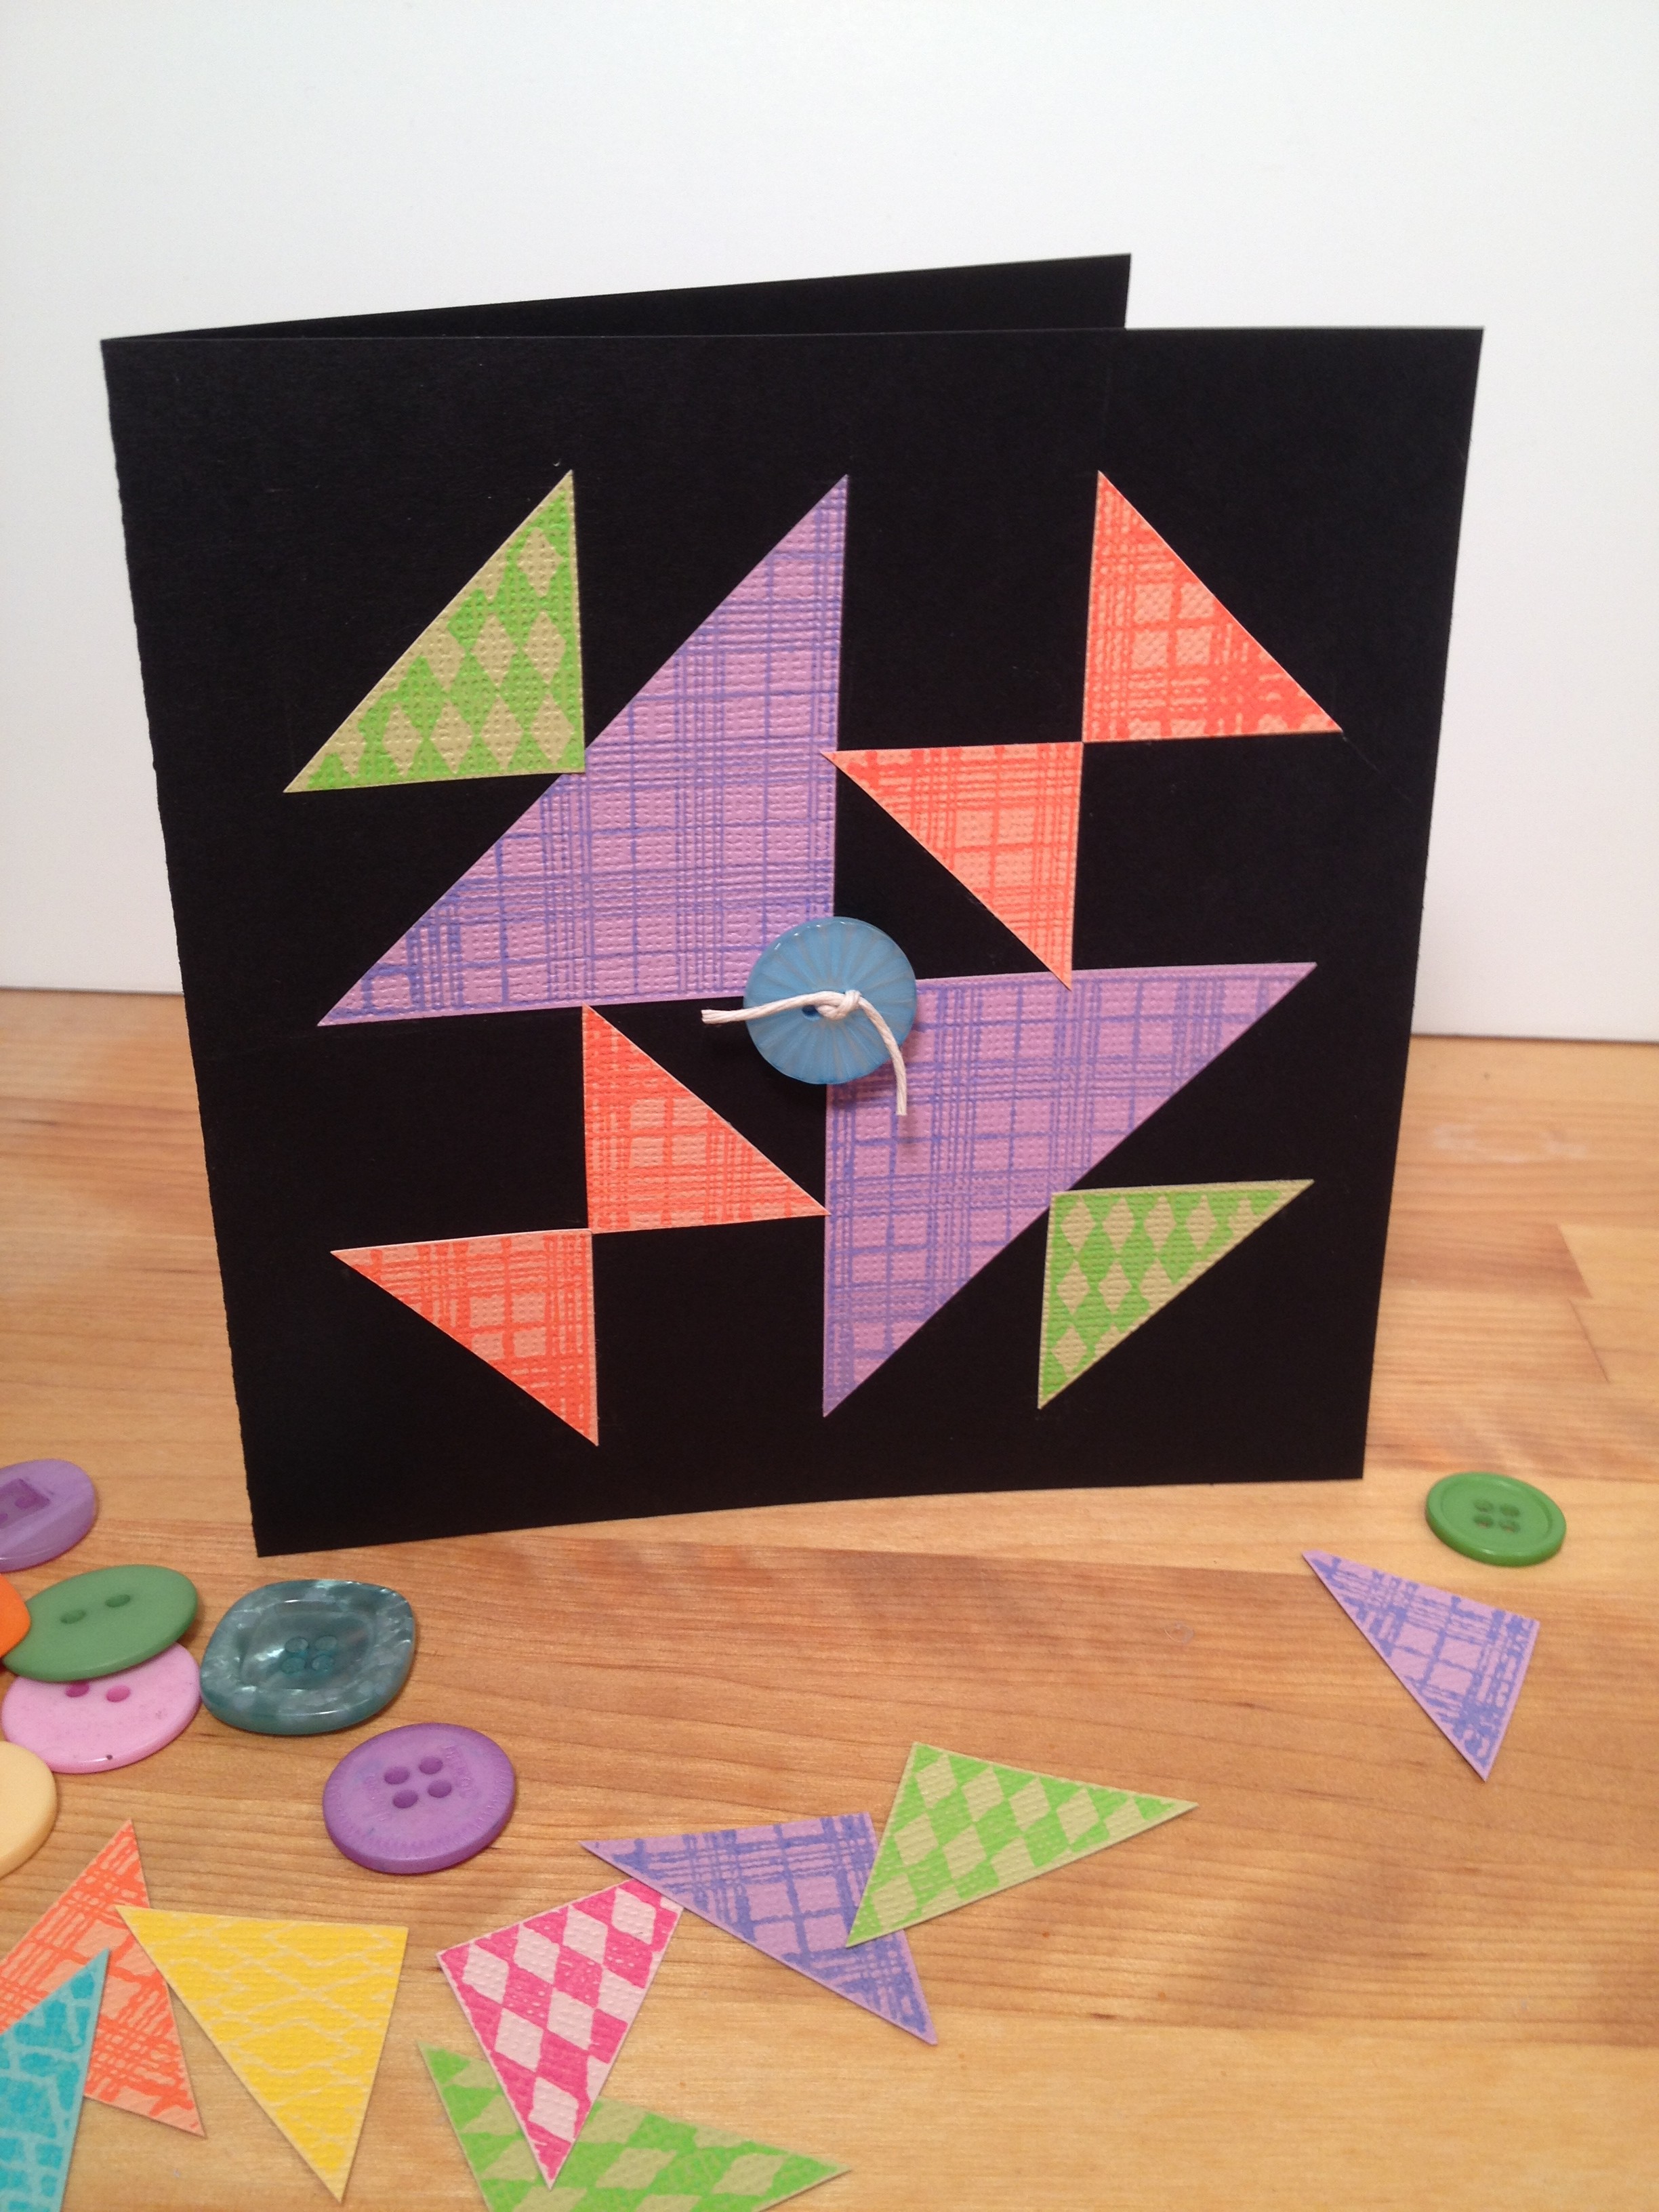
Back again with another Faux Quilting project using Ann’s wonderful stamps. I really enjoy the black background and bright colors of a lot of the Amish Quilts, so I decided to recreate that look with some simple notecards that you can make in about an hour!
Materials:
Instructions:
1.) Trim black cardstock to 5″ by 11″ for each card. Score and fold each card in half. With a ruler and pencil, measure and mark off a 1/2″ border and a fill in with a 1″ grid.
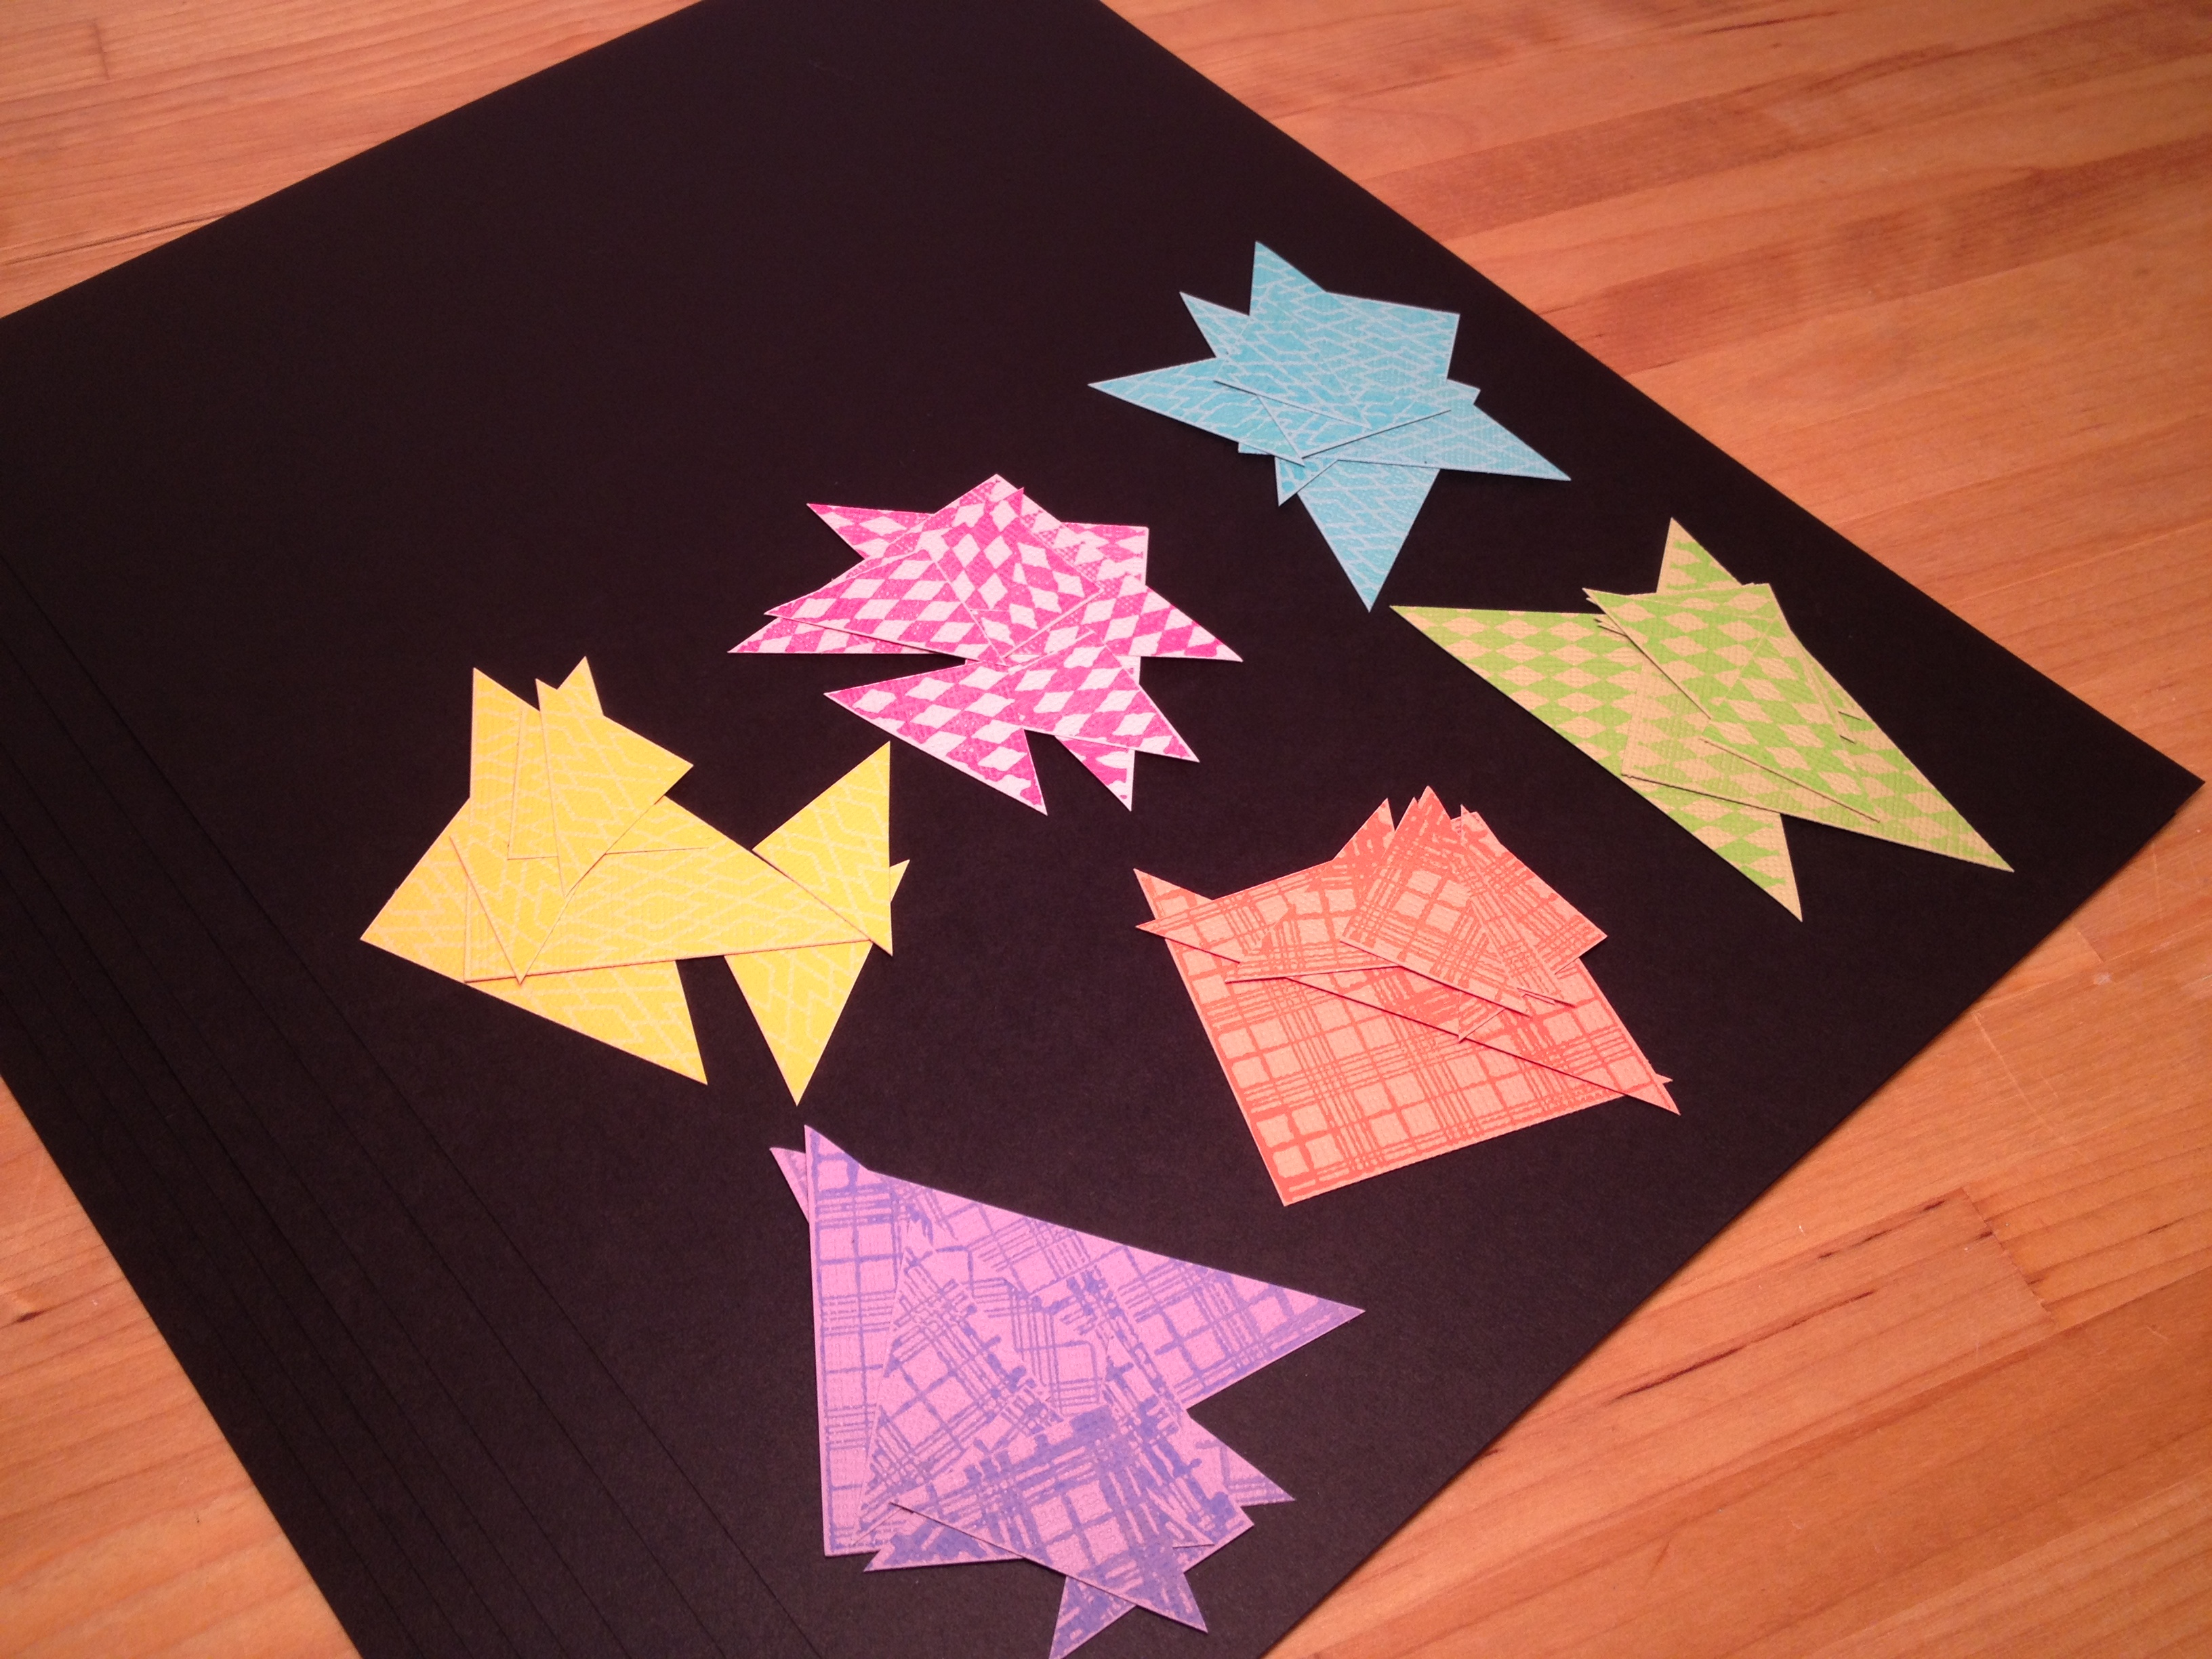
2.) Stamp a variety of triangles from the Diamonds and Plaids 1″ and 2″ set, matching up ink colors with cardstock colors. Let dry. Cut out triangles.
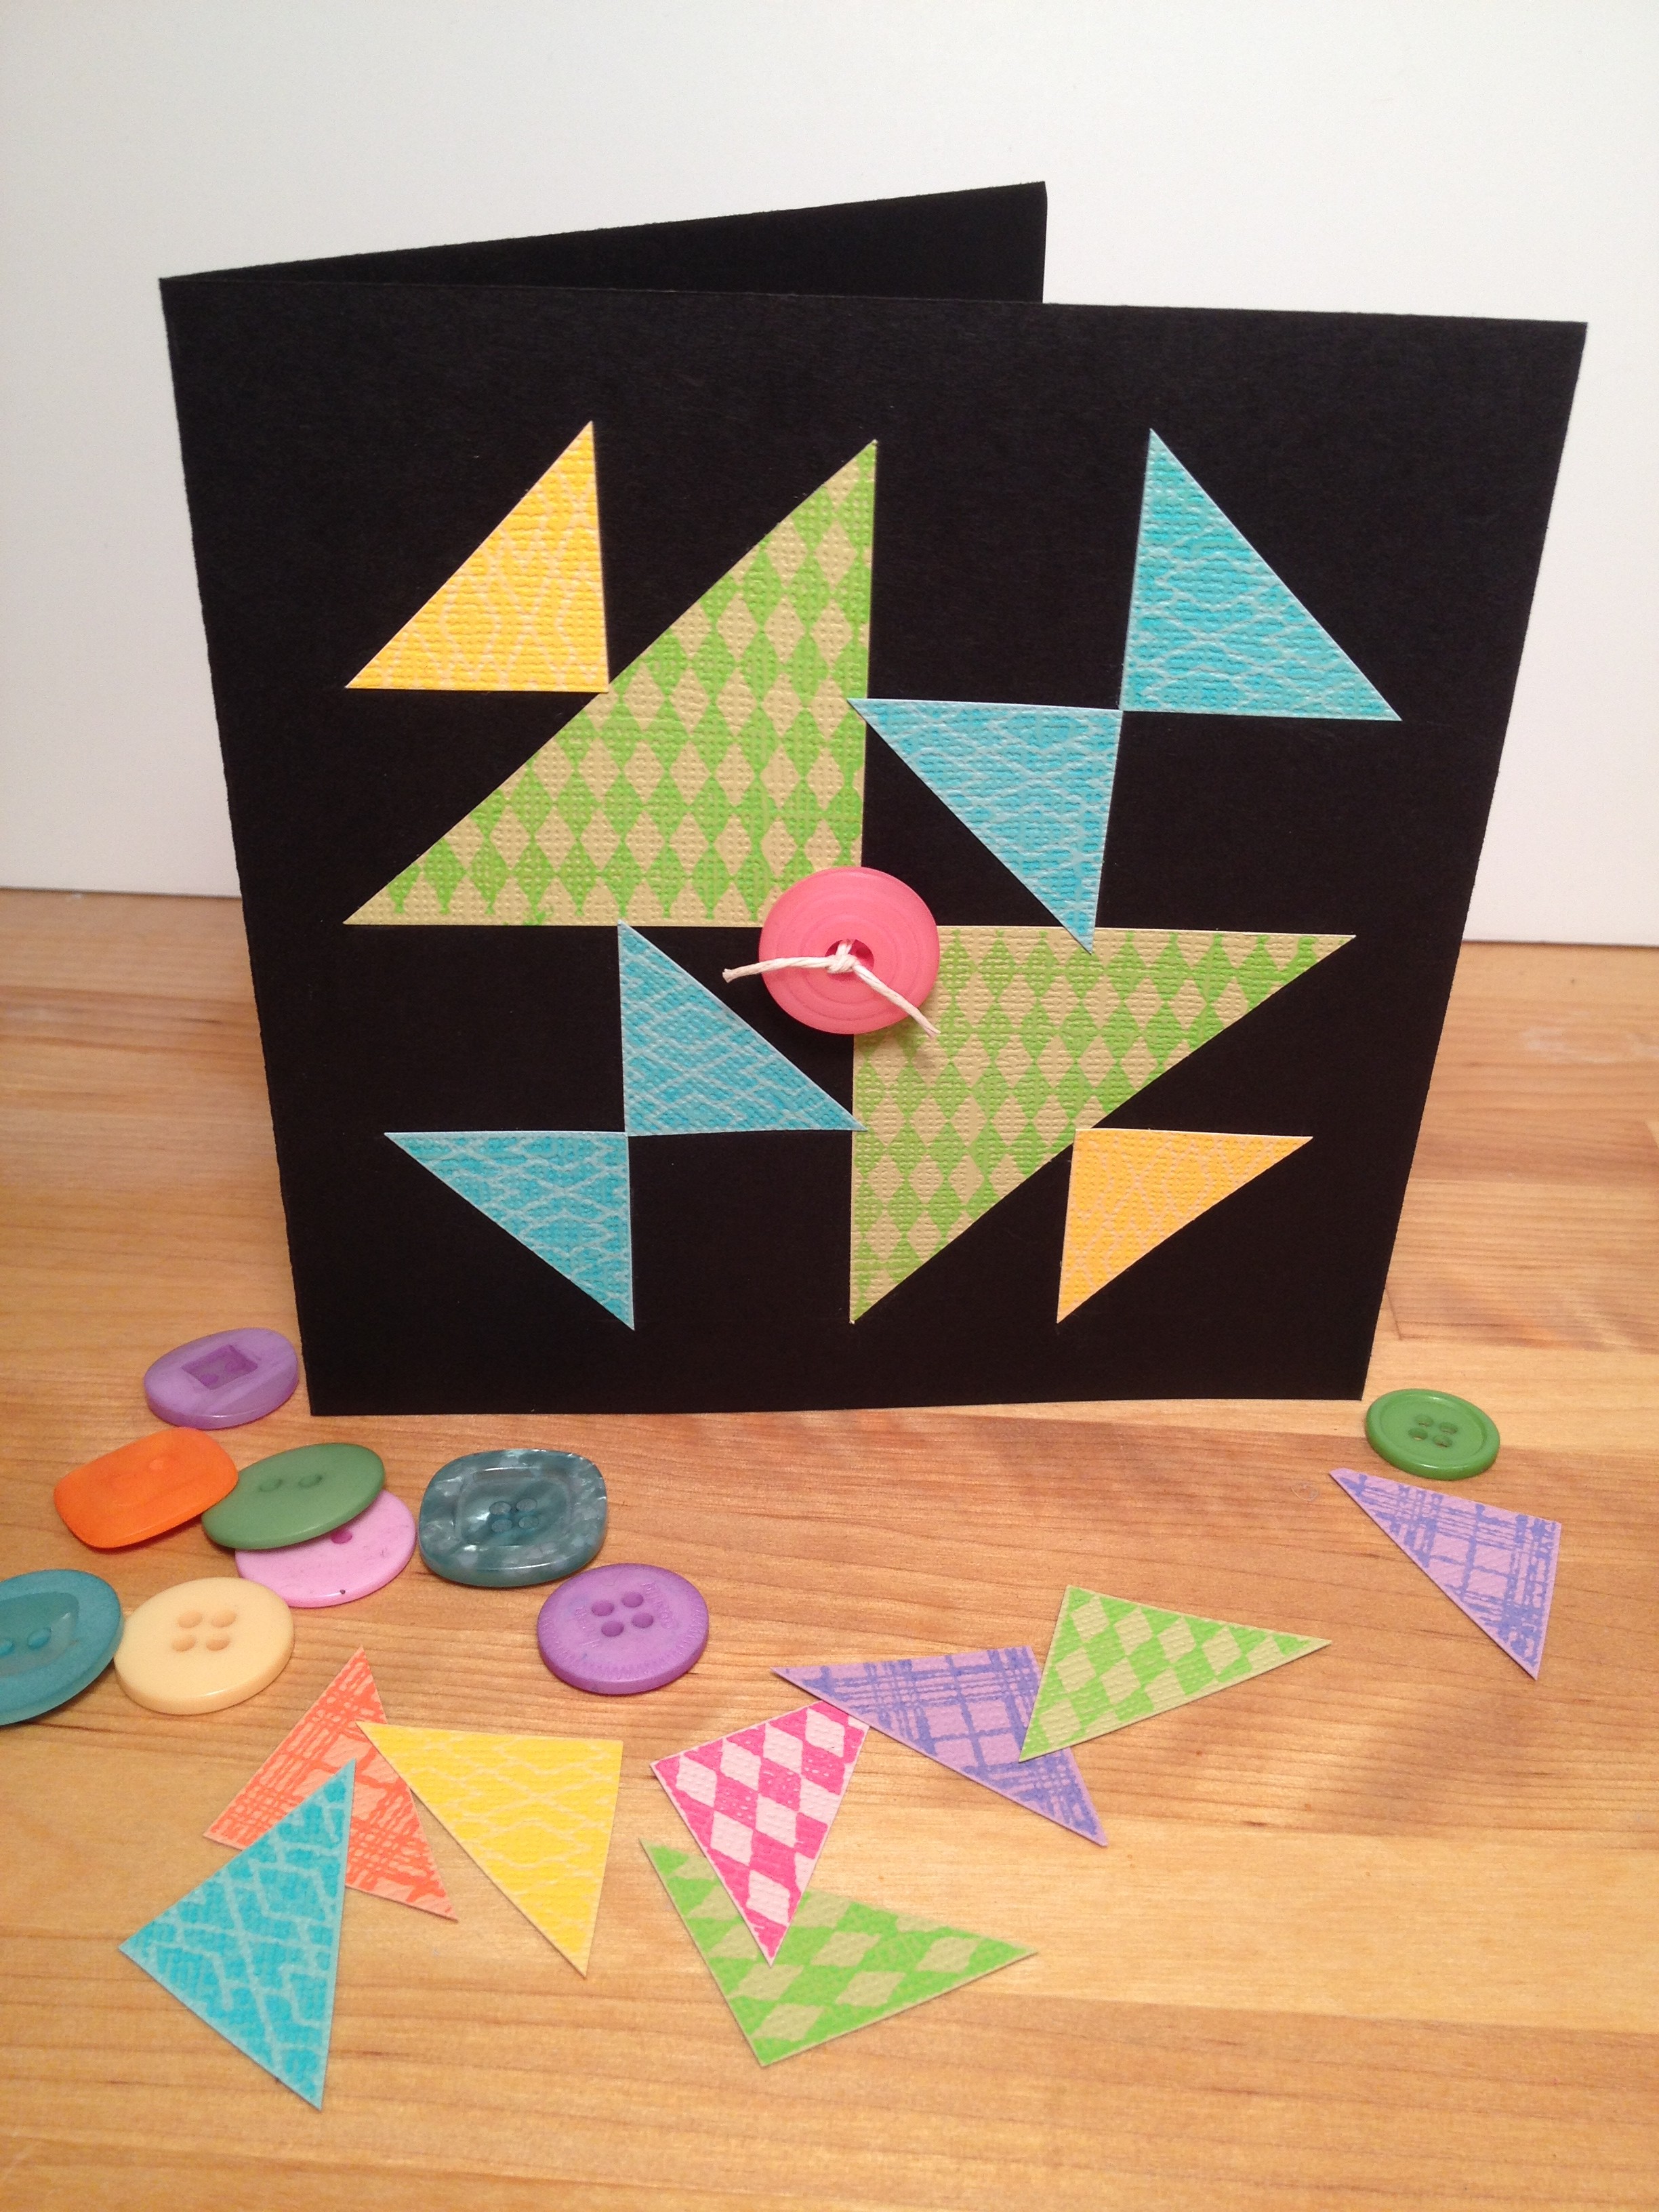
3.) Dry fit triangles in the Old Maid’s Puzzle pattern until you are please with the color combinations. Attach to card with Extreme Permanent Adhesive. Carefully erase pencil lines.
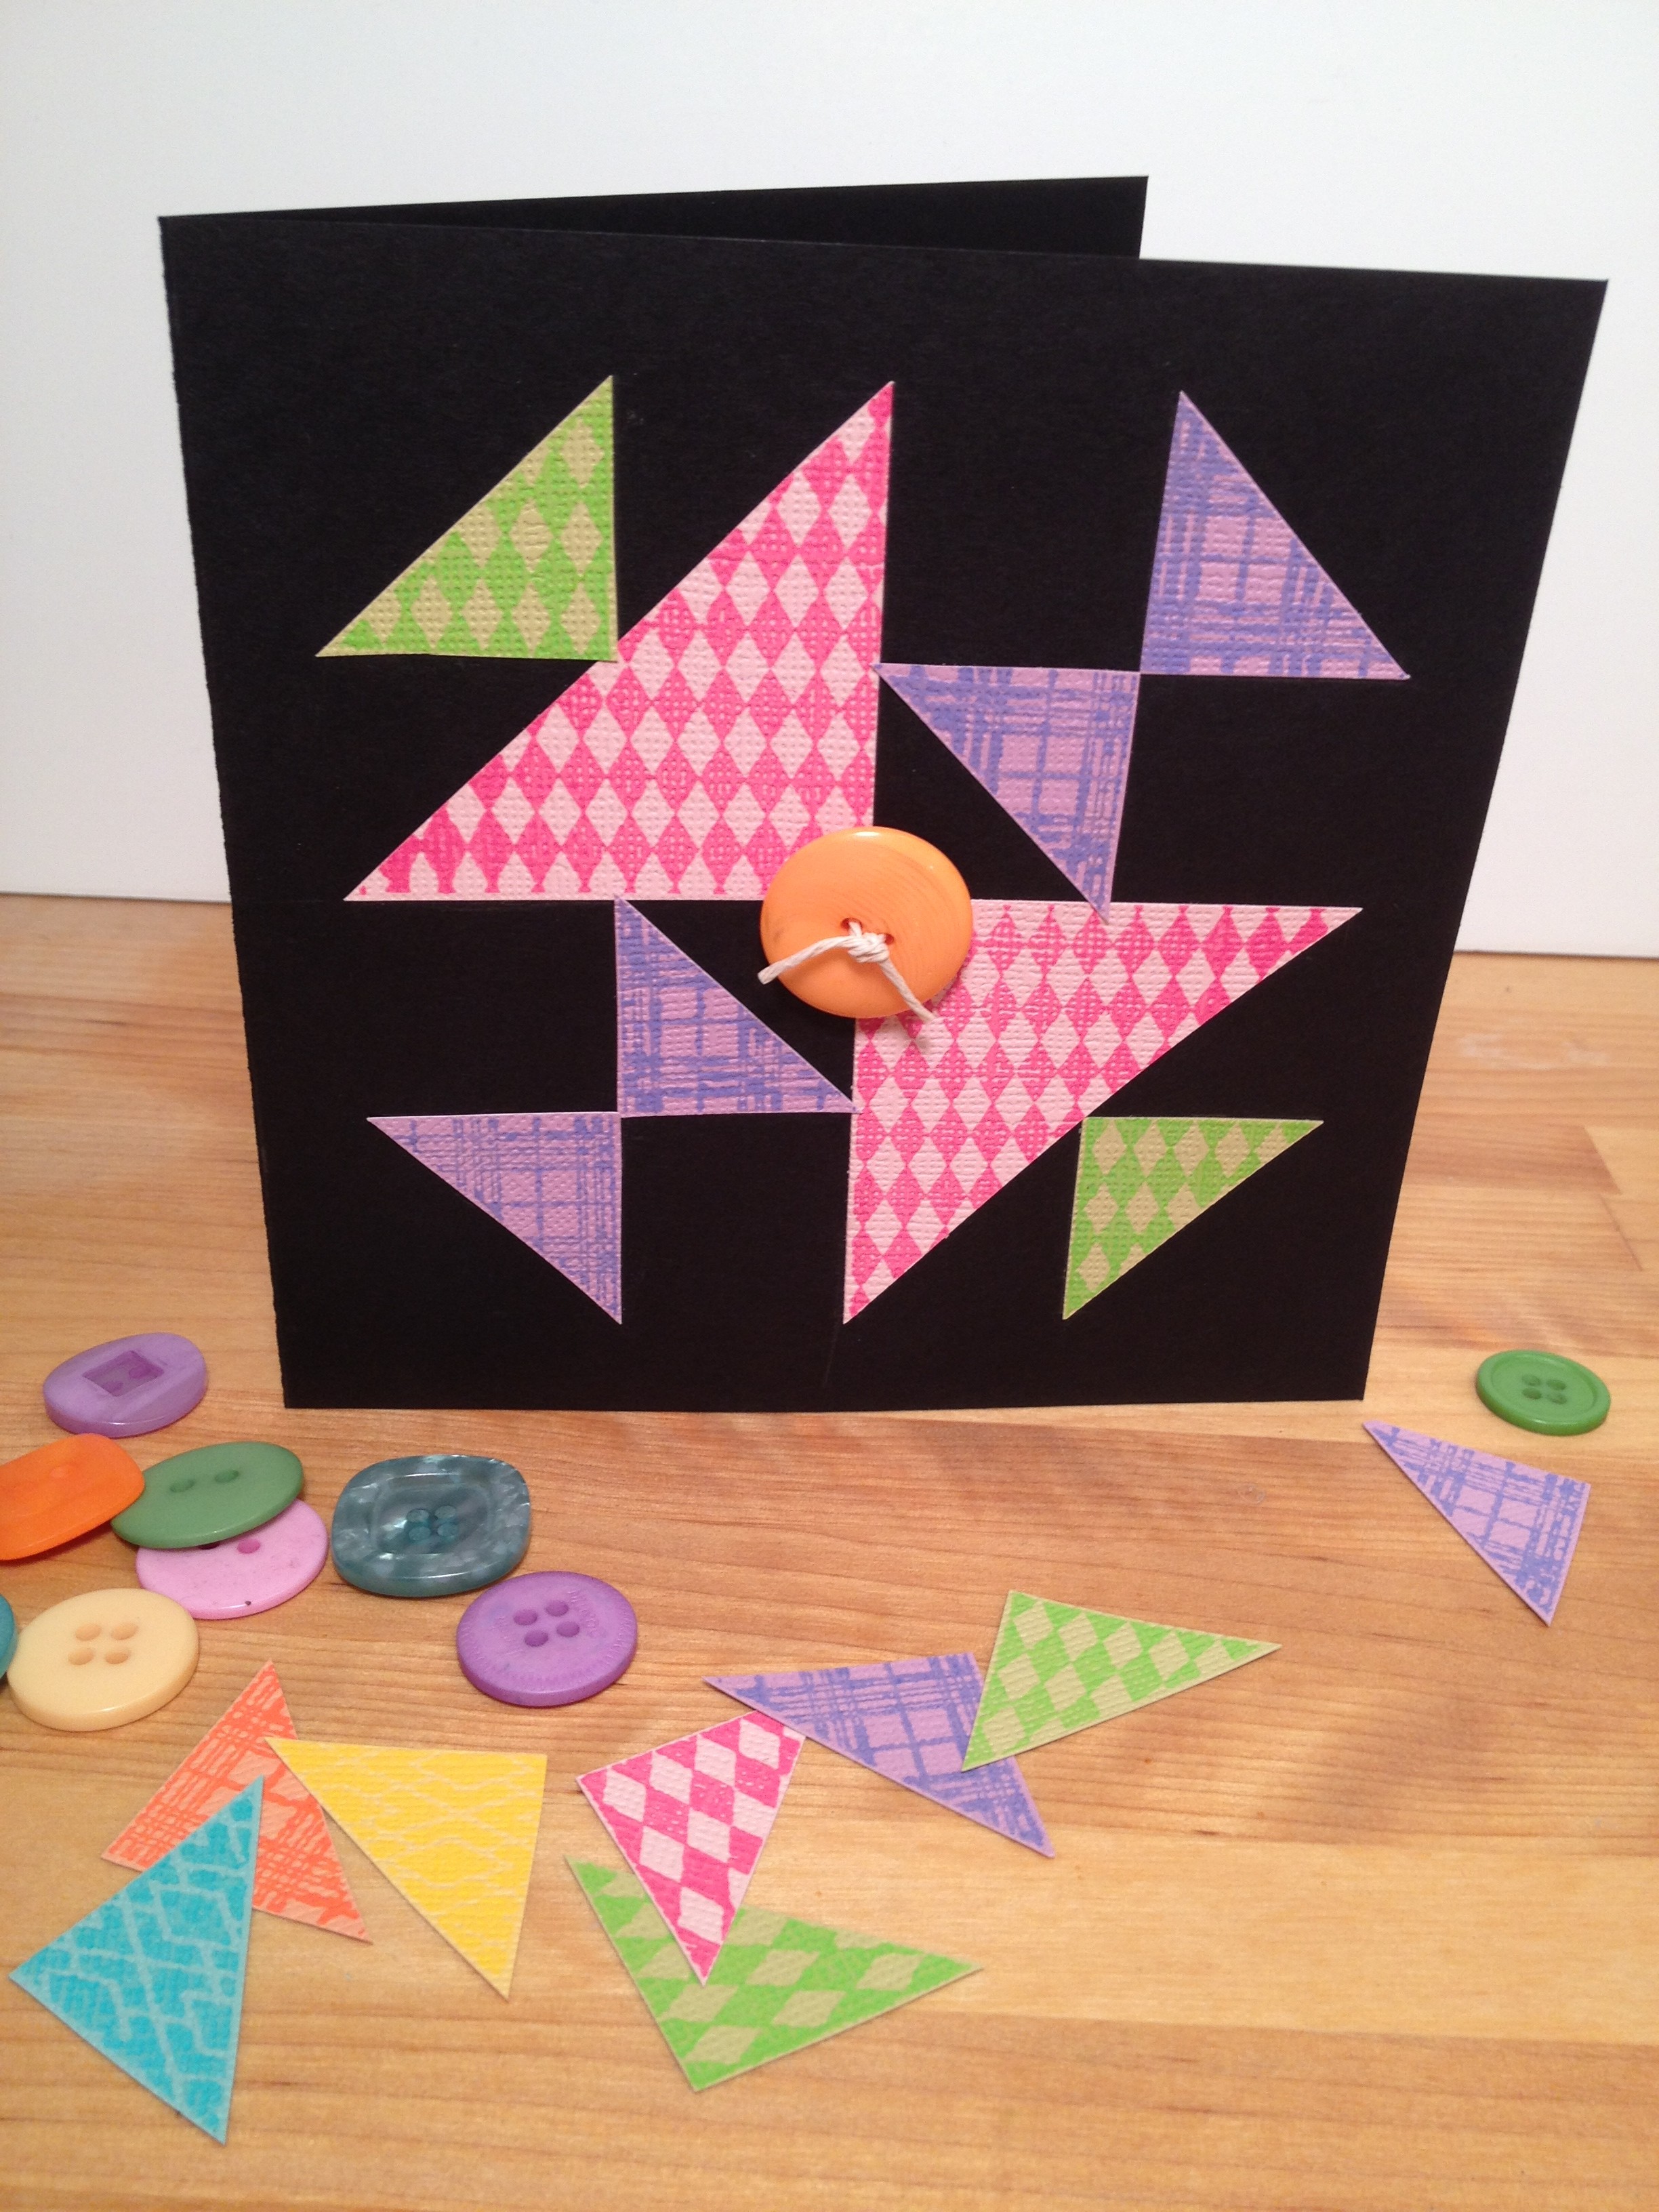
4.) Thread twine through button, tie in a knot and trim ends. Attach to center of card with Power Tabs.
5.) Write message inside with a Silver Sharpie!
Thanks for stopping by! -Beth

Hi Everyone,
Today at Ann Butler Designs we would like to share a video that will show you how easy it is to create faux quilting patterns with our Ez-De’s Design Element rubber stamps by KellyCraft. Ann demonstrates how to achieve faux quilting patterns that you can then use to create beautiful designs on paper and fabric. This video will give you the basic techniques to get you started. Be sure to stay tuned as Ann adds additional videos to our website that will take you from a beginner to an expert in this fabulous new technique in no time! Whoever would have thought that quilting could be so easy! Simply said…Ann Butler from Ann Butler Designs!!!
Creatively yours,
Lisa Rojas, Design Team Coordinator
Ann Butler Designs
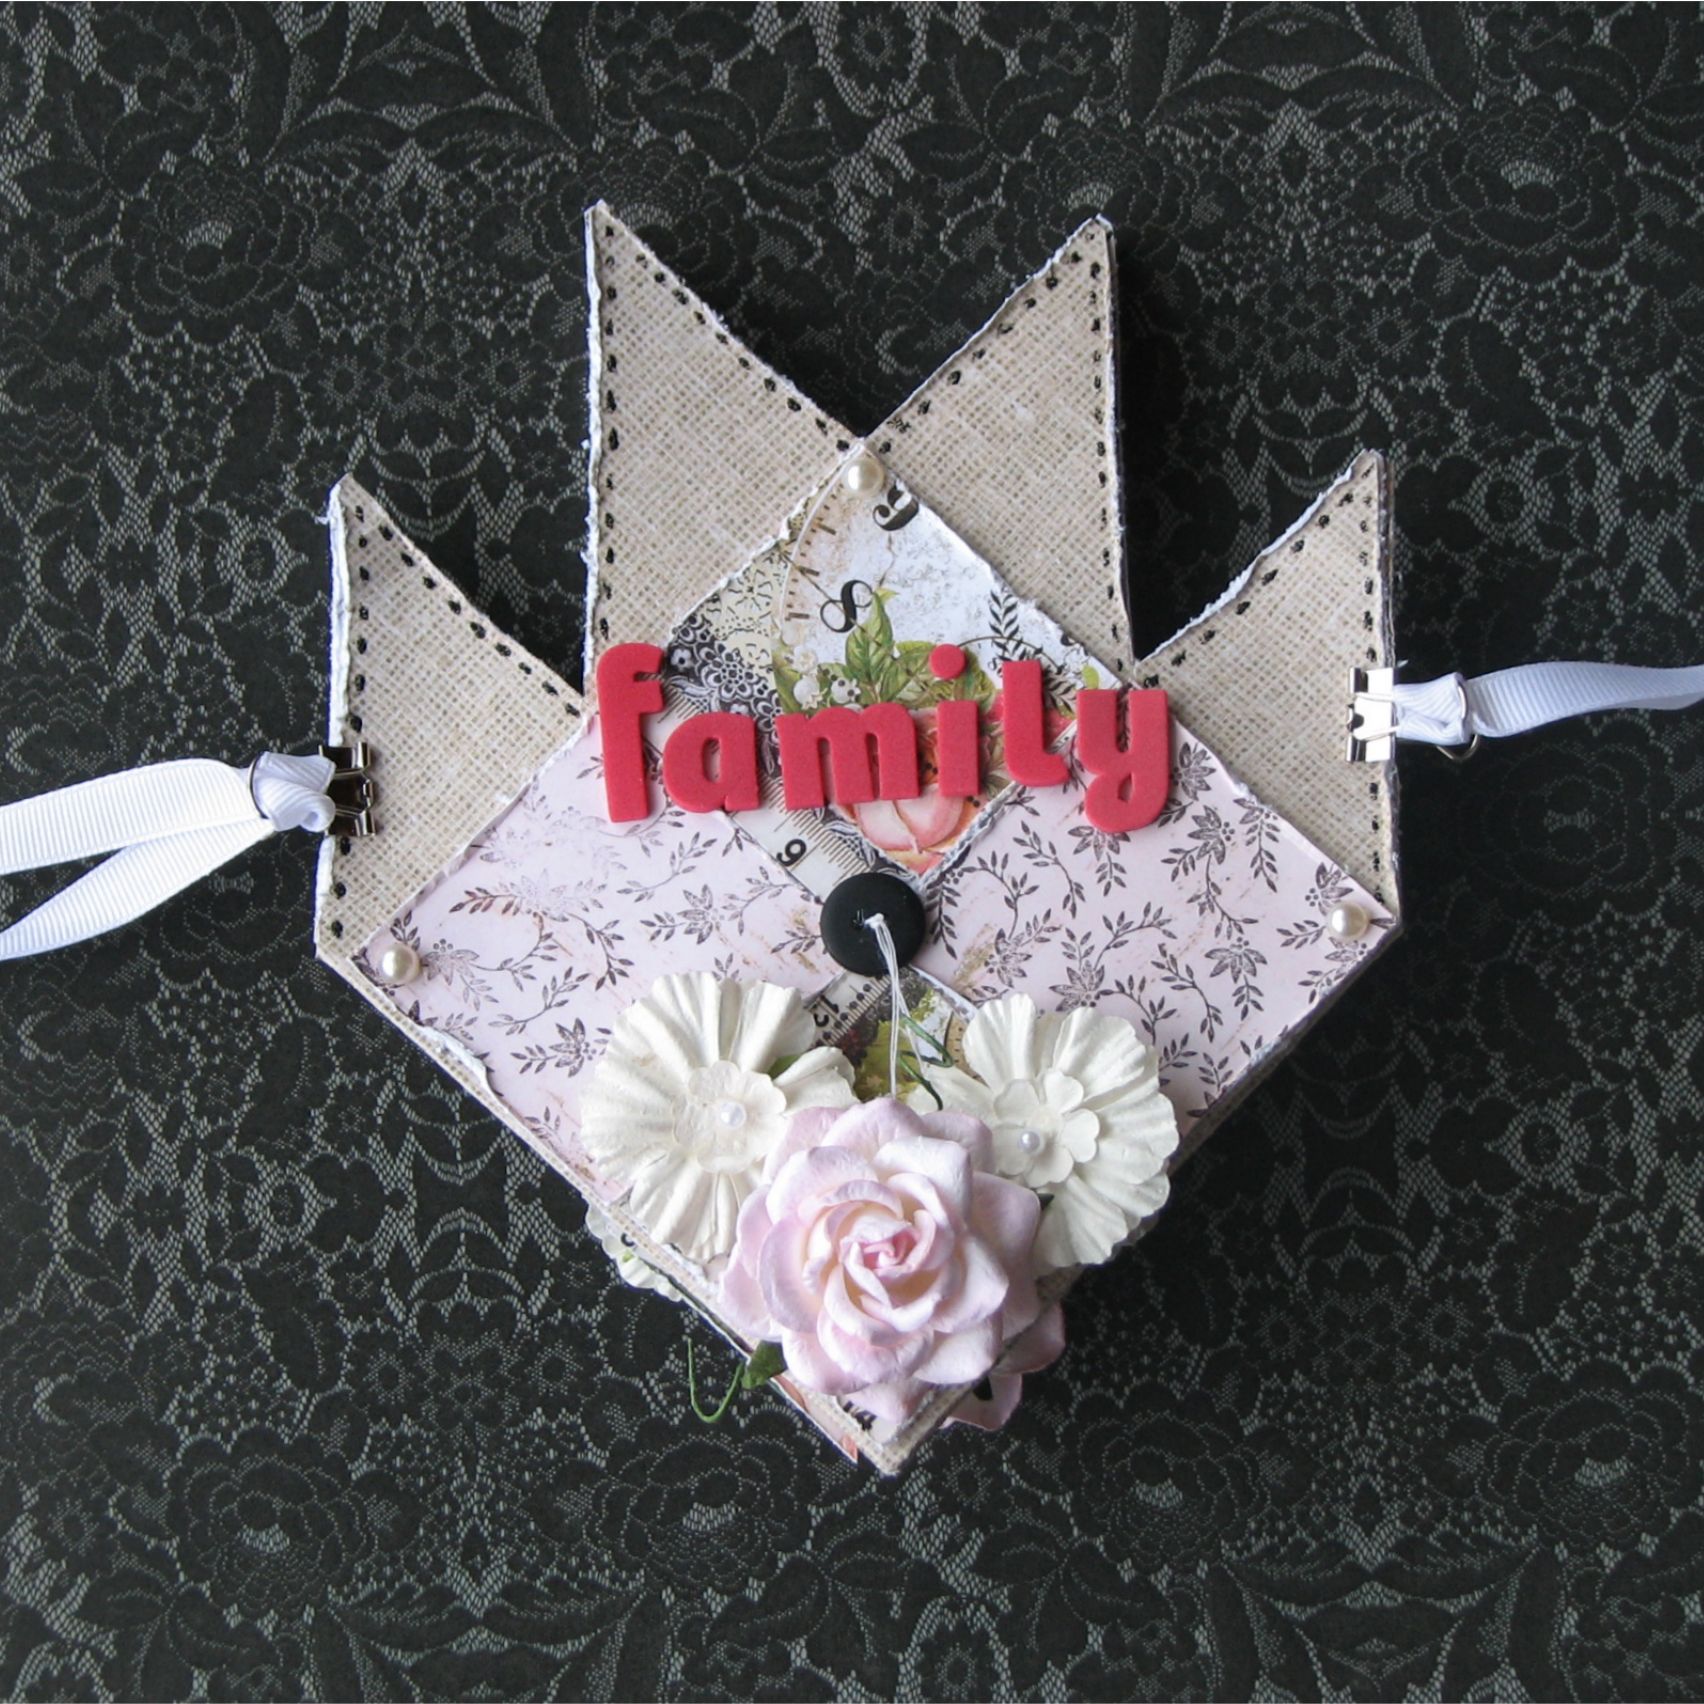
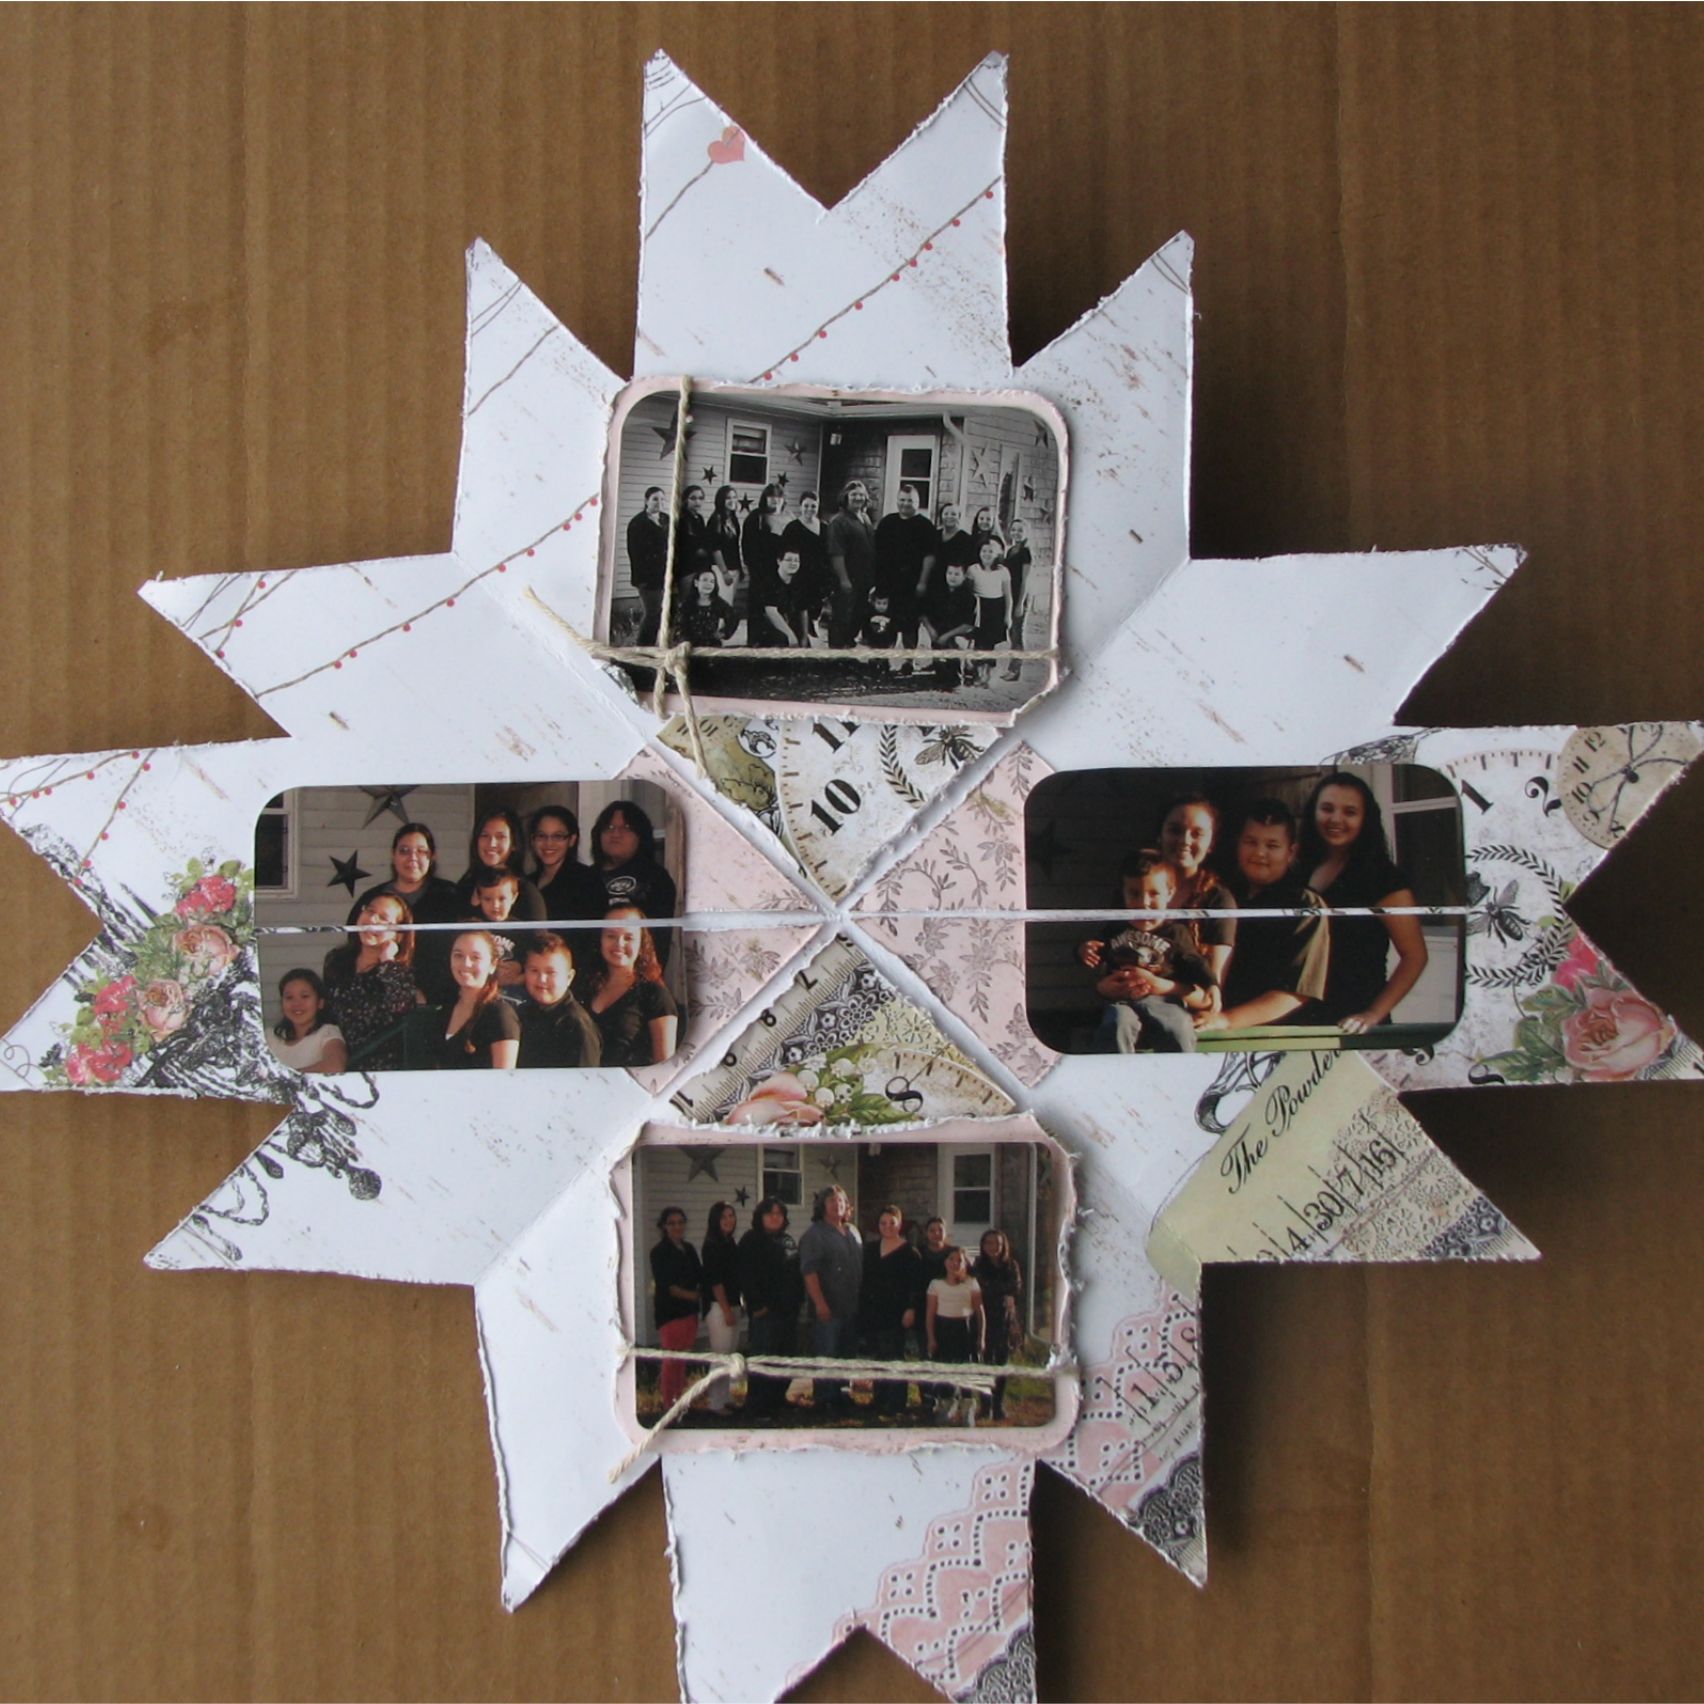
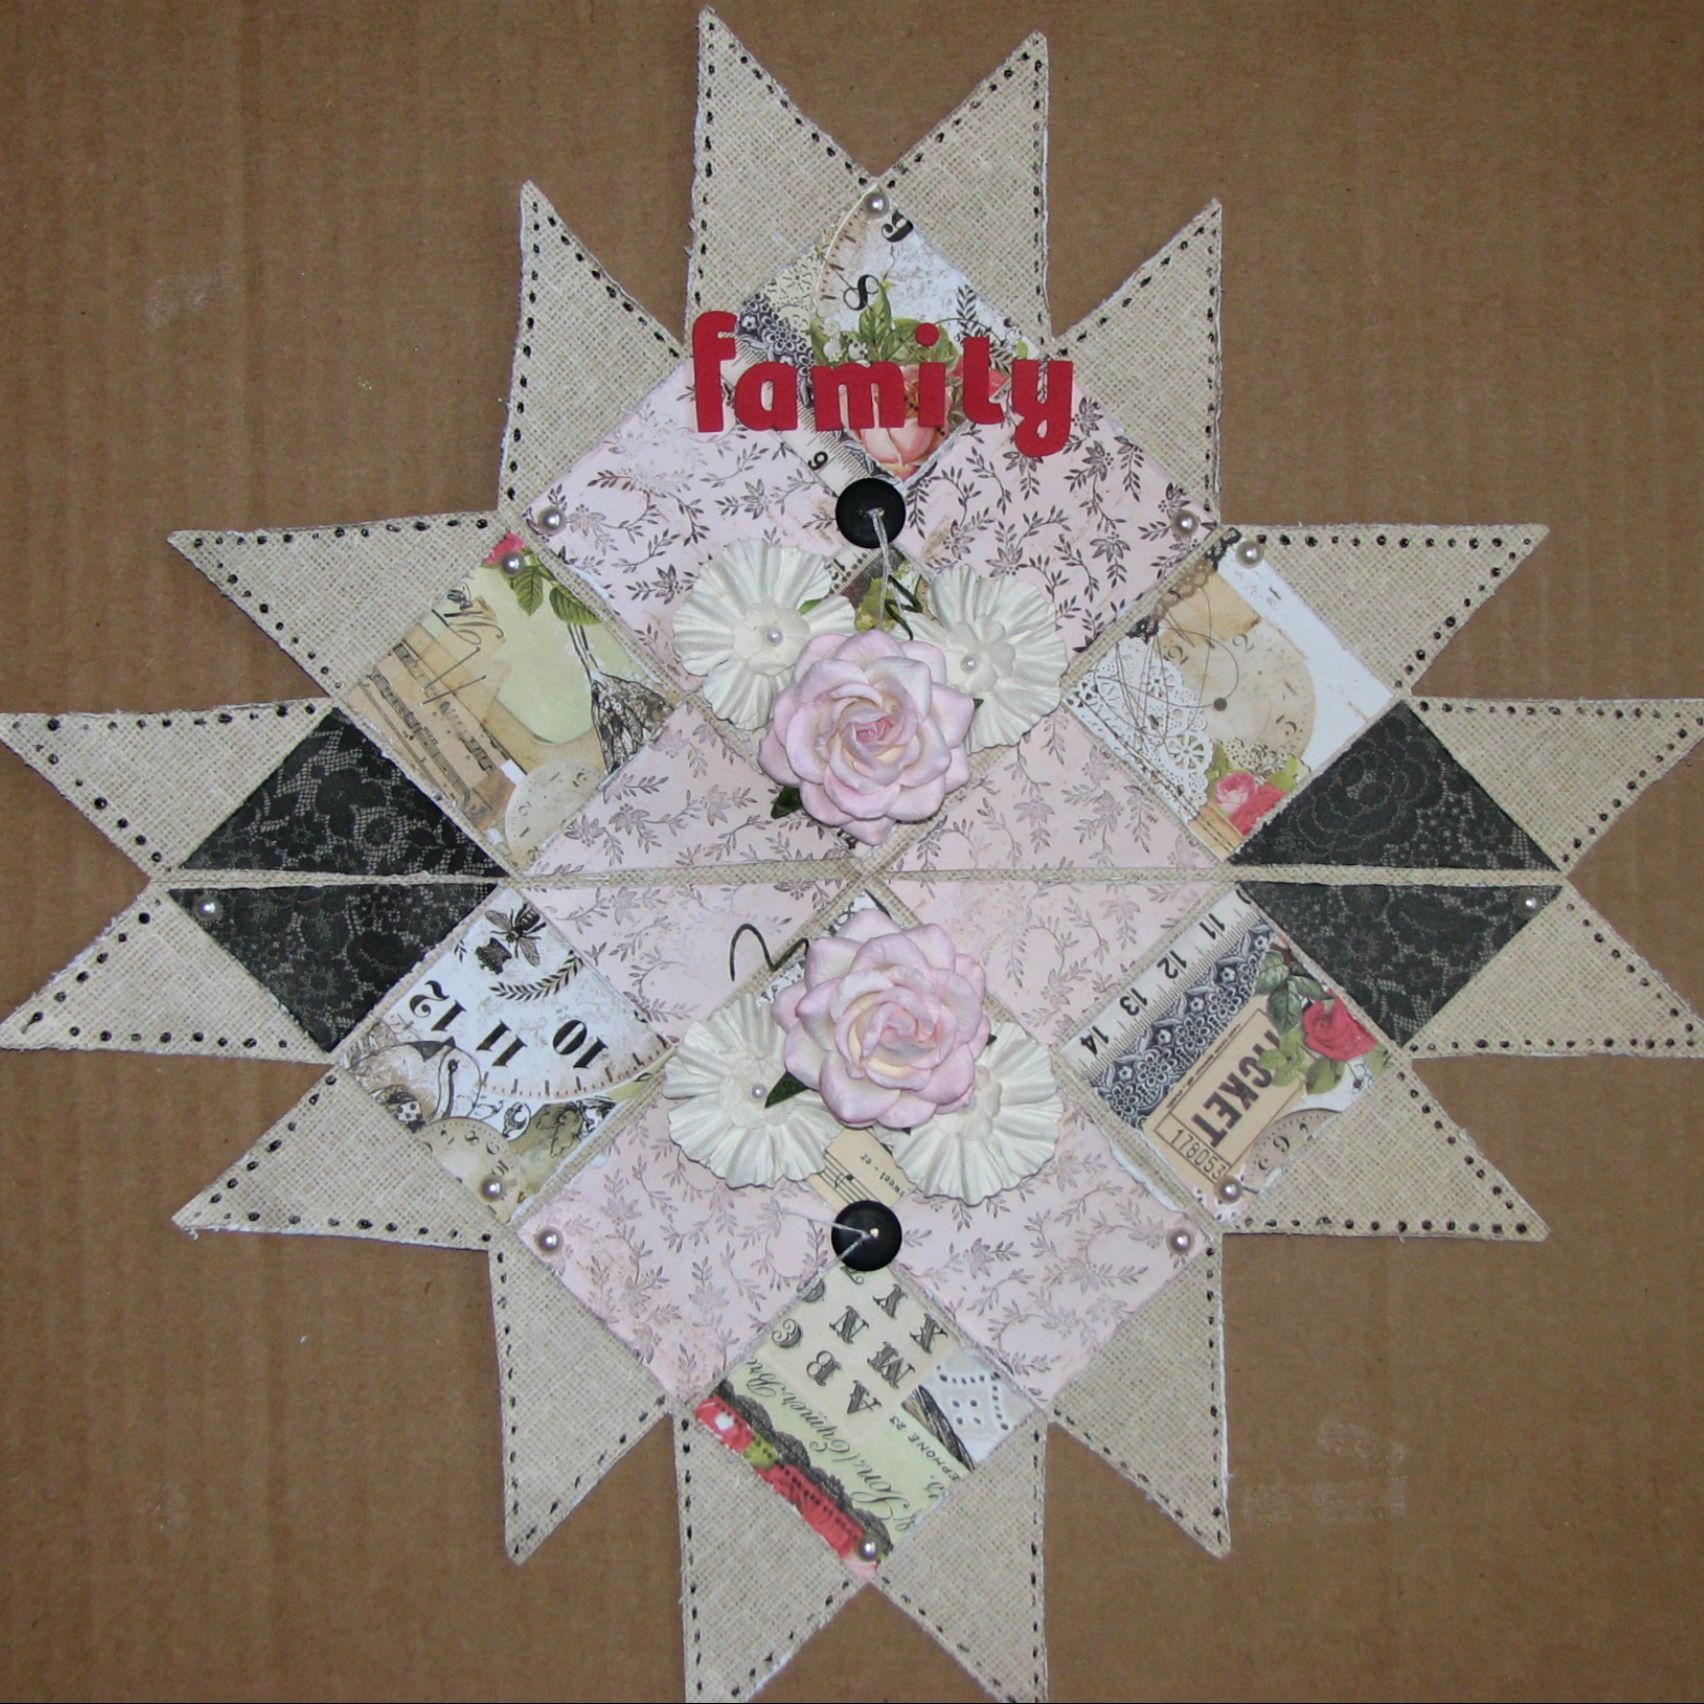
Here is my project for May. I Designed a mini album using the stamps as my guide and created a quilt star. I used the origami paper fold technique.
Here is the cover
Here is the inside of mini.
Here is the back of mini.
Close up of stamping on cover.

I used the following materials in this Project
2″ All Over Leaves Stamp by Ann Butler and Unity Stamps Triangles and square
Prima Lyric paper collection
Black soot Distress Stickles
WOC Roses
Prima white blooms
Foam Thickers.
Variety of wallets size photo’s from Family Photo shoot.
Thanks for joining me.

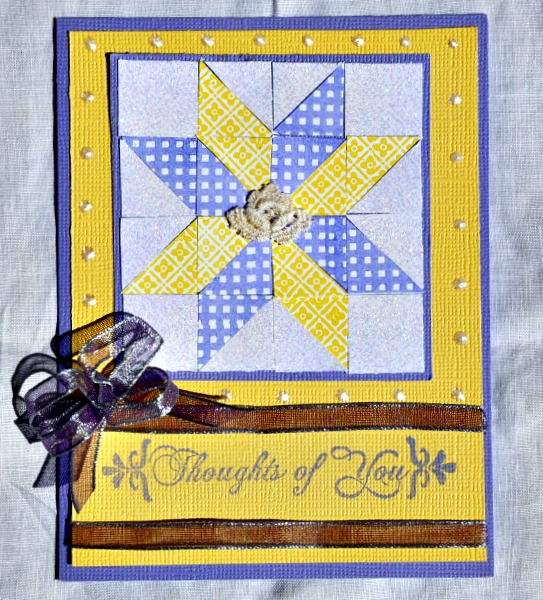
Hello, Ava here to share a faux Quilt Block that I made for my card. There are lots of quilting resources on the web; pinterest, you tube, blogs, websites and google all of which can bring you plenty of inspiration.
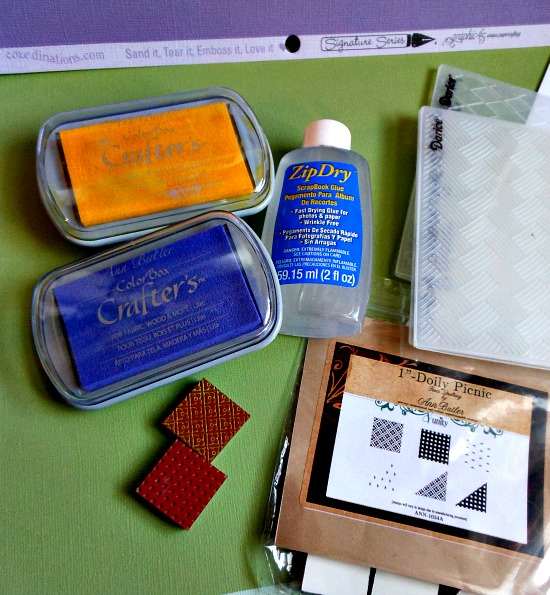
Start with gathering your supplies and of course you are allowed to change your mind at any time through the quilting experience.
Step #1
Using 2 different stamps from the Ann Butler 1″ Doily Picnic stamp set; stamp 1 row of each of the different stamps onto a 10 inch by 4 inch strip of 110 lb Core’dinations Cardstock.

Step #2
Trim your 2 stamped strips to 3/4″ wide and then cut your squares 3/4″ again. Cut 8 squares measuring 3/4″ x 3/4″. Do this again with the other pattern stamp strip as well as your plain cardstock strip using the same measurements. So, before you start, pile up your 3 types of squares, (2 different stamped patterns and 1 regular cardstock)
Step#3
Have your quilt block template pattern that you have decided to use for your project in front of you. Using an adhesive tape runner, place plenty of strips of glue onto a 3″ x 3″ cardstock square. Follow your chosen Quilt Block pattern and start repeating the pattern for your card by cutting and placing your papers onto your cardstock block.
Step # 4
Once you have everything figured out and in place, mat your 3″ Quilt Block and assemble your card elements onto your card base.
Step # 5
Stamp your card with a sentiment of your choice.
Ann Butler Designs Supplies
1″ Doily Picnic Ann Butler Designs, Unity Stamp Co. Stamps
Clearsnap Ink, Ann Butler Colorbox Crafters Ink, Lilac & Shineshine
Other Supplies
Core’dinations Cardstock, Core Essentials Pastel Collection & 110 lb Cardstock
Tombow Stamp Runner Adhesive
Westcott Brands scissors
May Arts Ribbon
Viva Pearl Pen, Ice White
Hi Everyone,
For today’s post we wanted to share a fun and easy technique with you on over stamping on your pattern paper to give it a different look altogether! So, grab yourself something to drink, sit back and enjoy the video!
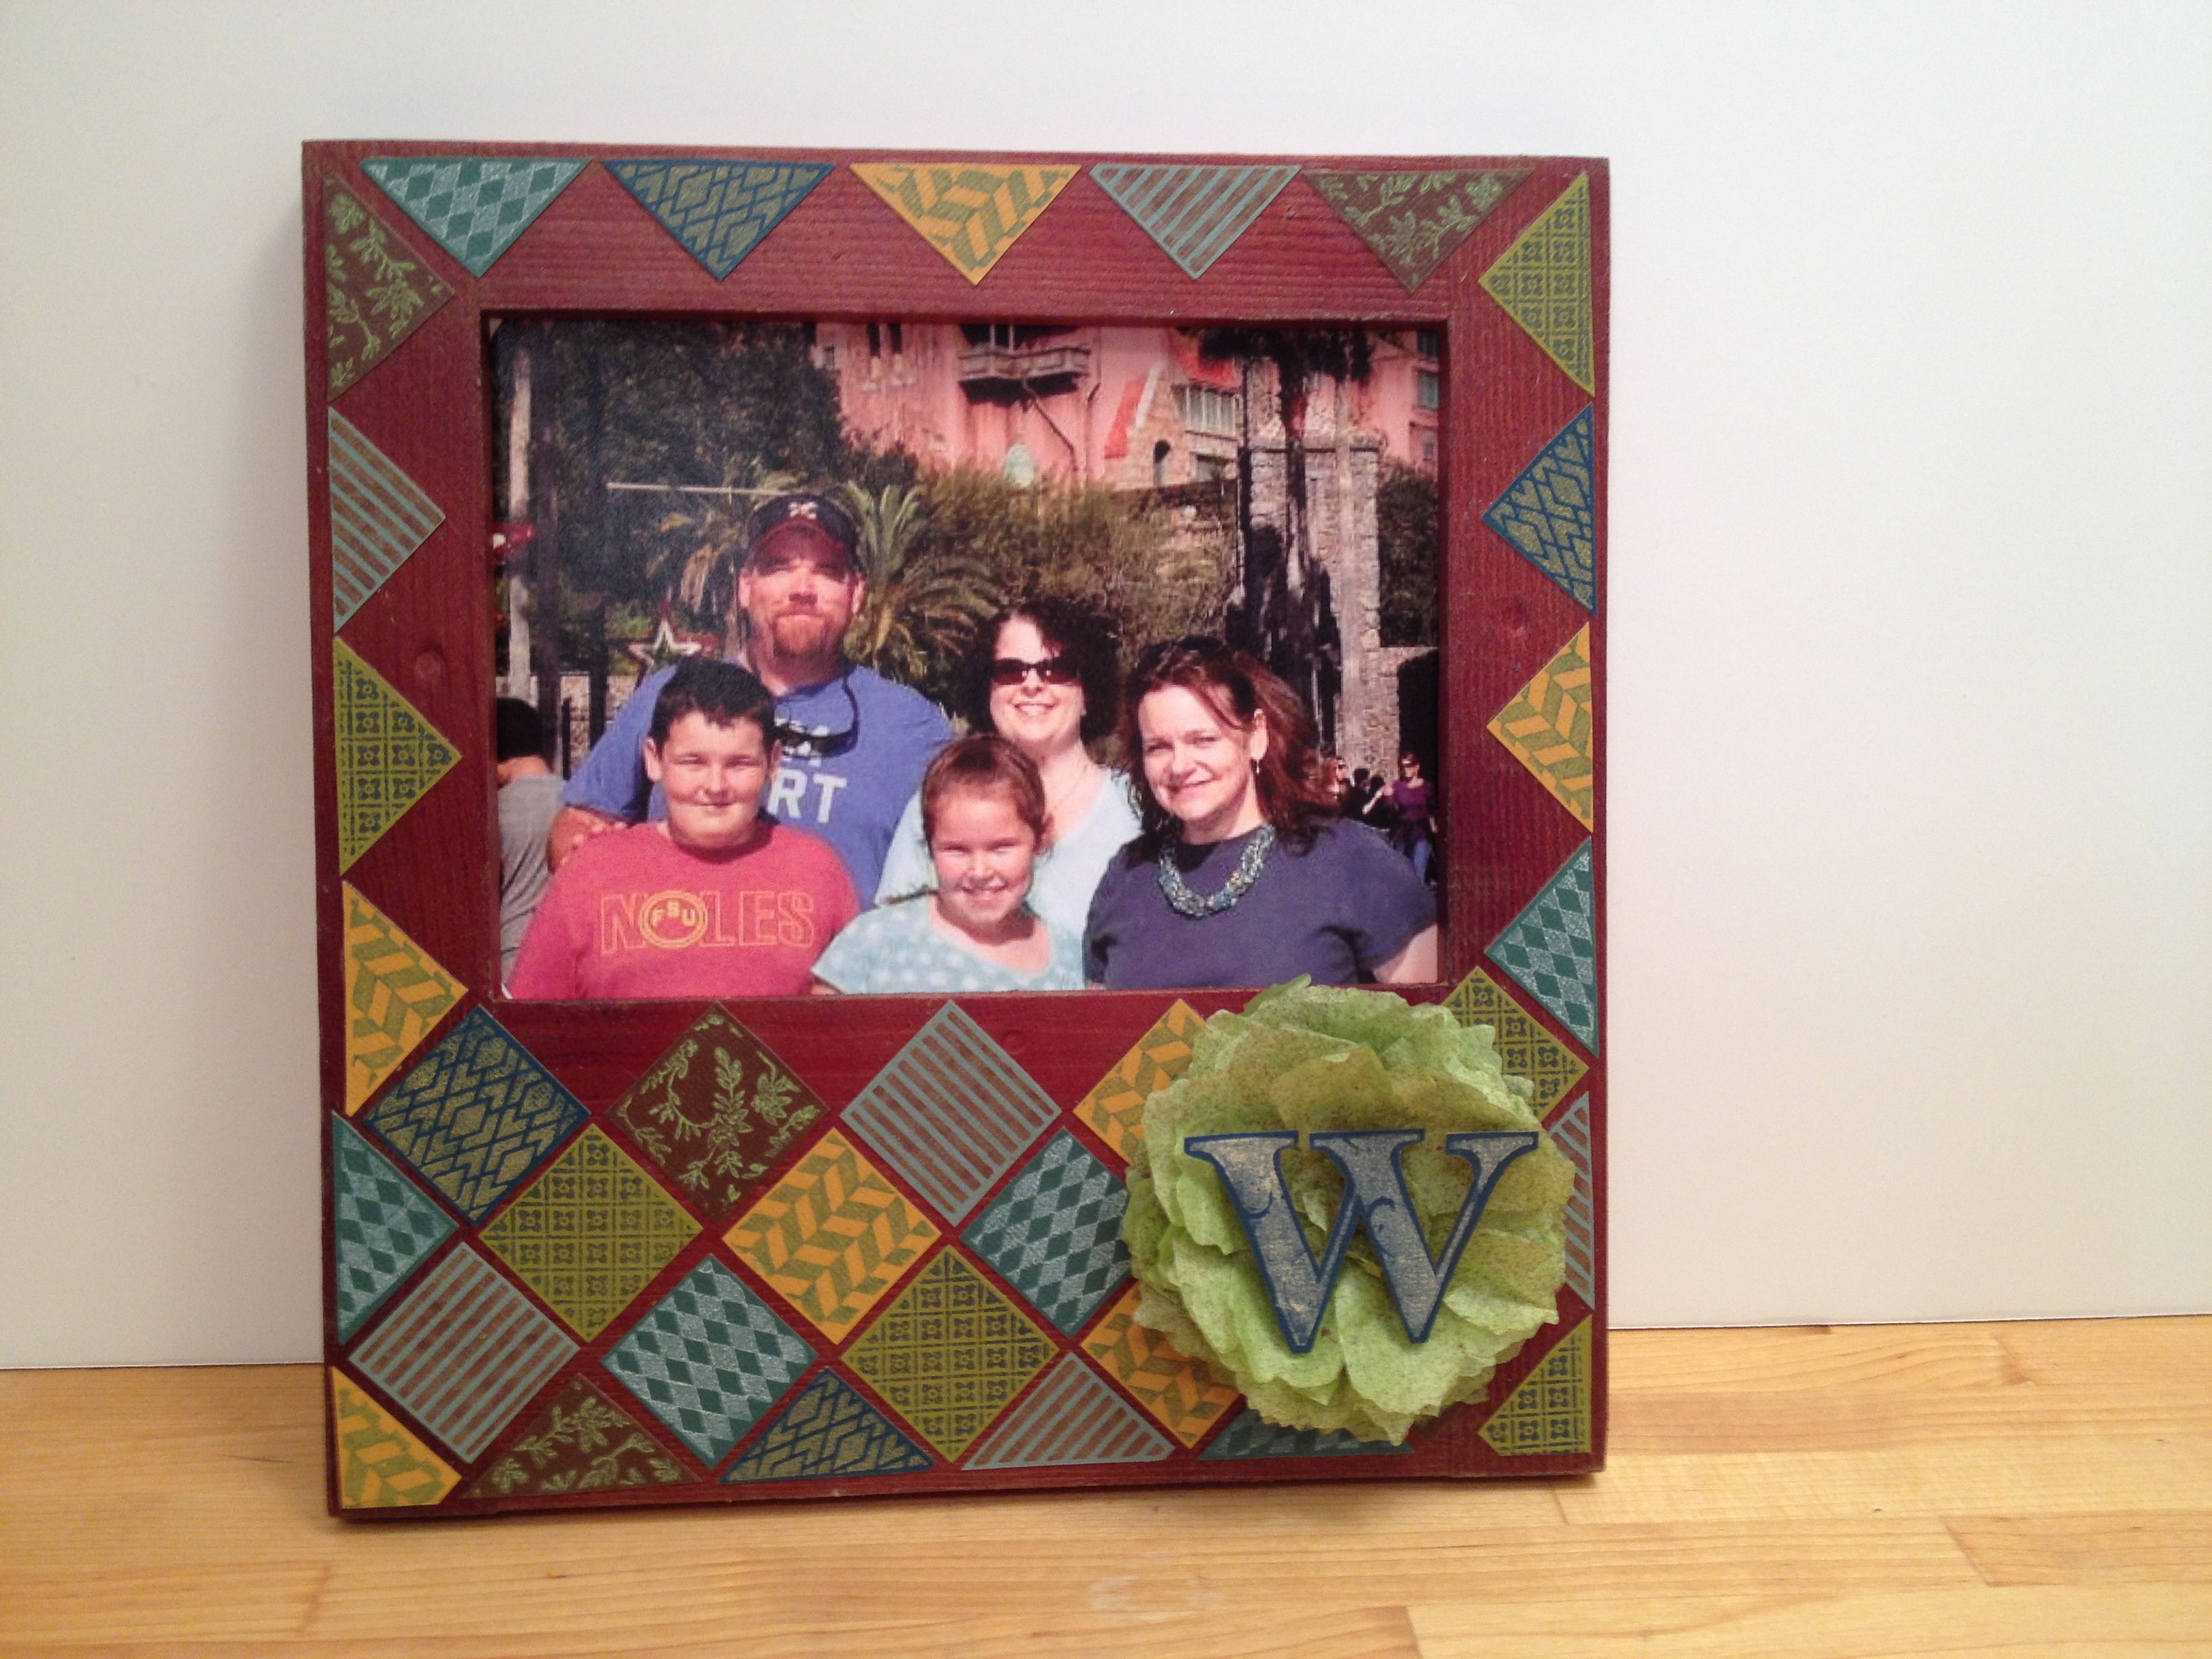
I love taking something traditional like quilting and putting a contemporary twist on it with a modern color palette. I also love creating home decor items, so I created this frame to coordinate with the Faux Quilted Box that I posted in February.
Here’s how I made it!
INSTRUCTIONS:
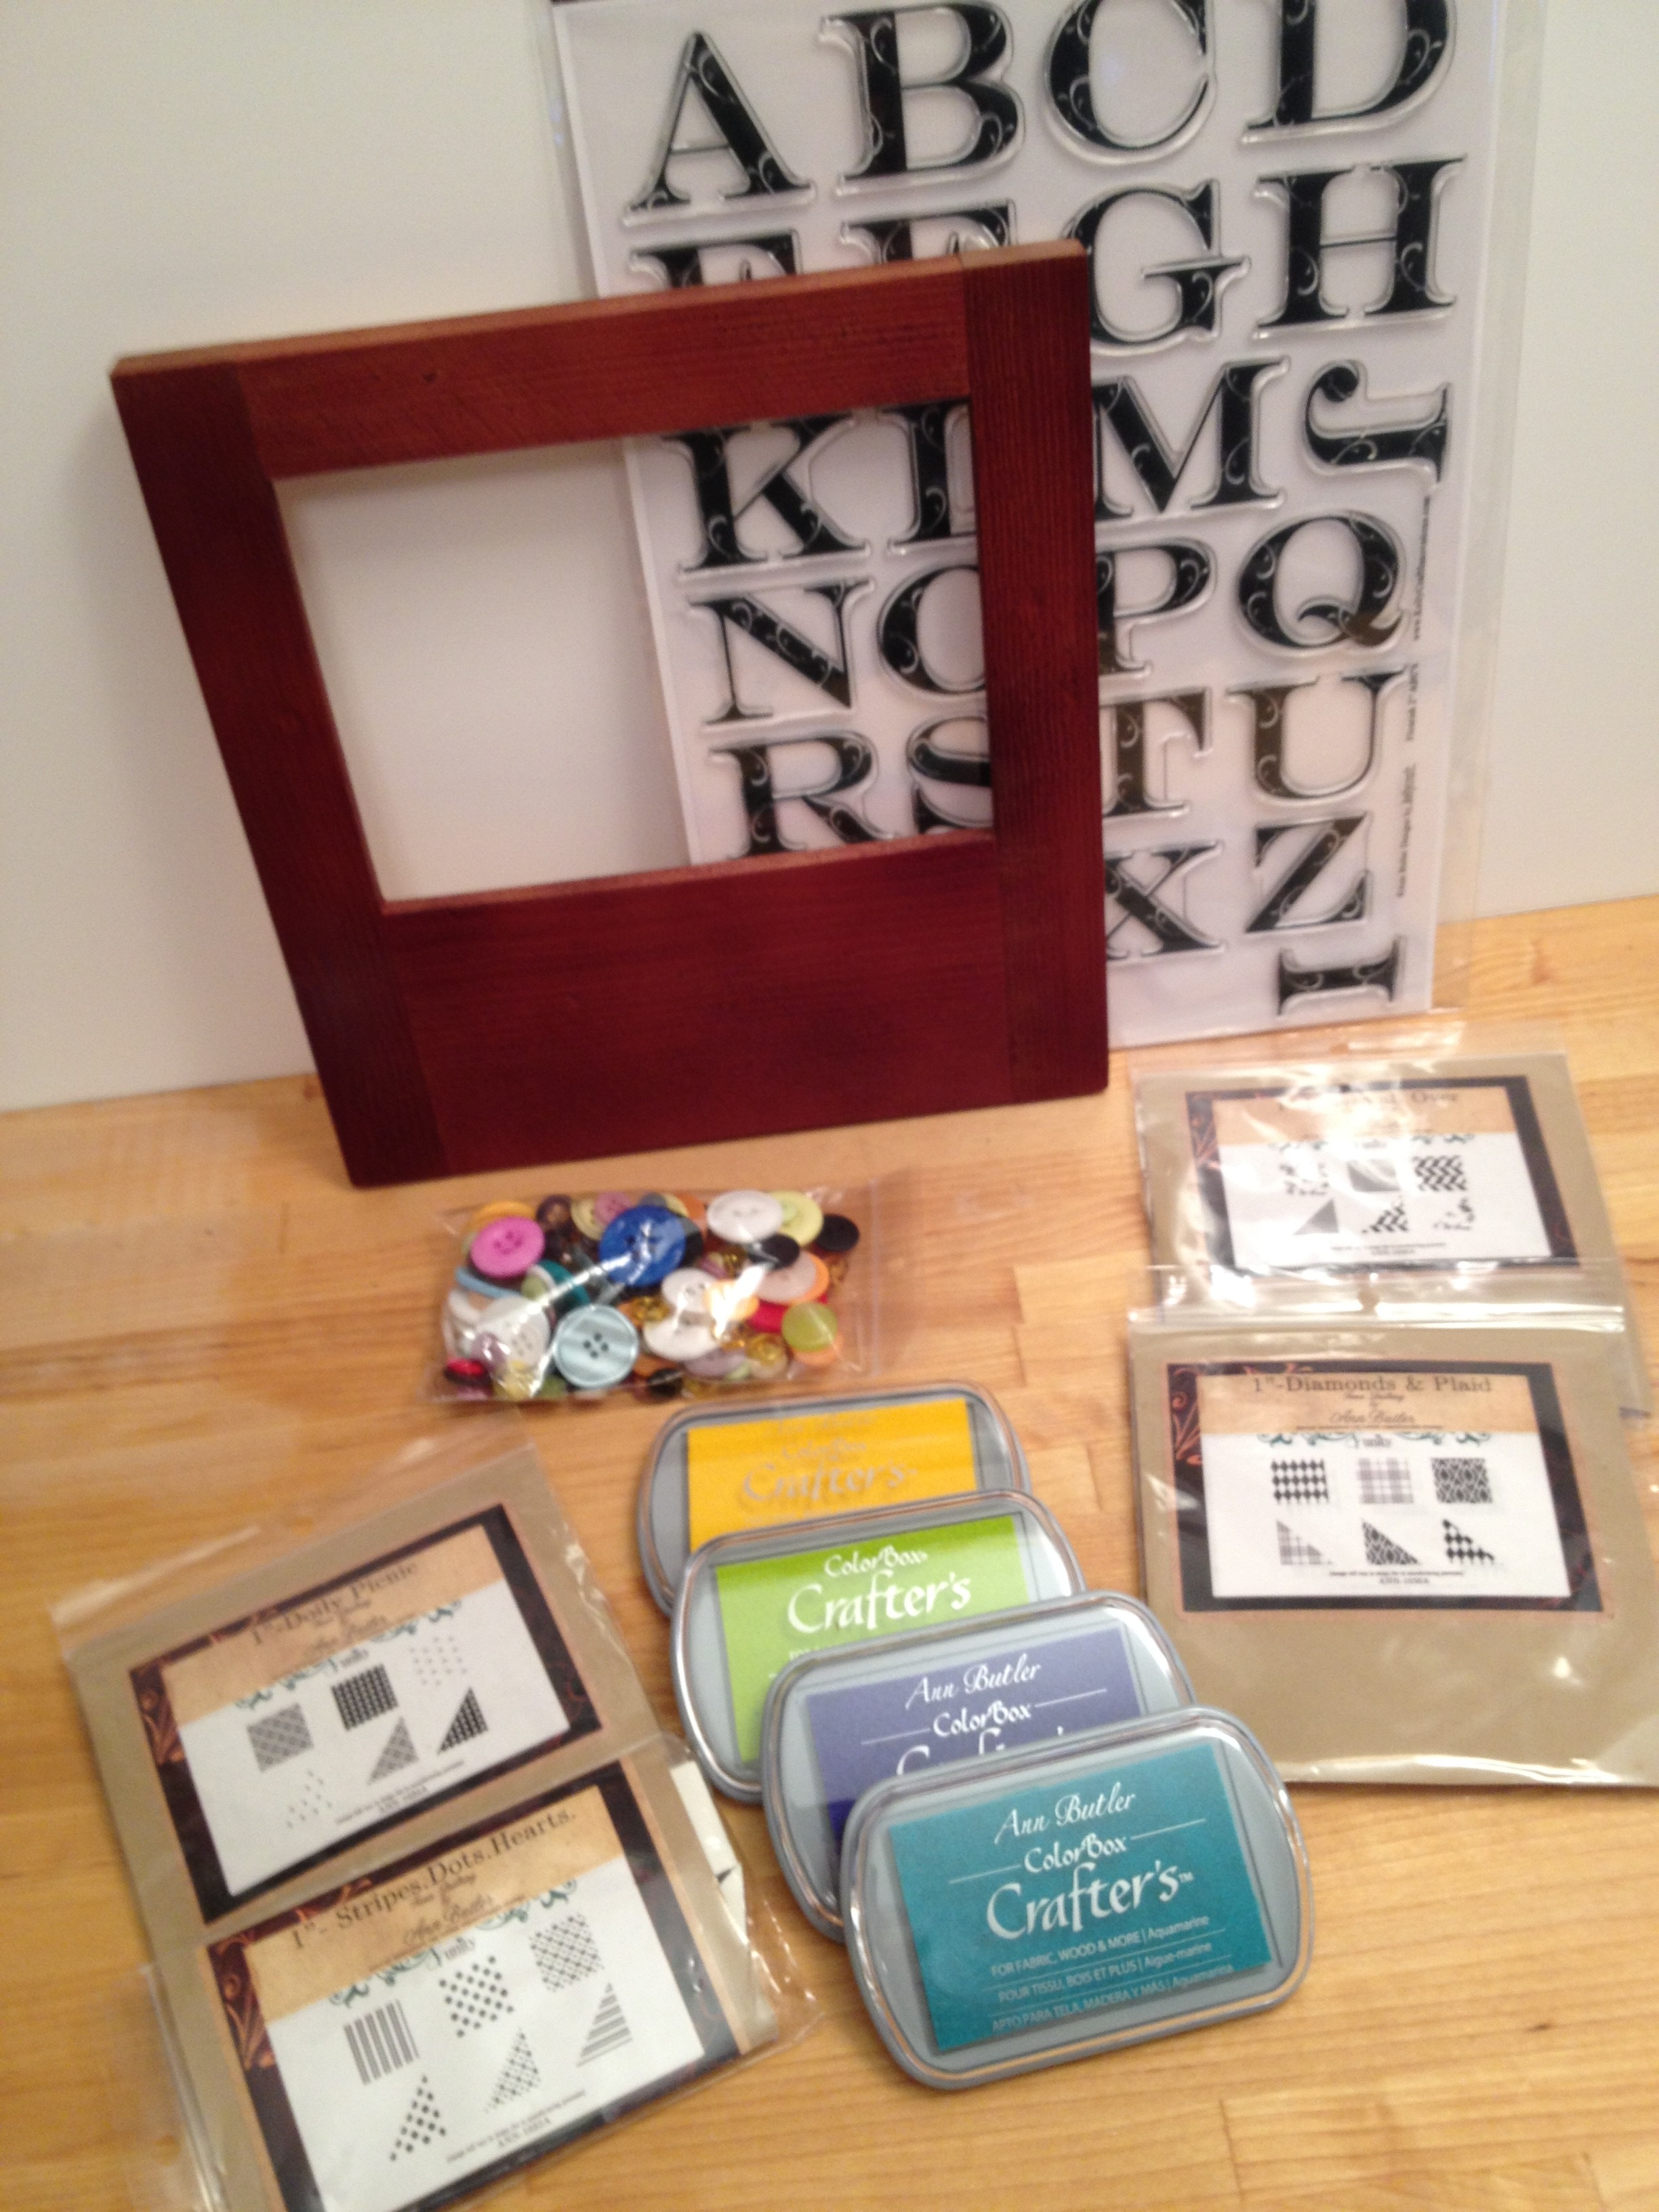
1.) In a well ventilated area, spread out newspapers and spray several light coats of Design Master Walnut Wood Tone on frame, let dry completely.
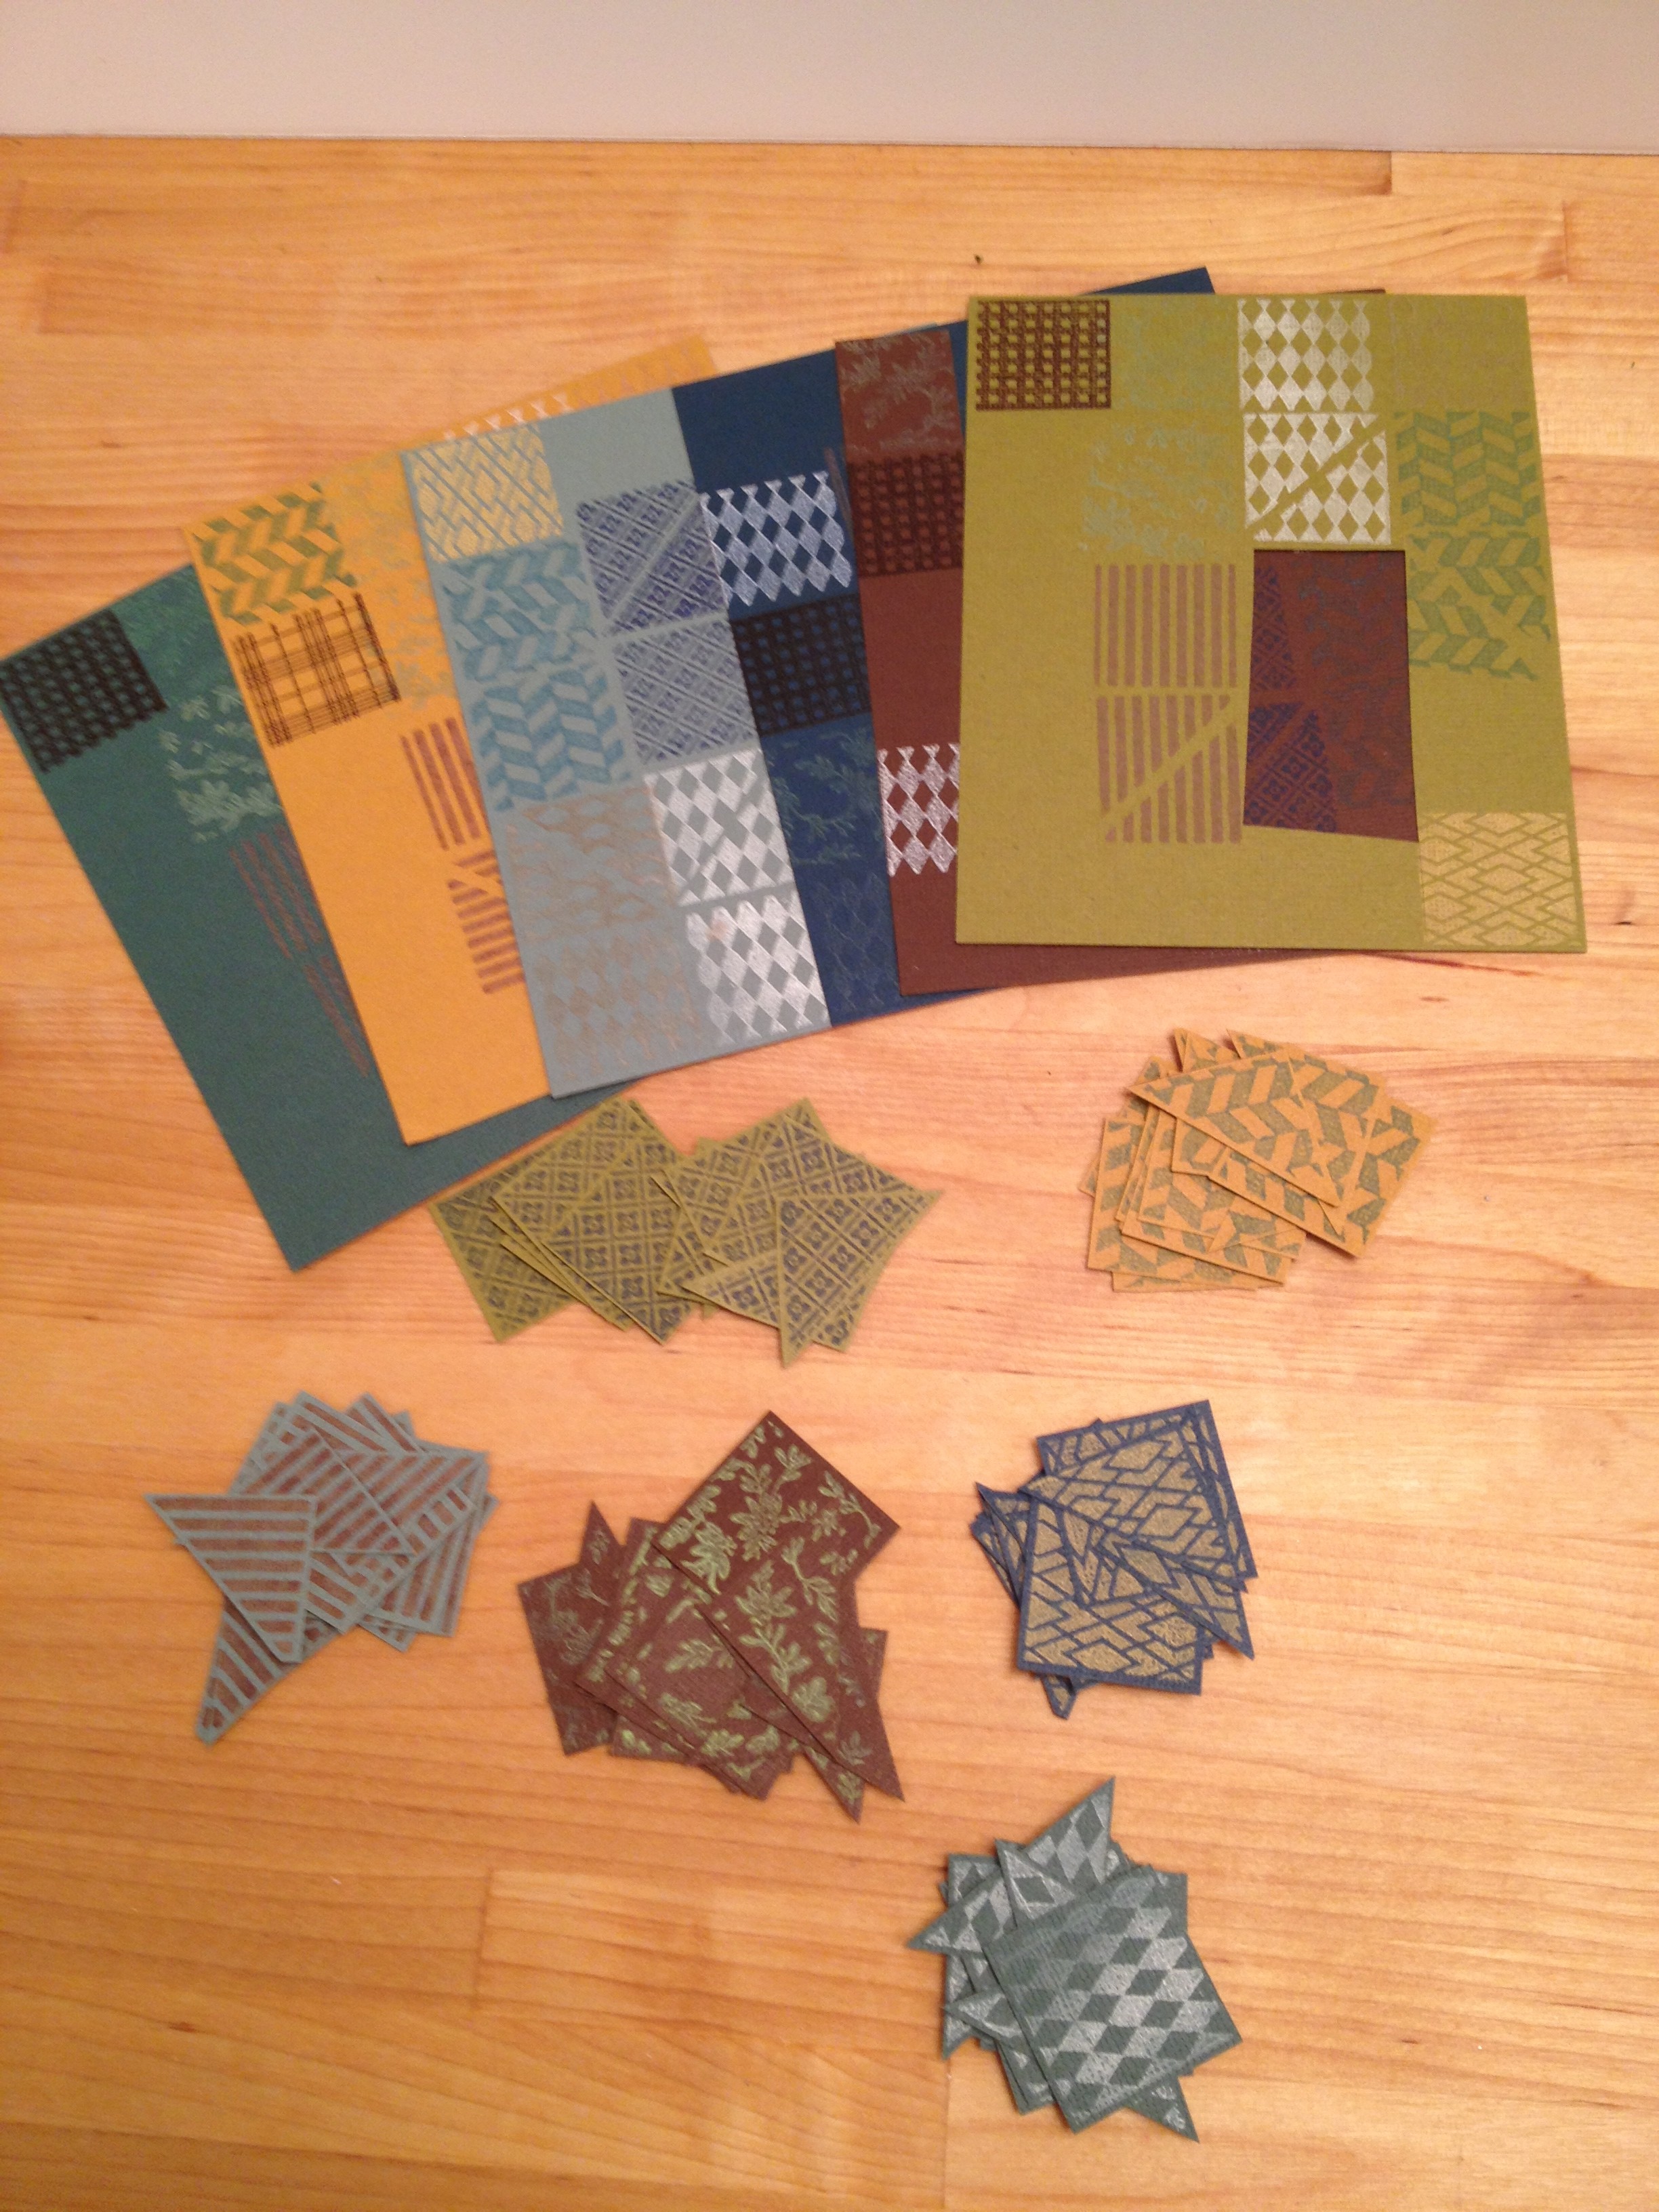
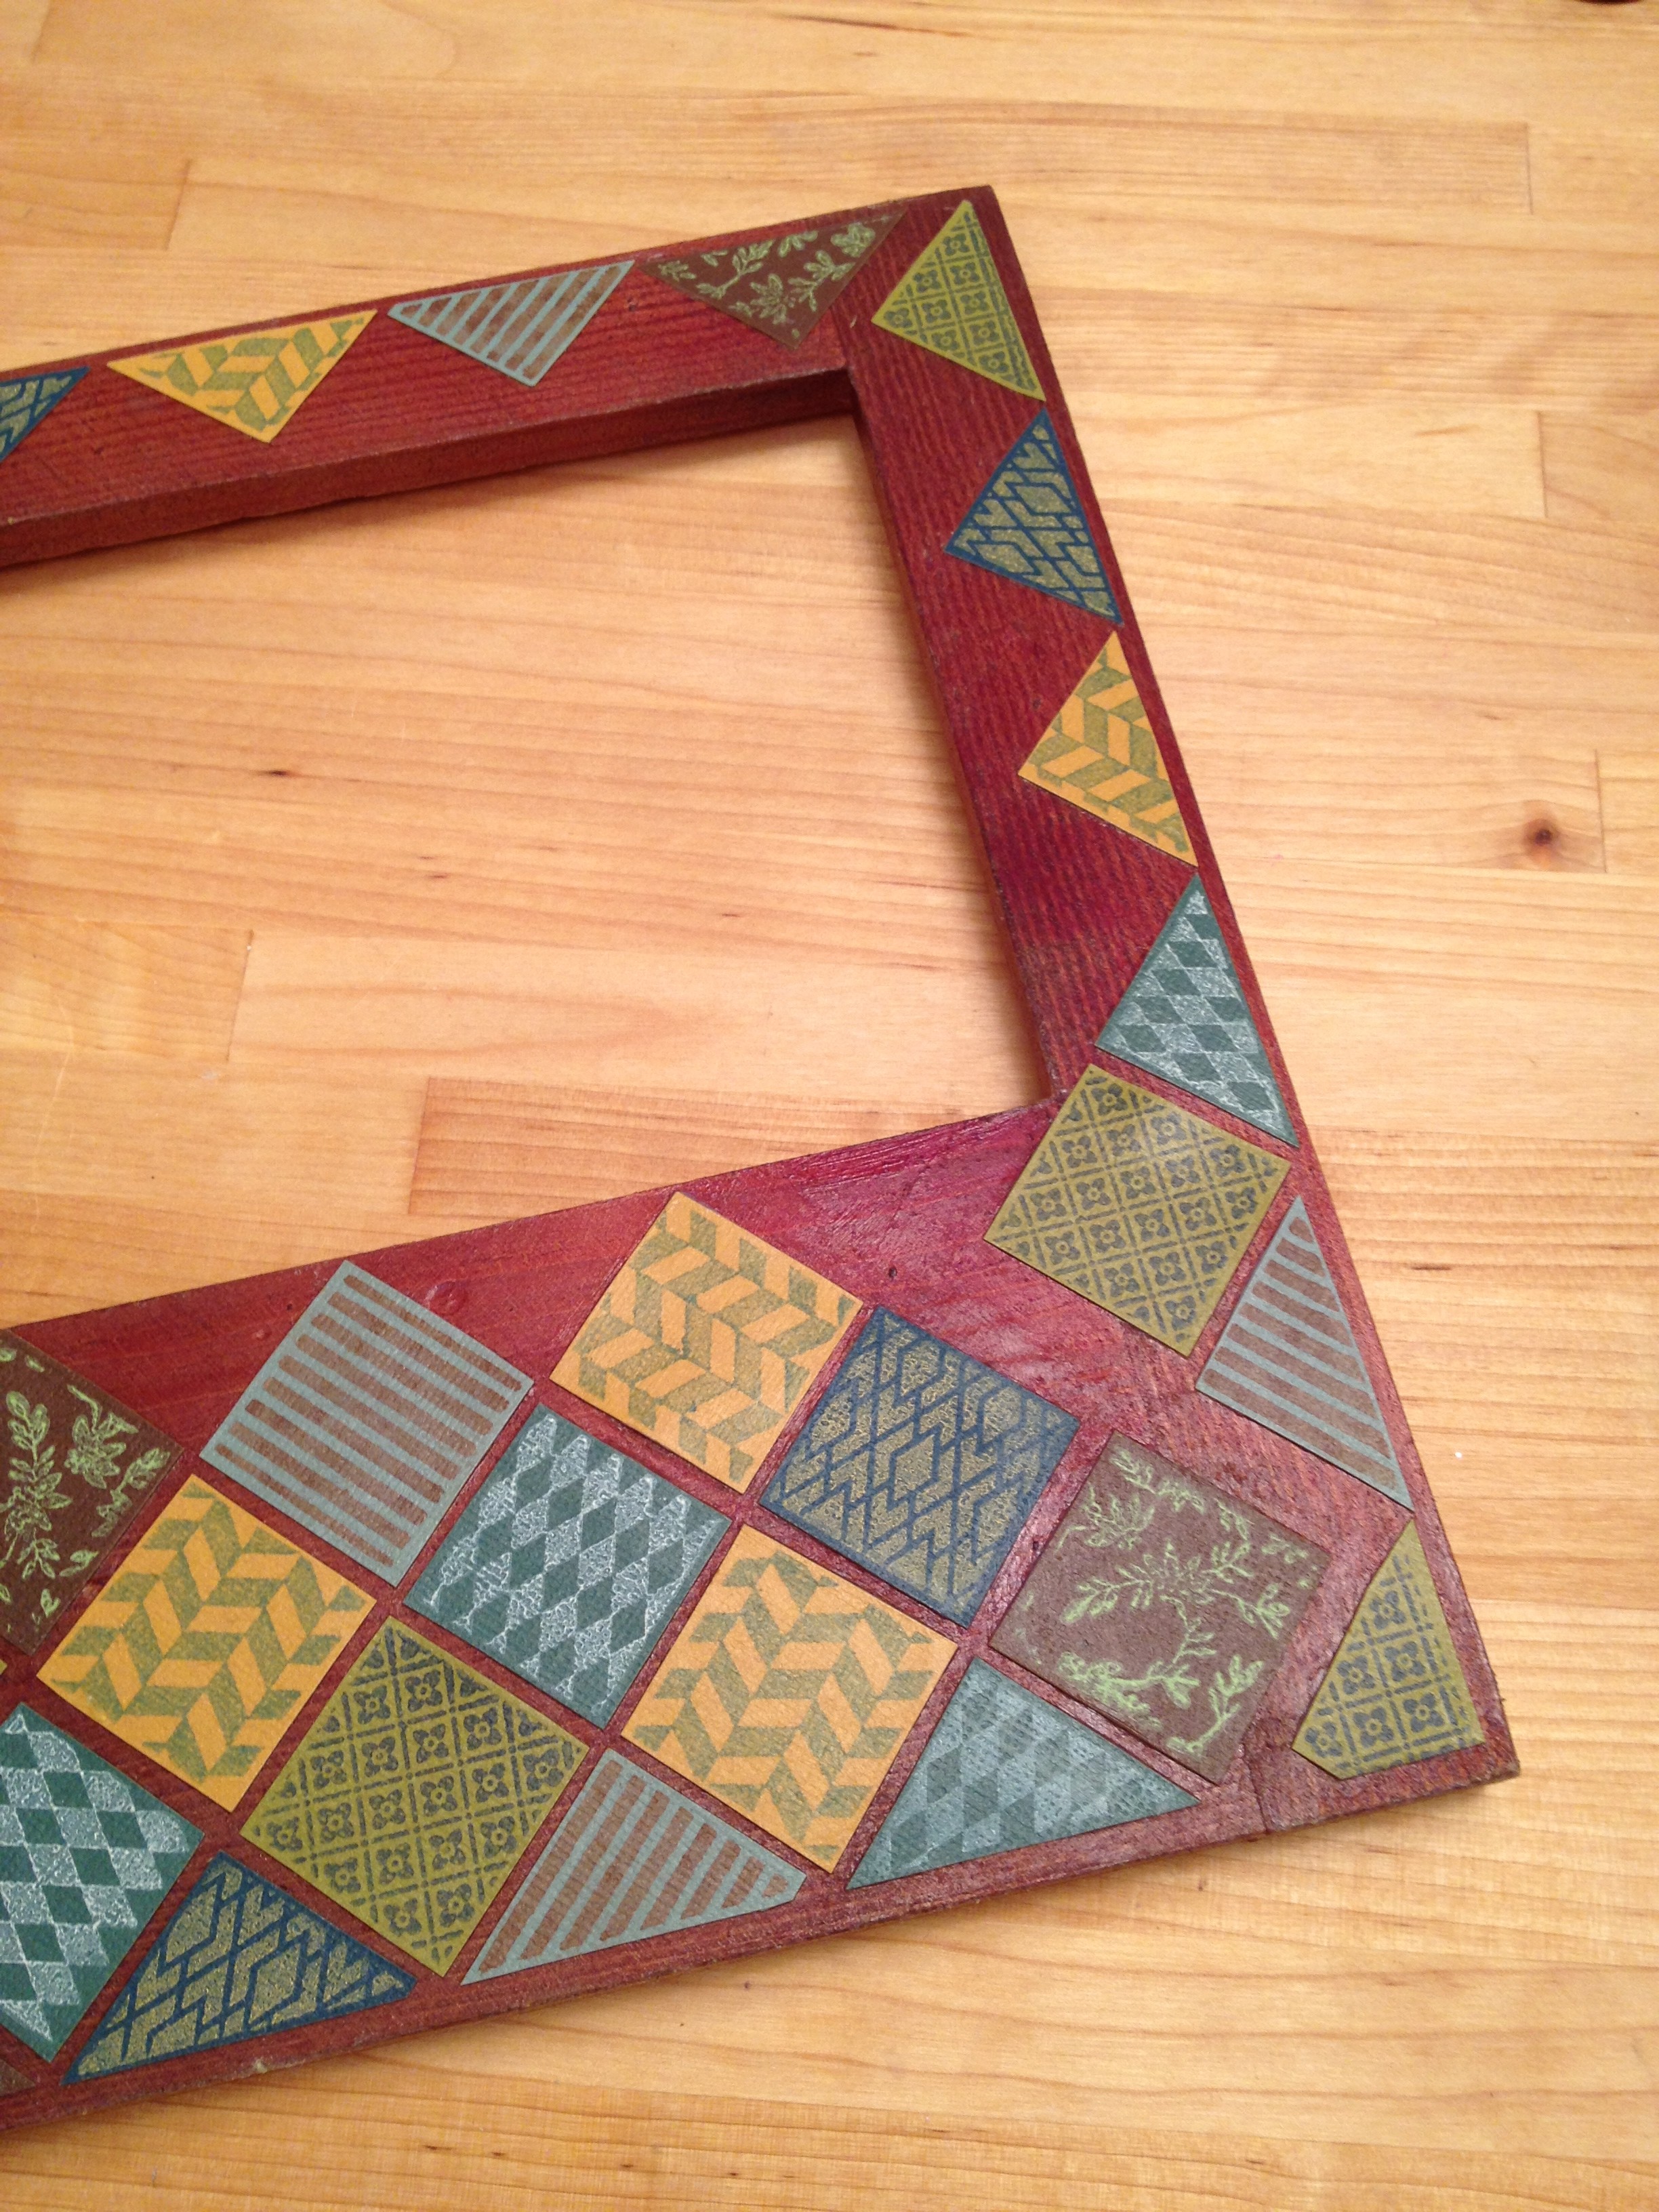
2.) Stamp a variety of the patterns on coordinating card stock colors and cut out with scissors. Dry fit on frame until you are happy with the pattern and color arrangement. Attach to frame with Fast Finish Decoupage, let dry.
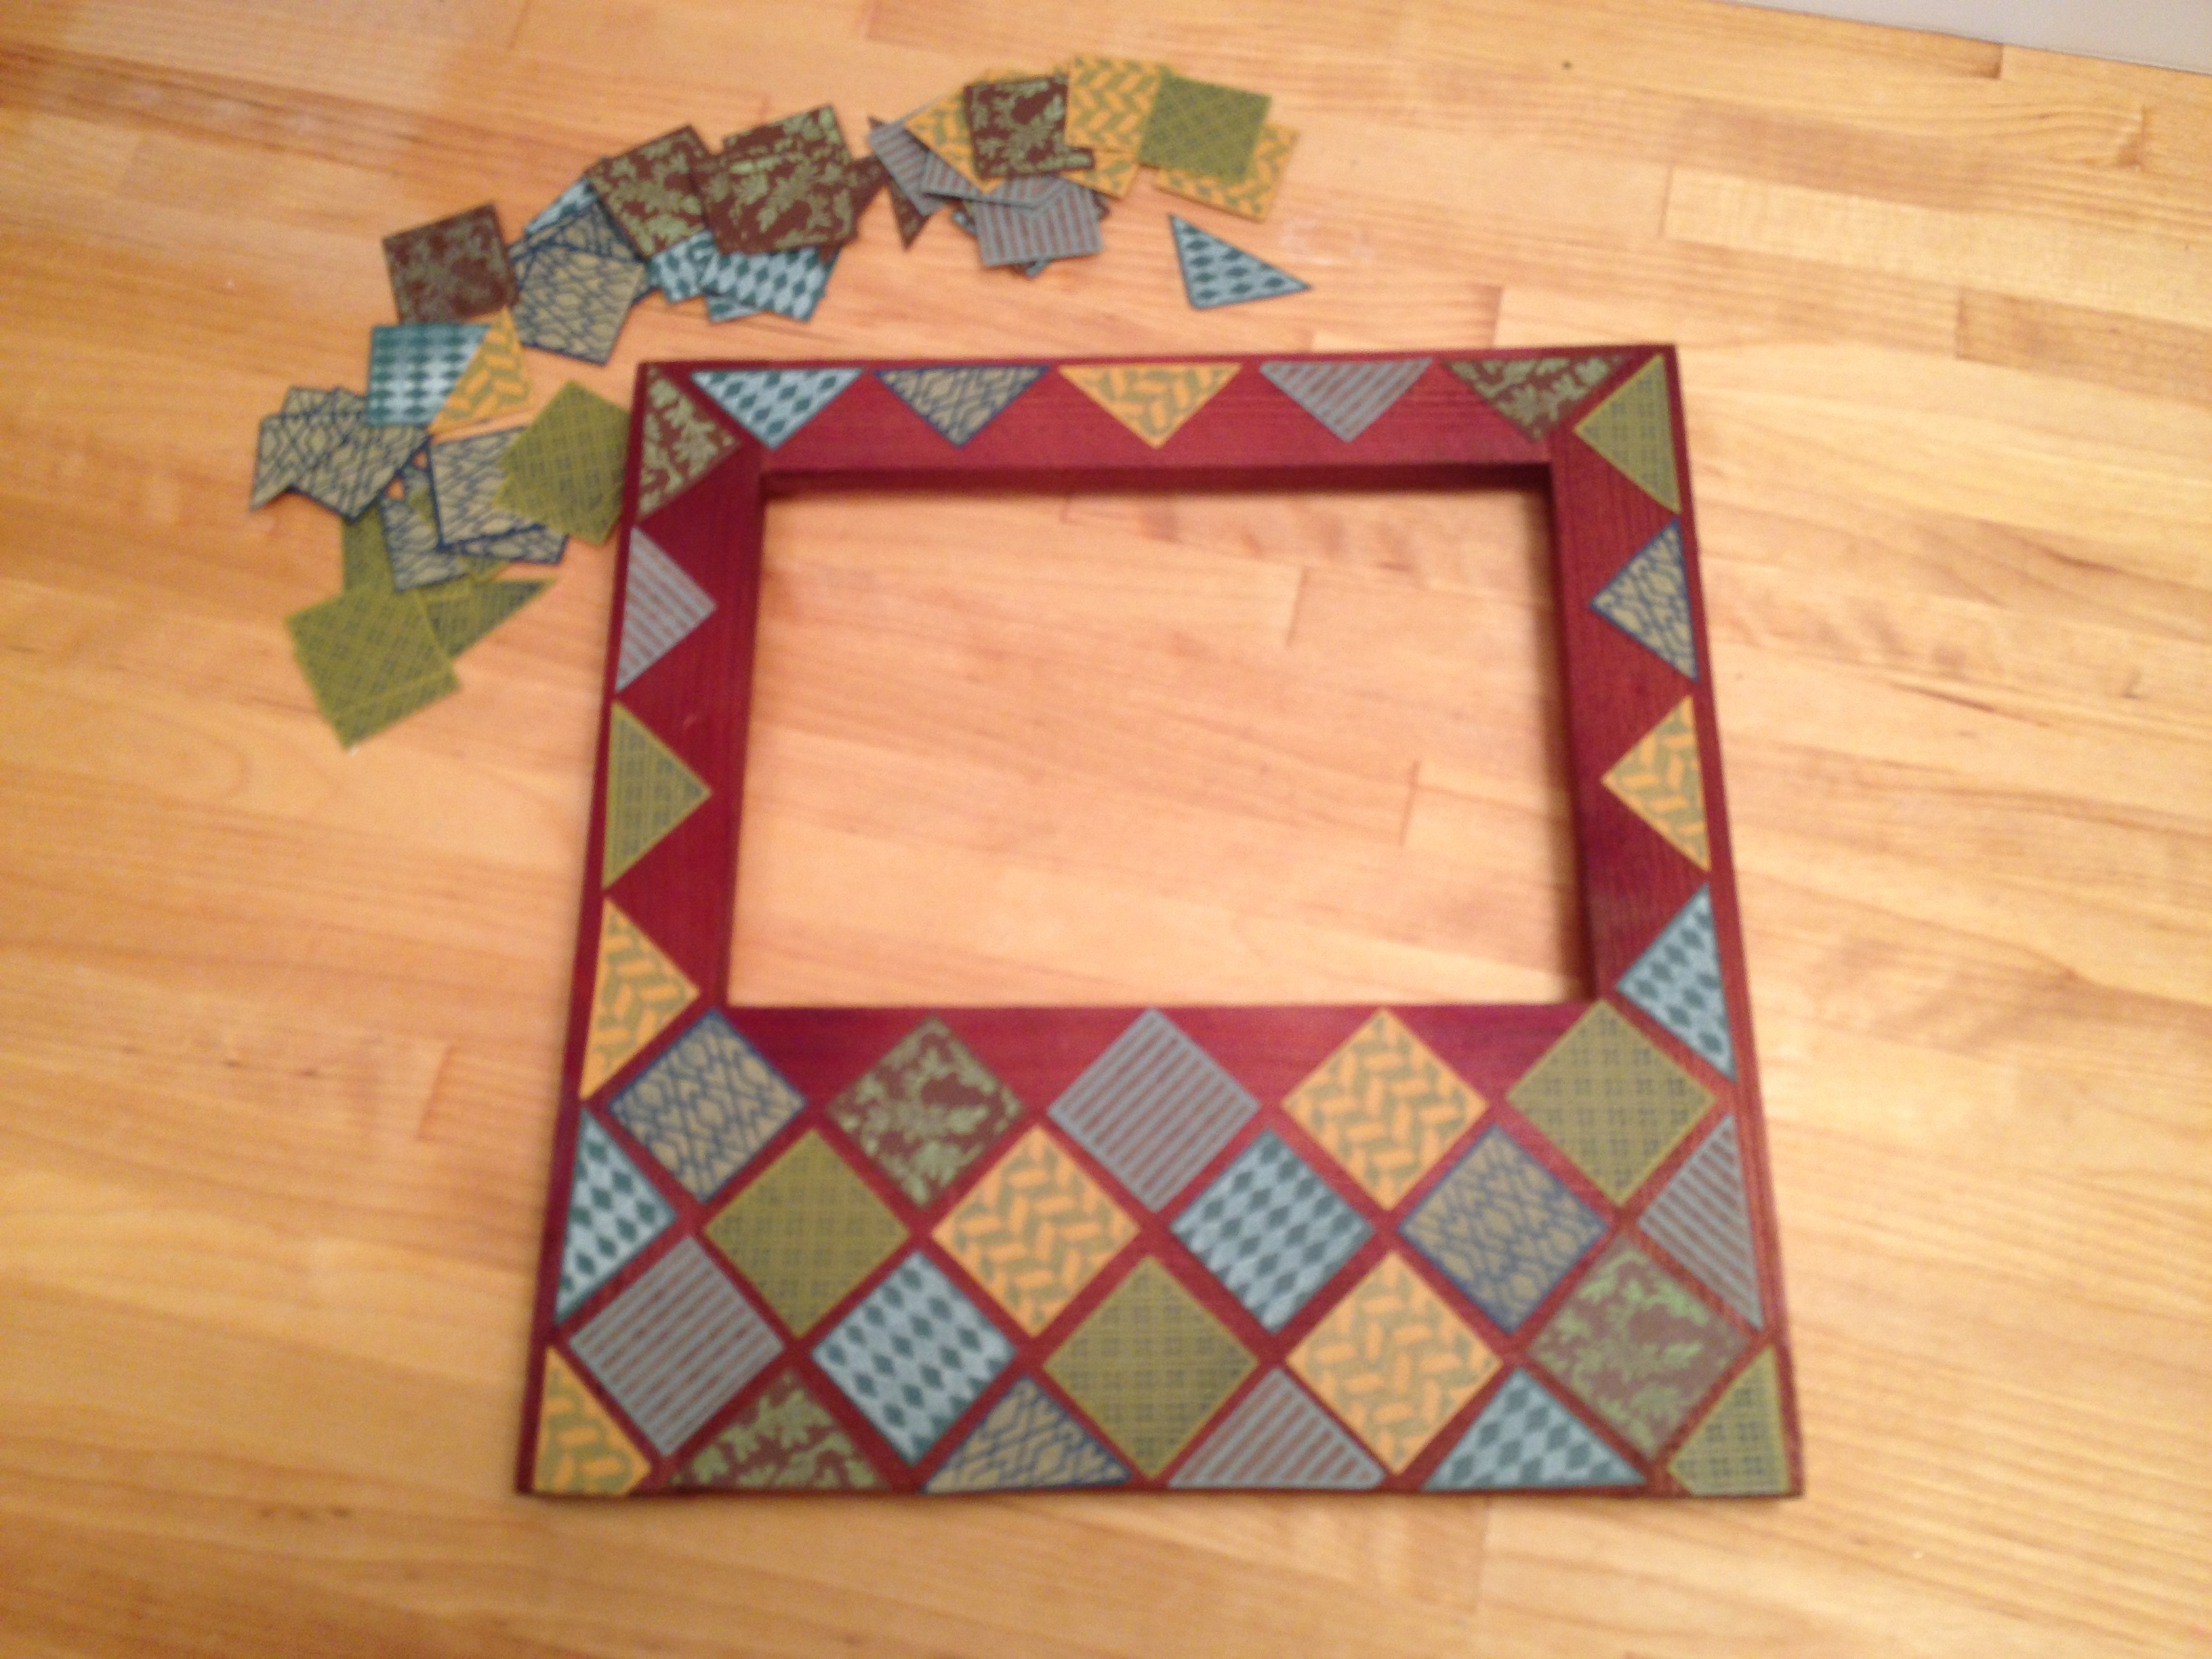
NOTE: Now this is where you do what I SAY instead of what I DO. As you are attaching your Faux Quilt pieces to your frame, work one piece from the right and one piece from the left until you reach the center. This will allow you to space all pieces evenly. I DID NOT DO THIS, so I ended up with a large space at the right side of the frame. This is where a redesign comes in to play!
3.) Die cut bright green tissue paper with the Tattered Florals die, concentrating on the largest flower. Separate layers, lay out on newspapers and lightly mist with Design Master Walnut Wood Tone, let dry. Stack flowers, cut a small slit in center with craft knife and insert brad through all layers. Spread prongs, flatten and attach to frame with Premium Tacky Glue. Crinkle petals for texture.
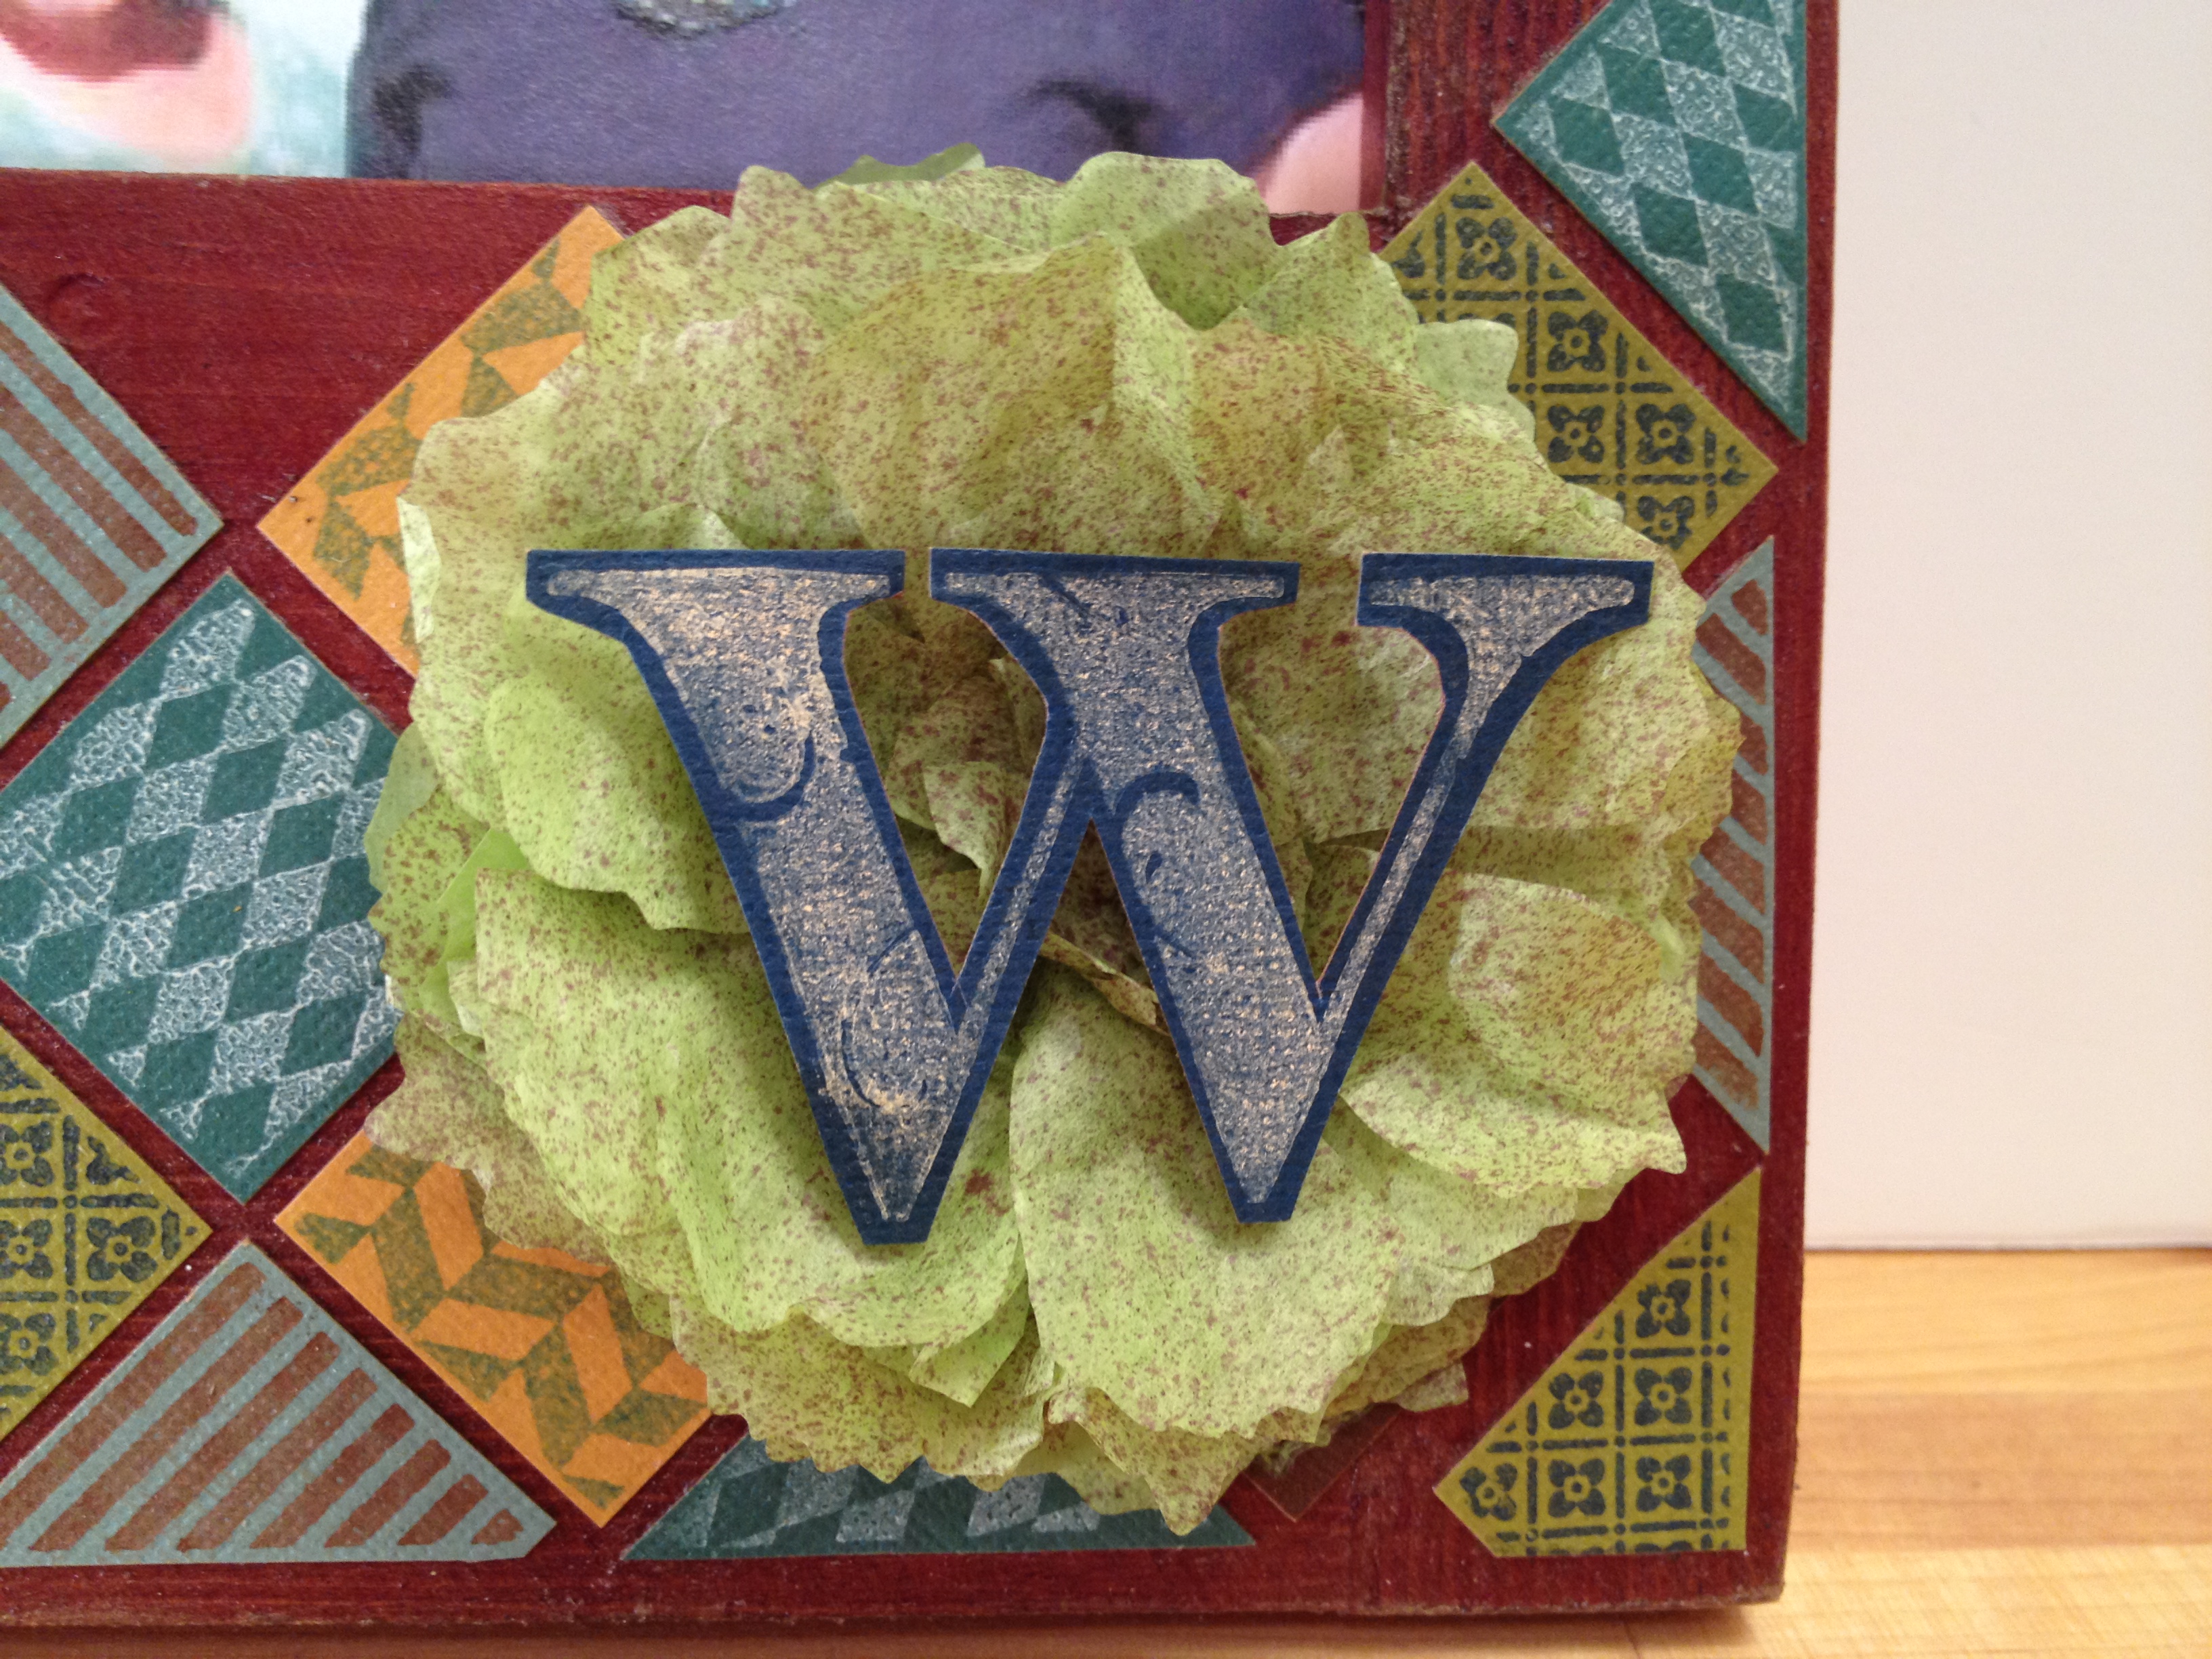
4.) stamp initial of choice on card stock of choice. Fussy cut with scissors. Stack 5 layers of 3D foam adhesive to back of initial and attach to center of flower. Fill frame with favor family photo and display for all to enjoy!
Thanks for stopping by! -Beth
Hello, my dear crafty friends! Irit is here with my very first post made with Ann Butler’s delicious products.
A few months ago we bought a new TV set and as it is LG one the first thing you see when you turn it on is this huge LIFE ‘S GOOD title. So these words were ringing in my head for a long time and I decided to make an artistic card with this “Life is good” title.
I made it with Ann Butler’s products, a lot of them and made a small tutorial to show you my fancy way to use a lot of stamps and 3 close to primary ink colors. As I made my finished project first, the tutorial is just a sample of all techniques used to make this fancy card and not a finished project sample.
So here we go:
1. Stamp images over white cardstock with clear embossing ink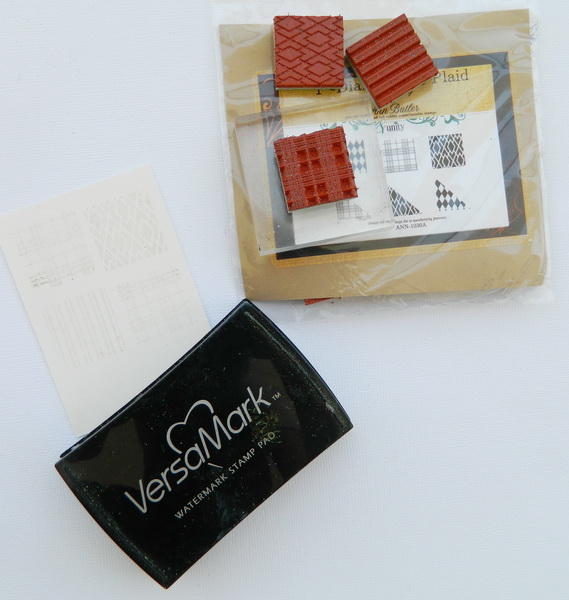
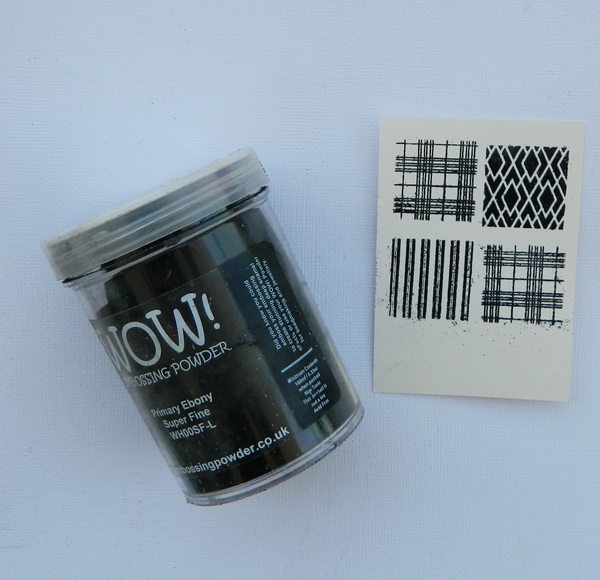
2. Heat emboss your stamped images with black fine embossing powder,
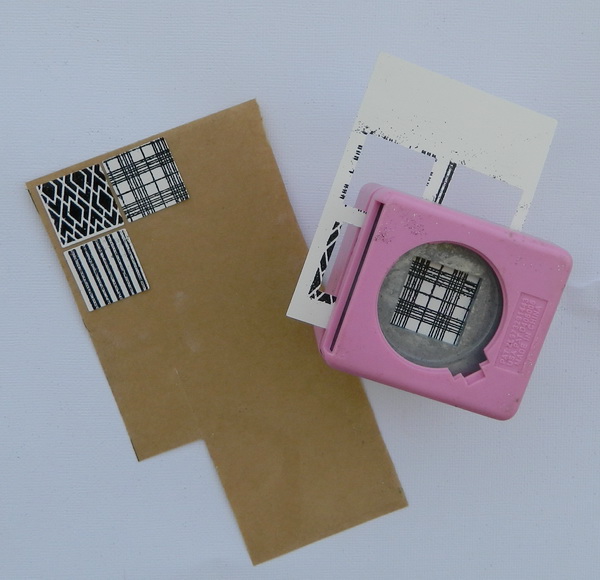
3. Punch the embossed images with 1” punch (you sure can hand cut them, but if you have the proper punch it makes it so fast and easy.Arrange your punched images over double sided tacky tape. Do not connect the images as we want a bit of space between the pieces, but try to keep the space around 1/8” mostly.
4. Sprinkle fine pink glitter over the tacky piece, don’t worry about the images as you can just wipe them in a second layer.

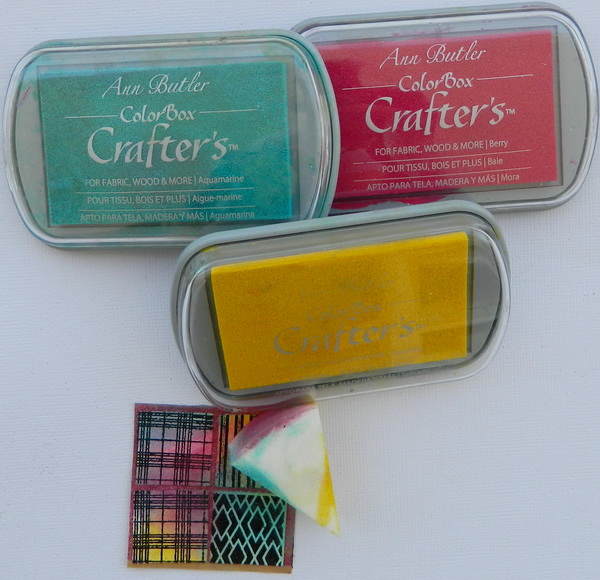
5. This is a step where we usually use 3 primary ink colors to make a whole rainbow of colors (red, blue and yellow). But I decided to step out of the box and to use colors that are close to primary from Ann’s collection, so I used Sunshine, Aquamarine and Berry. Use a simple cheap make- up sponge or your fancy inking tool, your choice.
This is an end of my sample technique tutorial and now for my finished project.
I used three Ann Butler cling stamp sets from Unity:

The chipboard window and the title were heat embossed with black embossing powder and the chipboard frame was painted with Ann Butler’s Lipgloss Iridescents`paint
Here you can see all layers and it’s still very flat card.

I added some pearls and my card was done. Hope I inspired you to try my techniques and to make some similar projects with Ann Butler’s delicious products.
Supply list
Ann Butler stamps: 1” Diamonds and plaids; 1” Stripes, dots and hearts; 1” Doily Picnic
Ann Butler inks: Aquamarine, Sunshine, Berry
Ann Butler Iridescents: Lipgloss
Cardstock: American Crafts
Chipboards: Creative Embellishments
Pearls: Flourish with a Bling
Embossing powders: WOW! Embossing Powders
\
