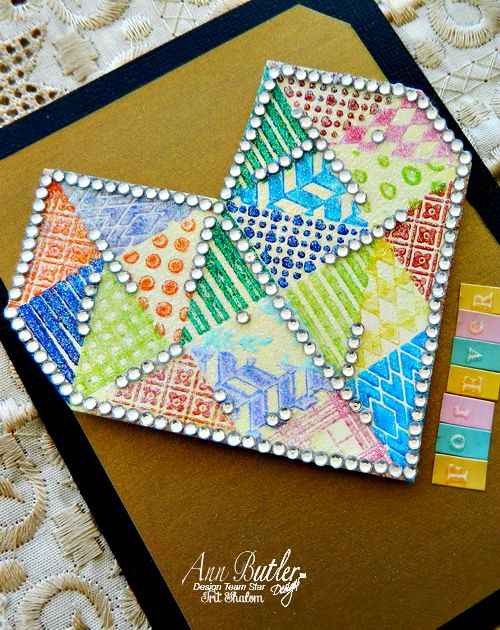
Hello, my dear crafty friends and welcome to my post in which I make a precious card with faux metals using several techniques.
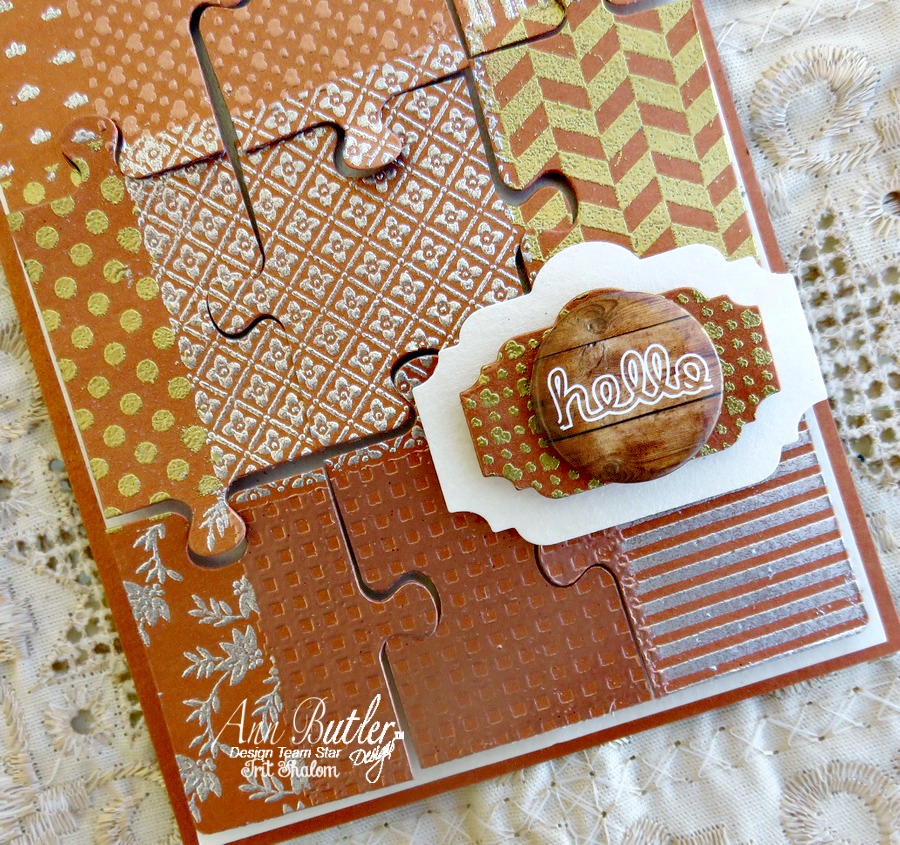
I stamped, heat embossed and die cut a lot to make this card and I just used one single metal embellishment- the word “Hello”.
So here is a small tutorial for you I made with full step by step photos.
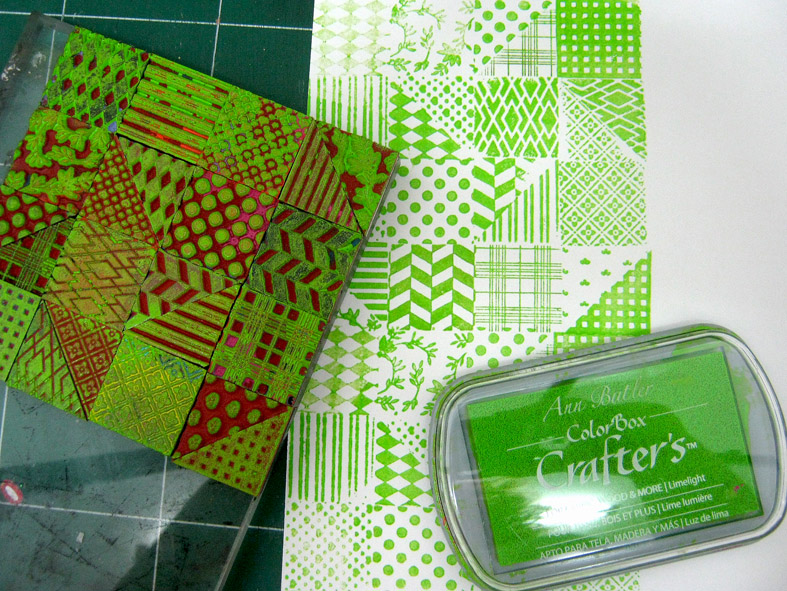
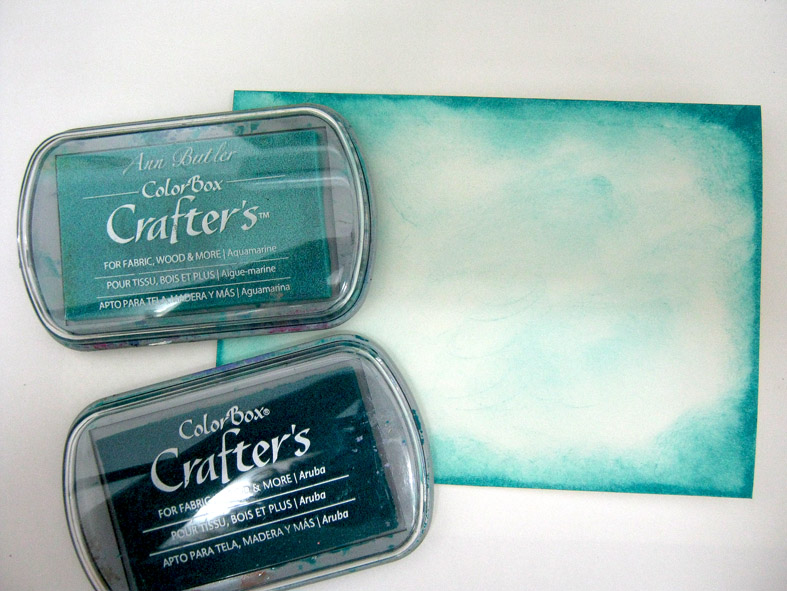
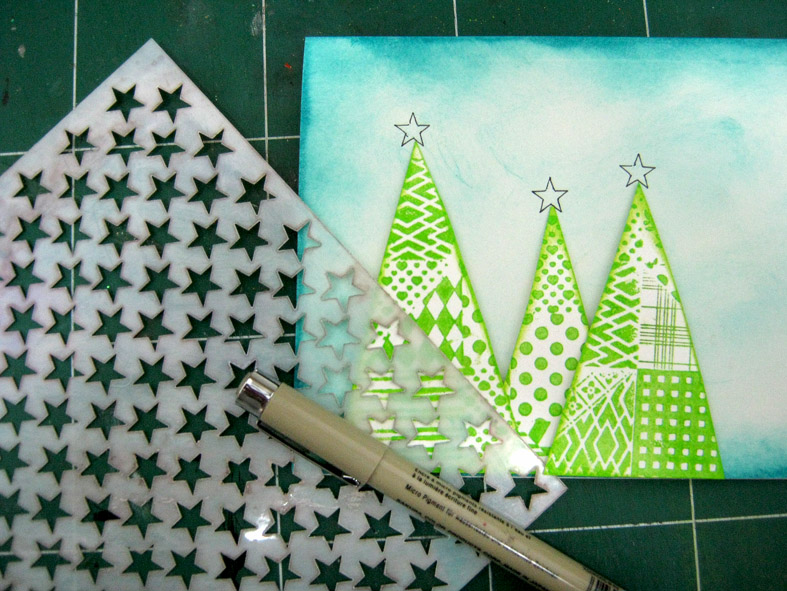
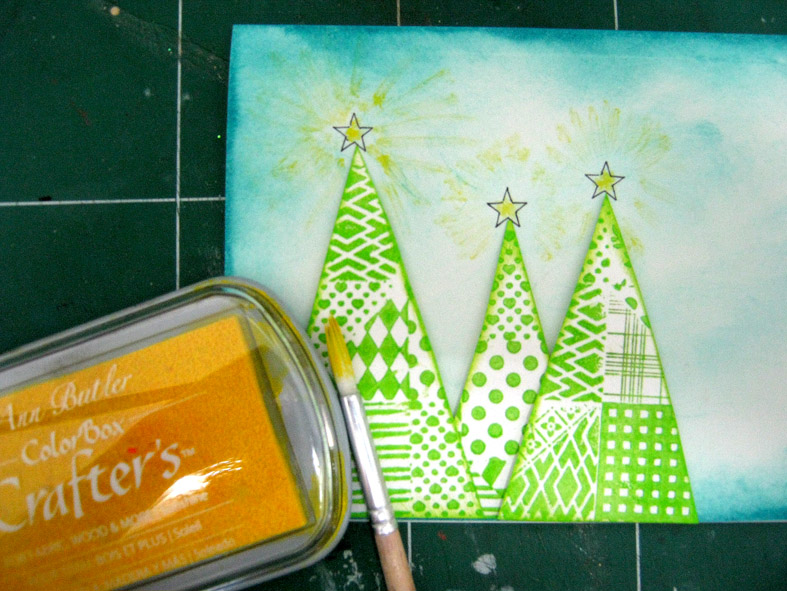
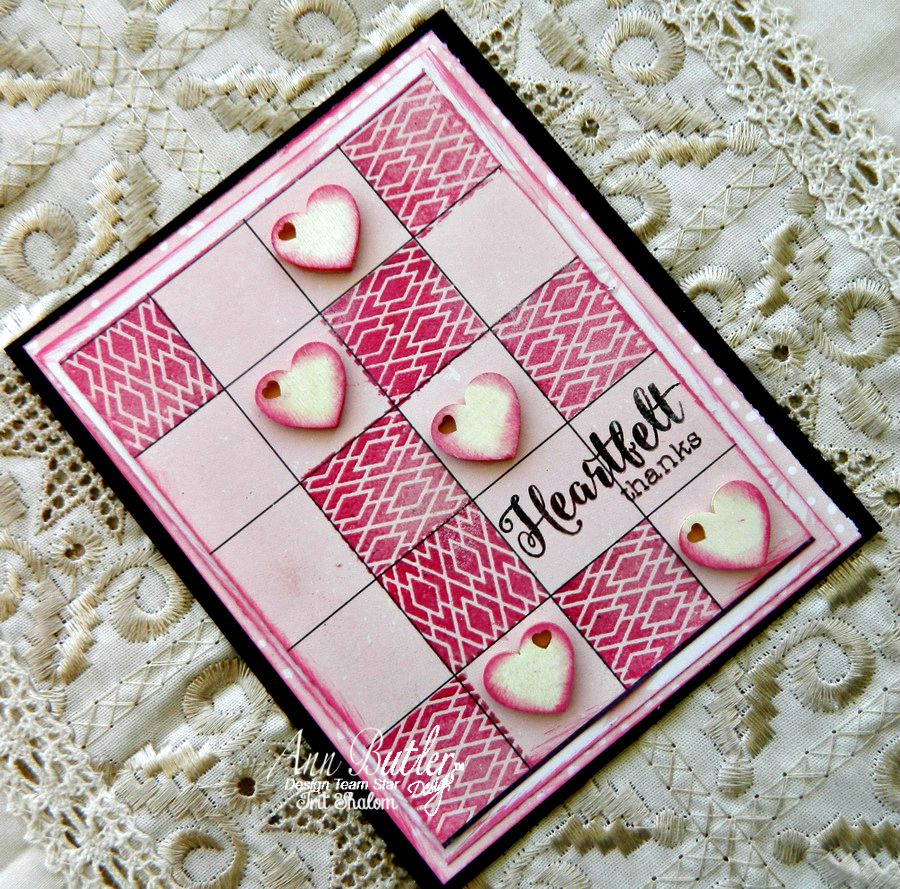
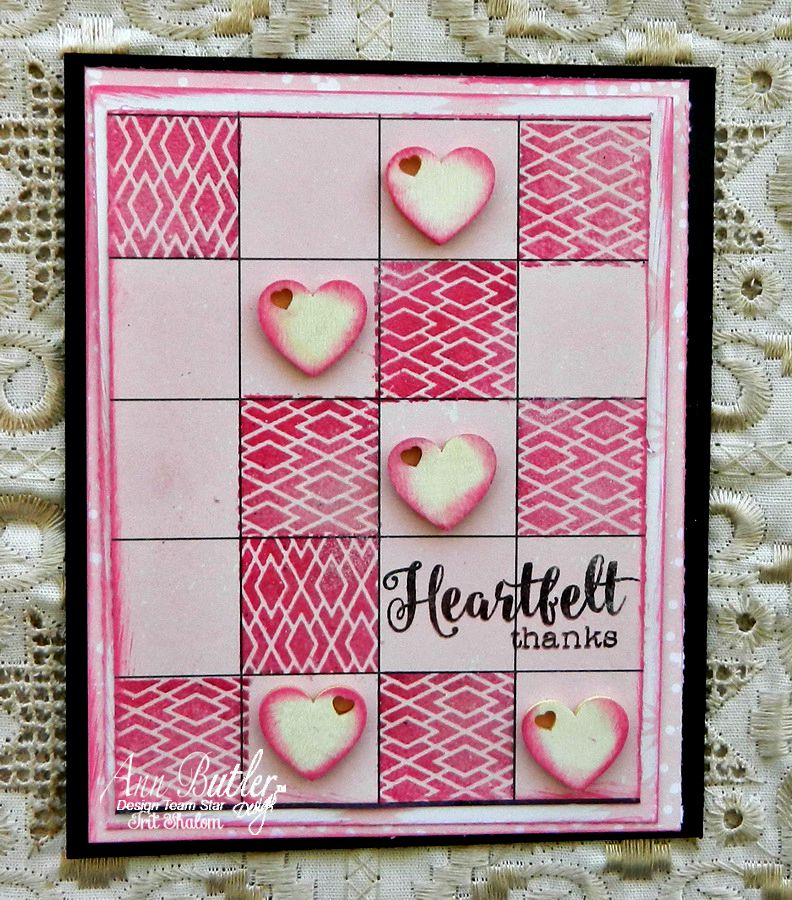
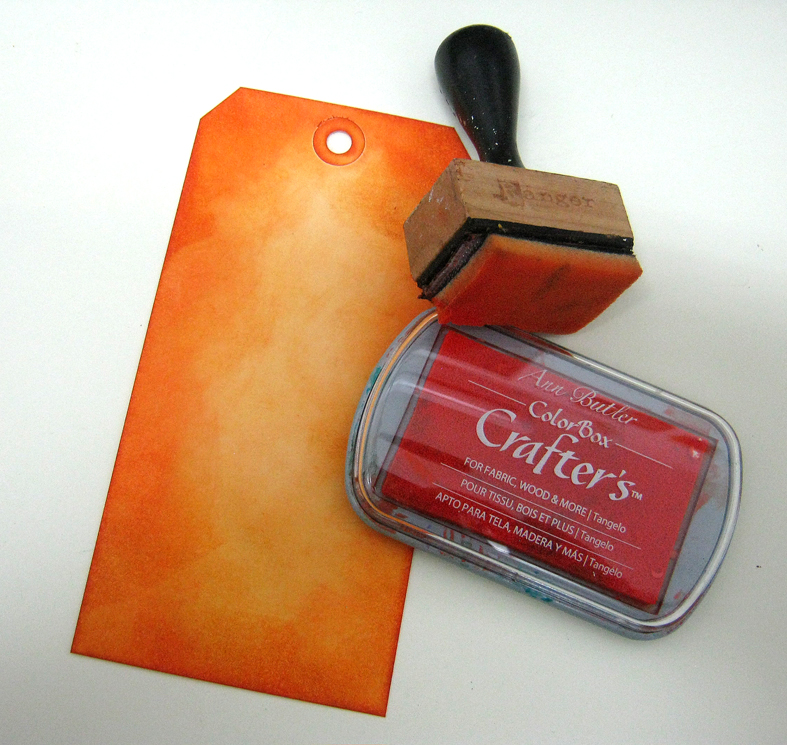
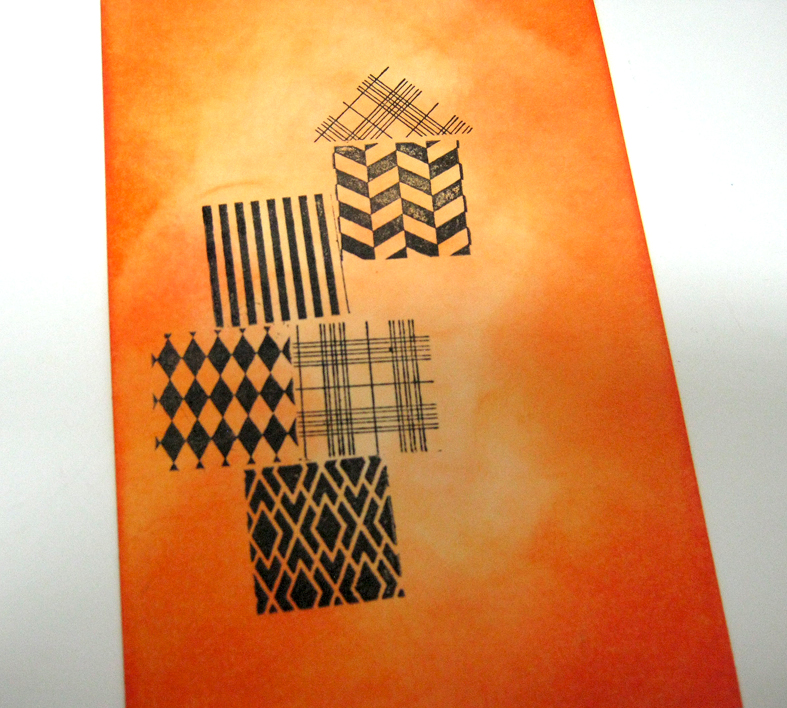
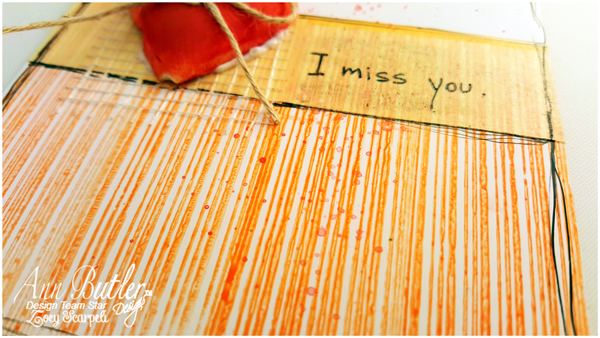
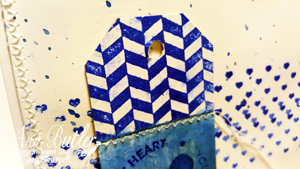
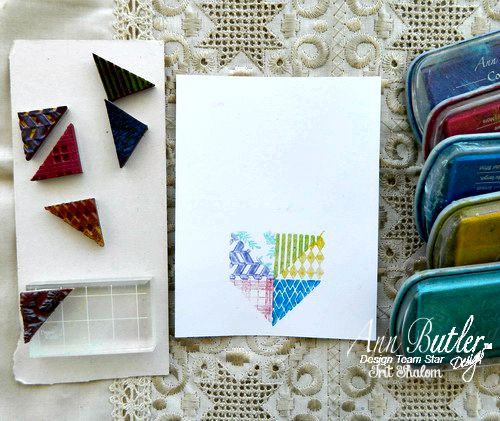
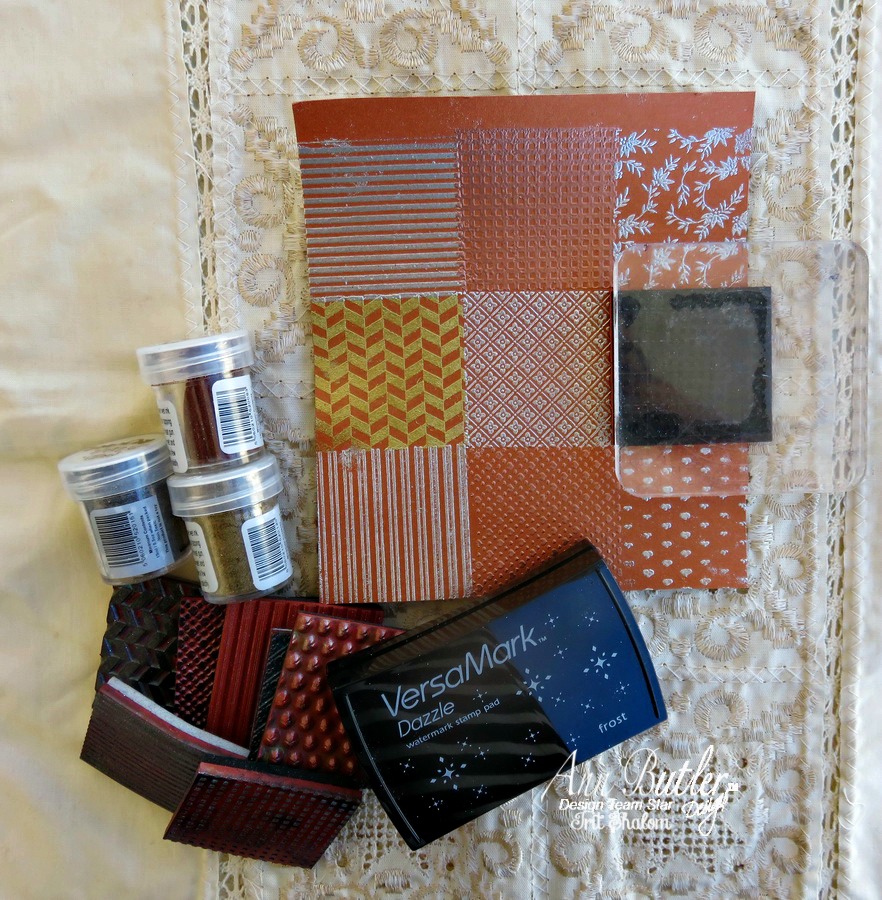
1. Pick a few of Ann Butler Designs Faux Quilting (Unity) stamps 2” size and stamp them all, randomly, over a sheet of metal copper paper. Use VersaMark as your stamping ink and heat emboss each single square with a different metal embossing powder. I used copper, gold and silver powders, but you can add brass, bright gold, sparkling silver etc to get even more metallic shades.
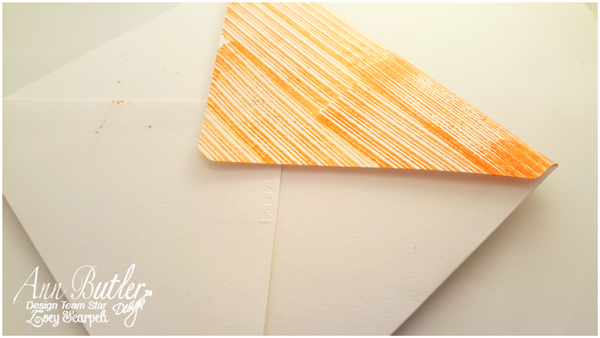
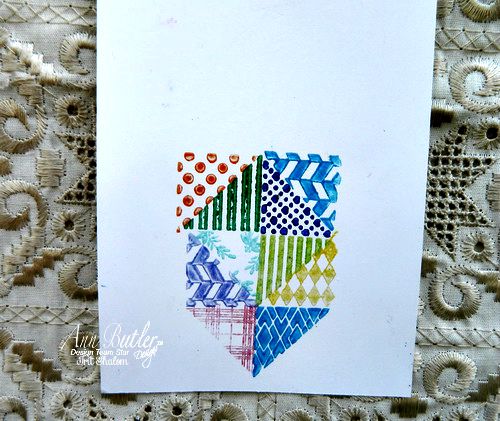
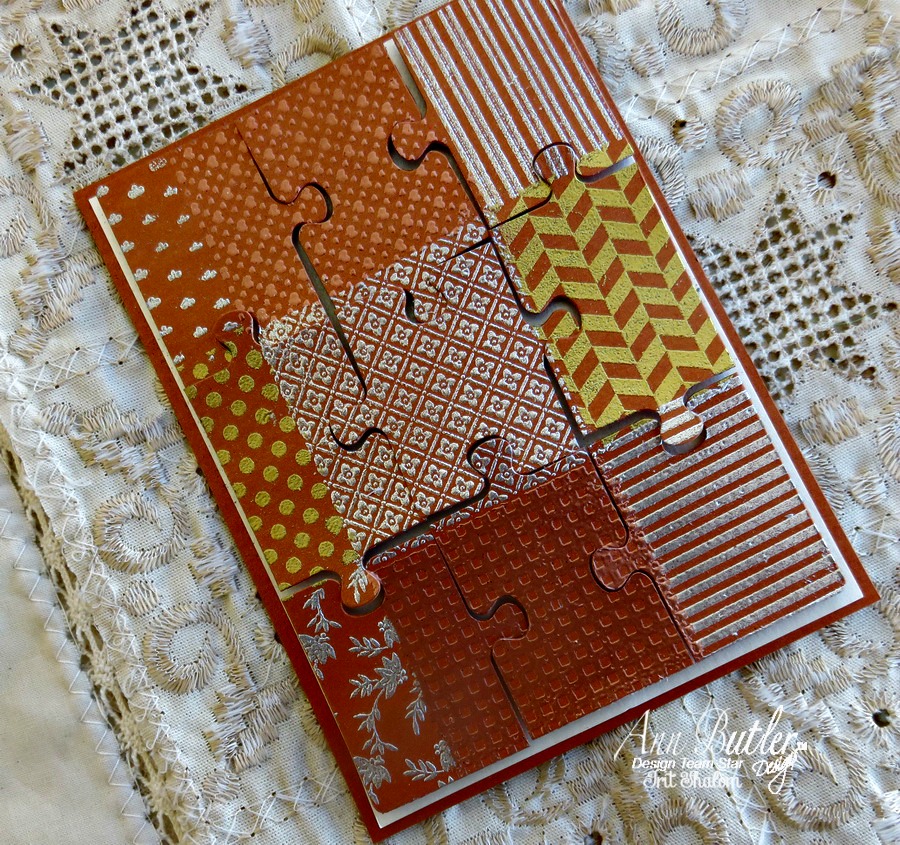
2.Find a Puzzle die that is around card size (I used the very old Cuttlebug die, but there are a lot of similar dies around; you can also use your electronic die cutting device if you have one for this really basic shape.

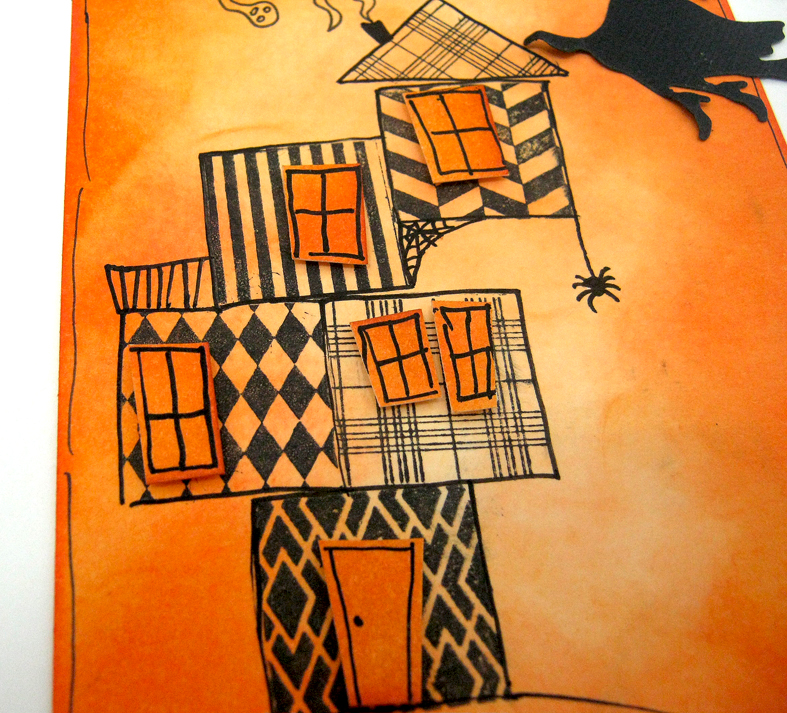
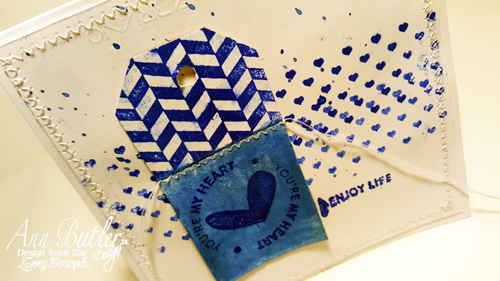
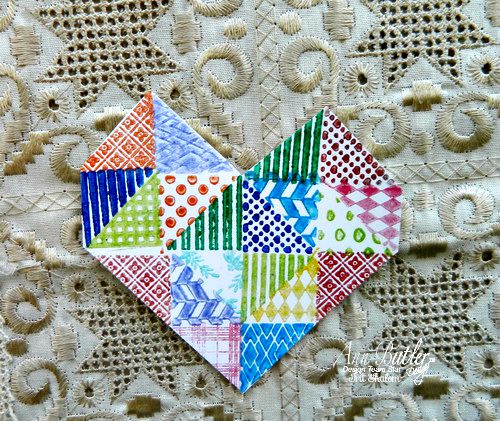
3. Arrange the die cut pieces over a sheet of white metal cardstock with 3d foam glue.
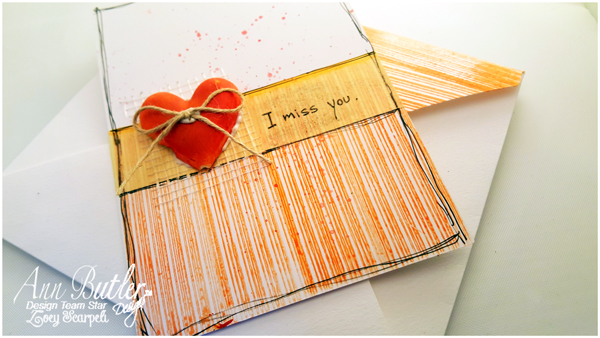
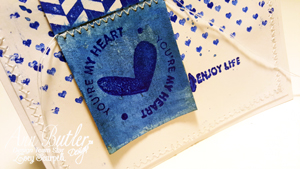
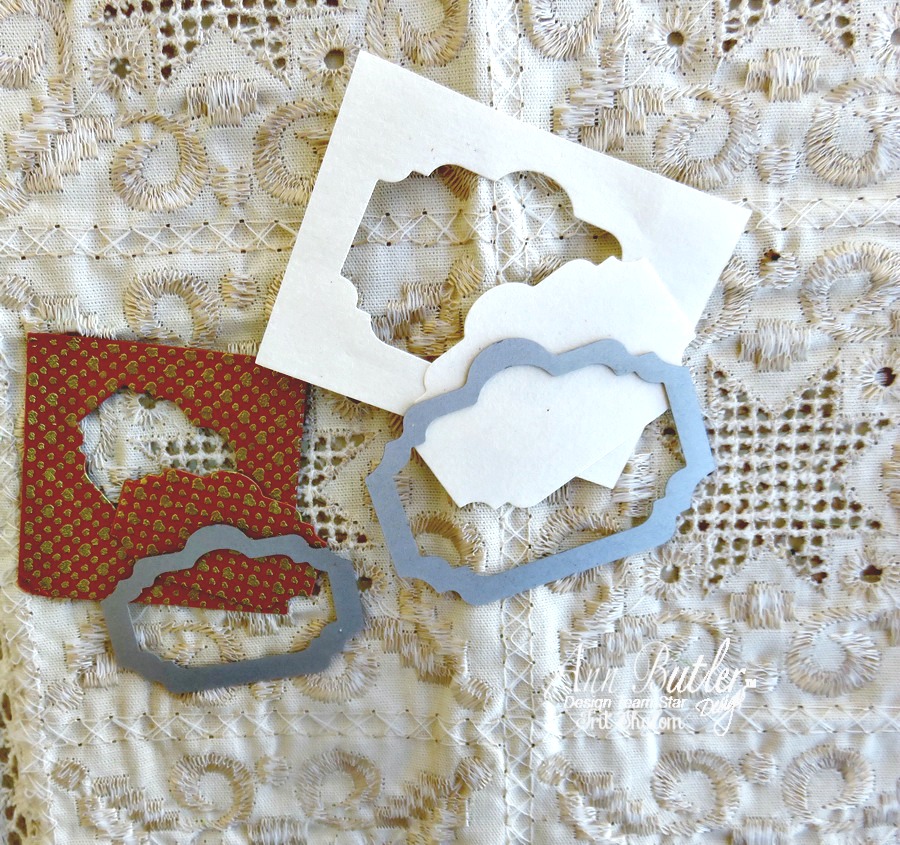
4. As the next step make another small stamped piece and die cut a label from this piece. Die cut a larger label from the white cardstock too.
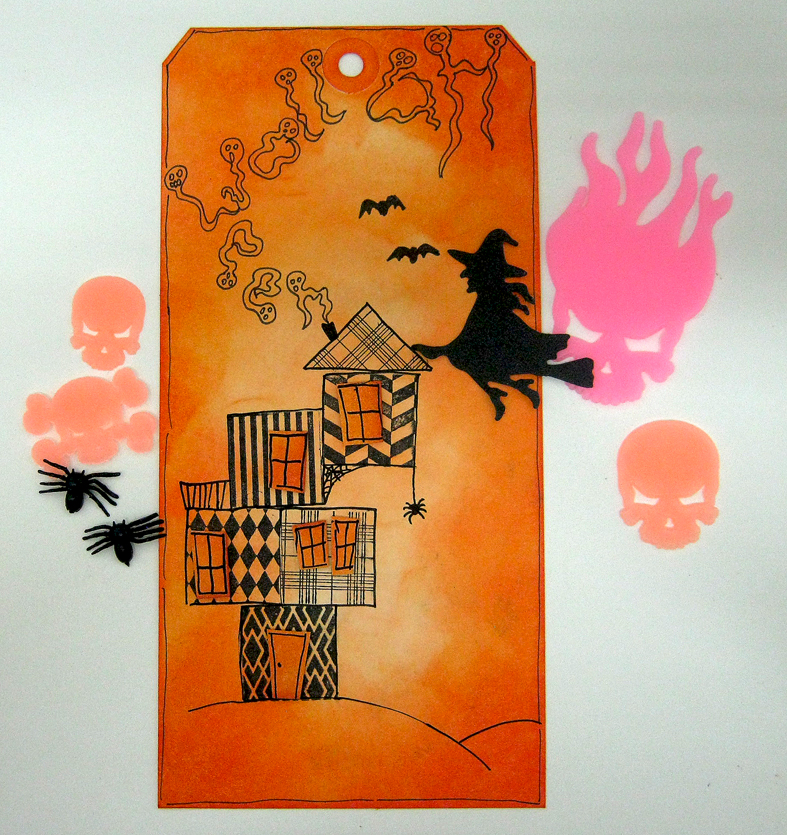
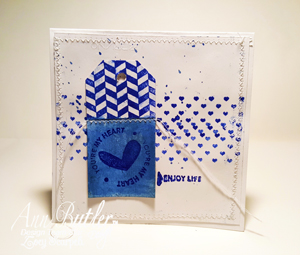
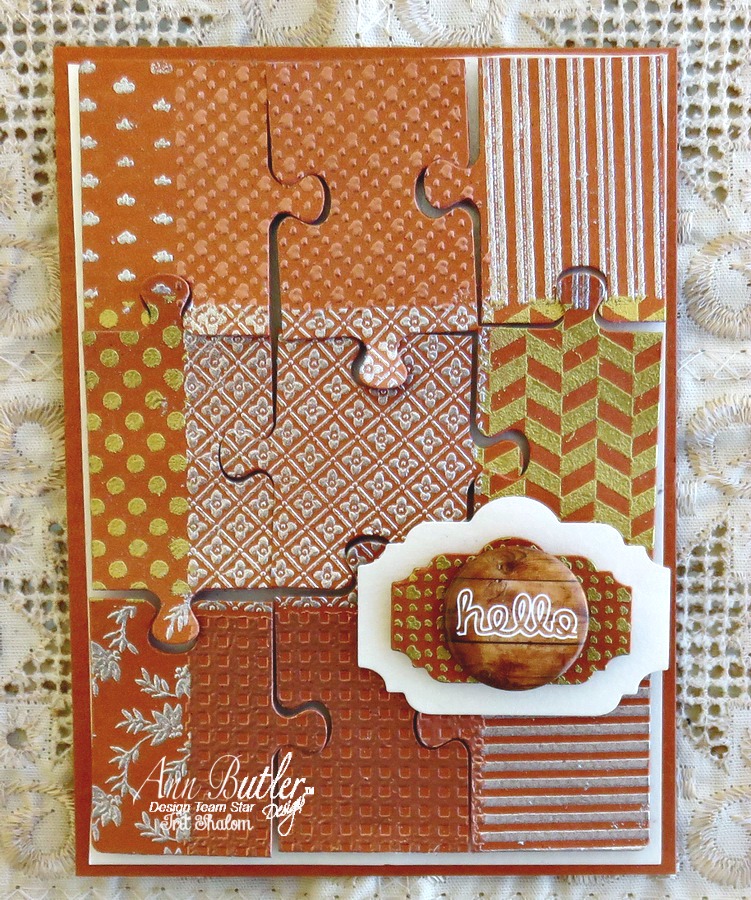
5. Arrange both labels over the card as shown. Add the metal Hello word and your fancy card is done.
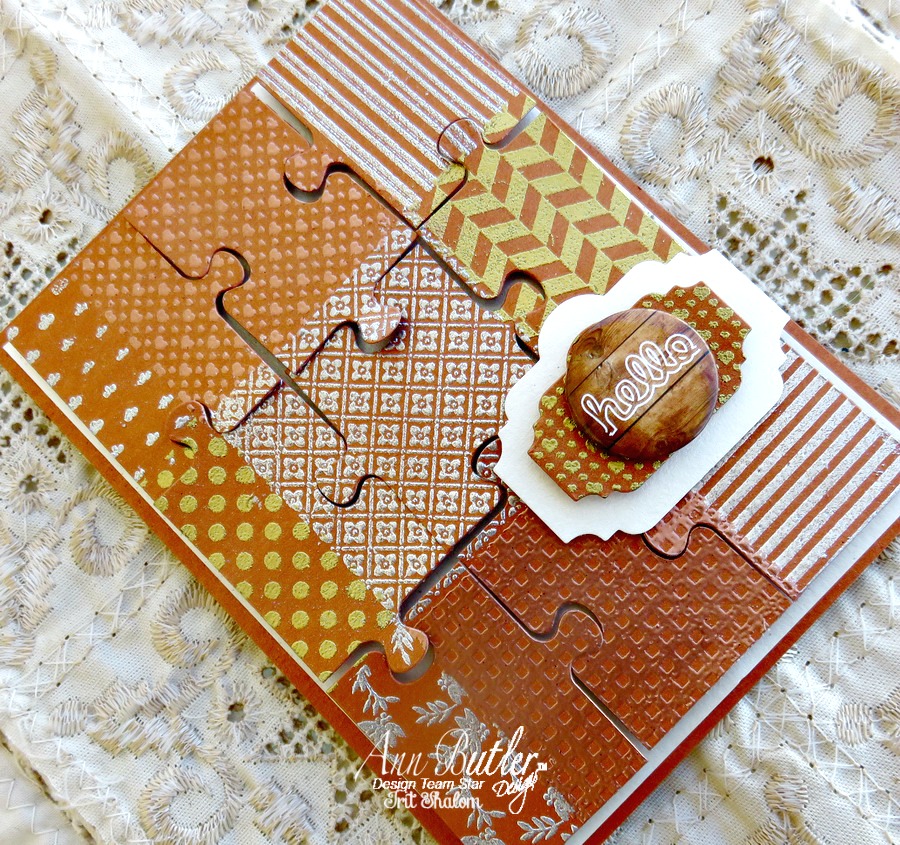
As you can see you can so a mini album cover in the very same way; you can also use silver or gold cardstock as the base of your stamping and the result will be totally different.
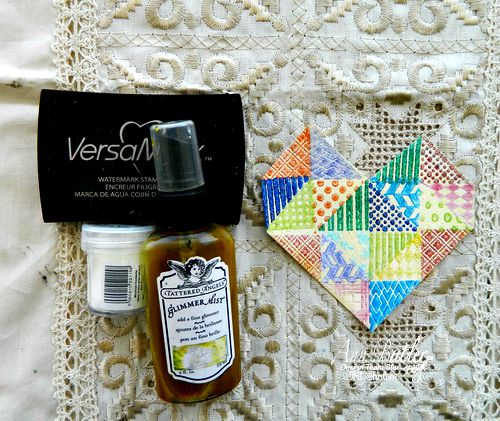
Products used:
VersaMark ink
Metal embossing powders
Cardstock
Dies