Your cart is currently empty!
Tag: Steph Ackerman
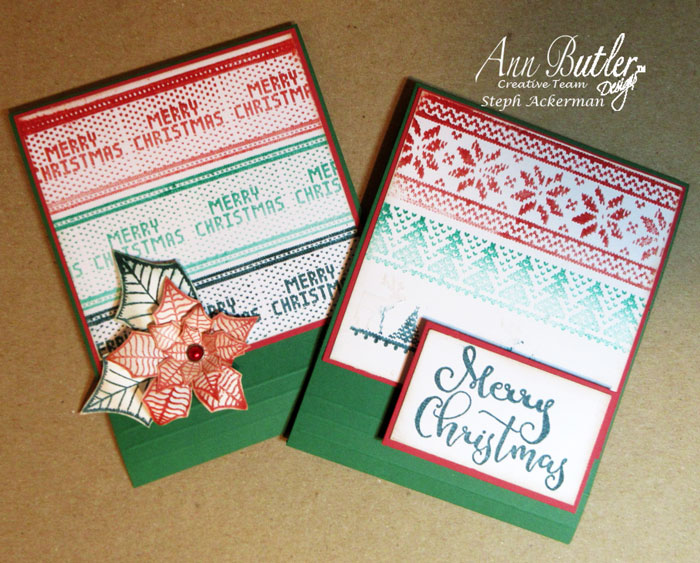
Ugly Sweater Christmas Cards
Hi everyone Steph Ackerman here today with two Ugly Sweater Christmas Cards. Christmas will be here before we know it so, it’s time to finish those cards! Step 1: Using one of background stamps, I stamped it on a 4″ square panel using Canyon, Evergreen and Deep Woods Inks. Step 2: Using 3 background stamps,…
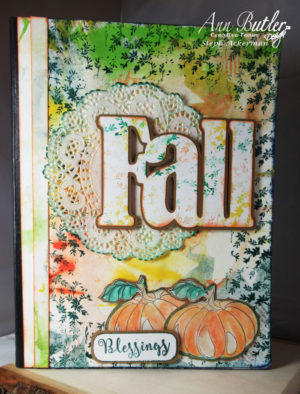
Altered Fall Journal Notebook
Hi everyone Steph Ackerman here today and I’ve create an Altered Fall Journal Notebook with Ann Butler Designs. Step 1: Add ink and/or reinkers to white cardstock. Spritz with water to allow the colors to run. Cut the panel to fit the notebook. Step 2: Adhere the panel to the notebook. Using Canyon Ink, stamp…
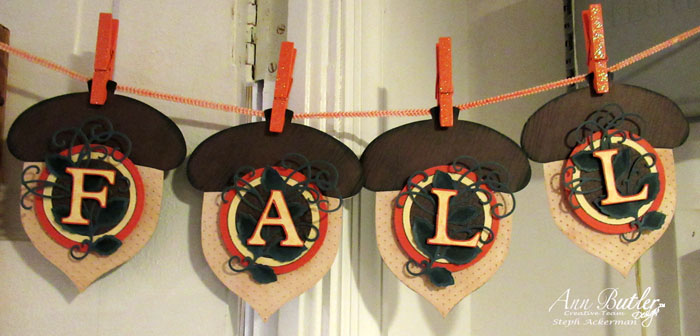
Inked and Stamped Fall Acorn Banner
Hi everyone, Steph Ackerman here today getting ready for Fall with a Inked and Stamped Fall Acorn Banner. I created an Inked and Stamped Fall Acorn Banner using an assortment of Ann Butler’s stamps and inks. Step 1: Emboss the acorns with a Cuttlebug embossing folder. Then use Desert Sand Ink over the embossed acorns for definition.…

Water Colored Card with Crafter’s Inks
Hi everyone, Steph Ackerman here today, creating a water colored card with Crafter’s Inks by Ann Butler. Step 1: Using watercolor paper and a water brush, paint it with Ocean Breeze and Blueberry inks. blending the colors together. Step 2: Stamp 2 hot air balloons onto the watercolor paper. Using a water brush, paint the hot…
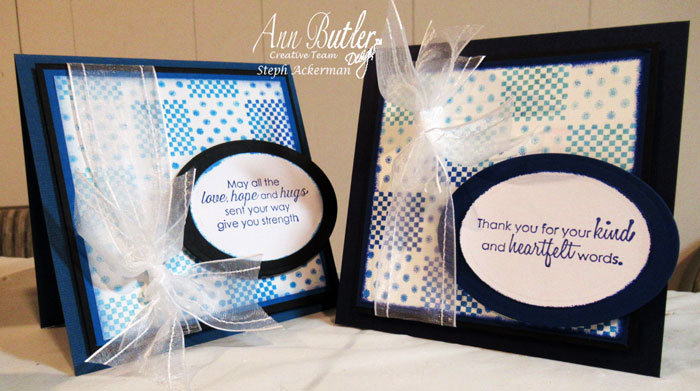
Perfect Backgrounds with Ann Butler Designs
Hi everyone, Steph Ackerman here creating Perfect Backgrounds with Ann Butler Designs products. Step 1: Create 5 1/2″ square cards from the cardstock. Step 2: Cut the white cardstock into a 5″ square. Ink assorted 1″ Faux Quilting Square stamps with Aquamarine, Ocean Breeze and Blueberry inks. To create the two toned effect, ink several…
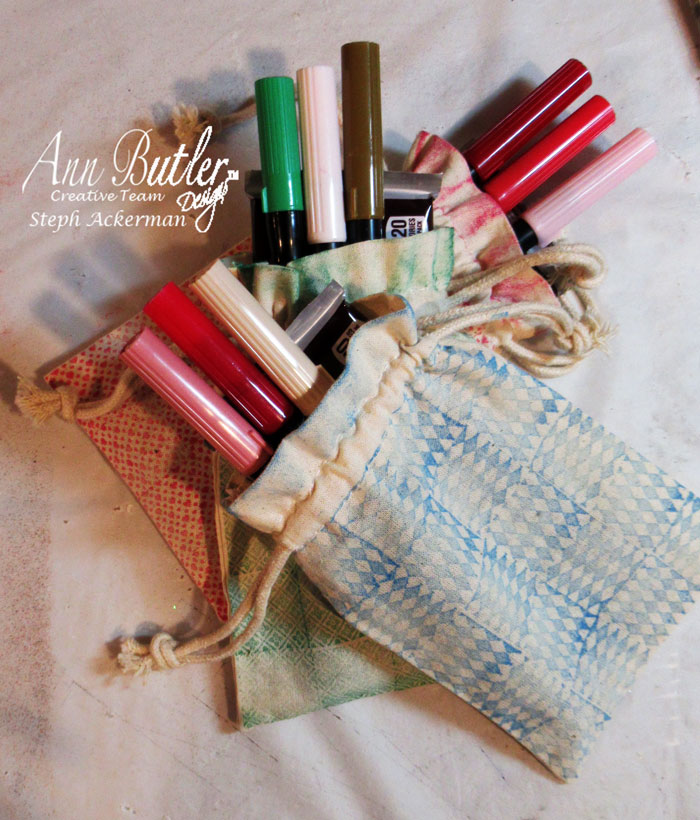
Hand Stamped Mini Pouches
Hi everyone, Steph Ackerman here today with some sweet mini pouches with Ann Butler Designs. Step 1: Using a 1″ faux quilting stamp, repeatedly ink it and stamp on the pouch. Be sure to rotate the design while stamping. I found by placing the stamp in the corner of the stamp block, I could get…
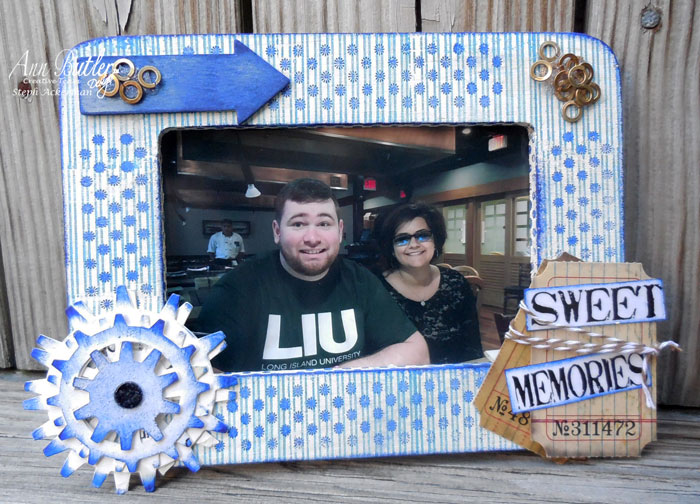
Altered Frame with Ann Butler Designs
Hi everyone, Steph Ackerman here today with an altered frame. A plain wood frame is the perfect starting point for anything you can imagine. I wanted to document a night out with my son and his girlfriend after his college graduation so I decided an altered frame was in order. Step 1: I began by…
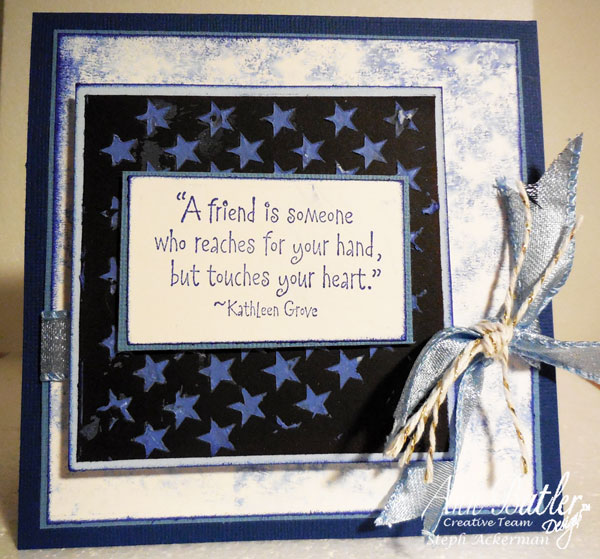
Stenciled Friendship Card
Hi everyone, Steph here today with a Stenciled Friendship Card. Step 1: To create the background I took the Star stencil that I used on another project, flipped it over then wiped a baby wipe over the stencil. This released the ink onto the white cardstock panel, which results in a water color effect, and while…
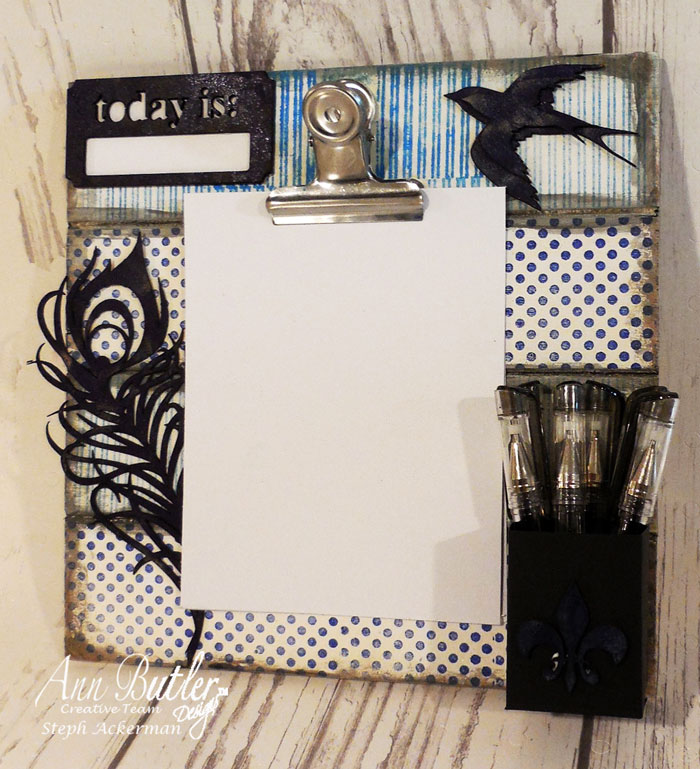
Stamped Altered Clipboard with Crafter’s Inks
Hi everyone Steph Ackerman here with a Stamped Altered Clipboard with Crafter’s Inks by Ann Butler. This would be a great gift to make for someone, or better yet, make two and keep one for yourself! Let’s get started Stamped Altered Clipboard with Crafter’s Inks: Step 1: Begin by painting a clipboard with white paint. Step 2: Use…
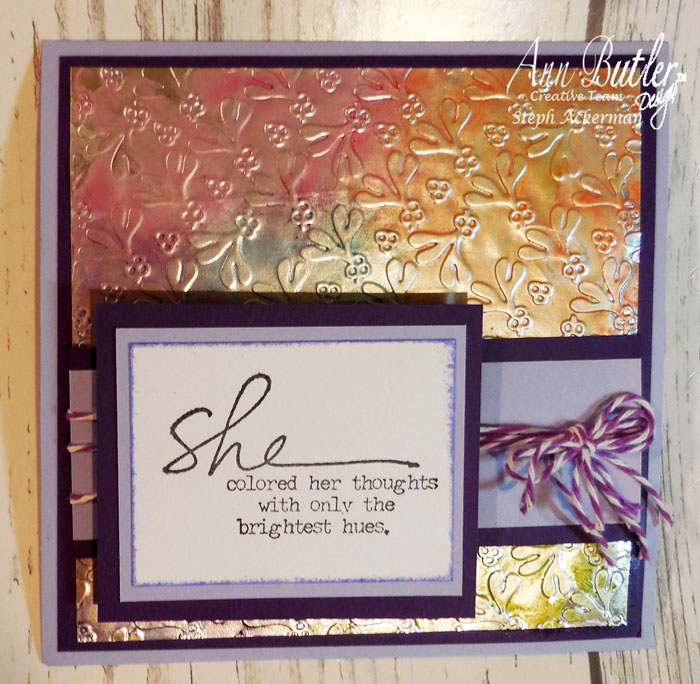
How to Create a Faux Metal Effect with Crafter’s Inks
Hi everyone Steph Ackerman here to show you How to Create a Faux Metal Effect with Crafter’s Inks Re-inkers by Ann Butler and Rinea Foiled Paper. Re-inkers are fun to work with and you can achieve some amazing effects when you combine Crafter’s Inks re-inkers with Rinea Foiled Papers and an embossing folder. I began…