Your cart is currently empty!

Stenciled Rainbow Card
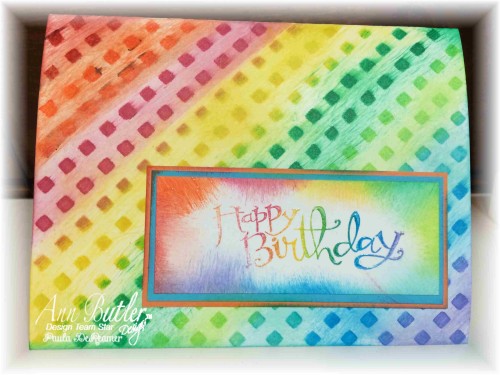
Hi everyone! Paula here with today’s project. I think many can relate to this statement, but “I am SO ready for spring!!” Living in the midwest, there’s quite a bit of white this time of year. I need some color. Today’s card is a bit of a bright rainbow, and a very simple one at that.
MATERIALS:
- Colorbox Crafters by Ann Butler in Canyon, Tangelo, Berry, Sunshine, Ocean Breeze, Aquamarine, Evergreen, Limelight, Lilac
- Colorbox Art Screens by Ann Butler in Lattice
- Colorbox Embossing Powder in Clear
- Sponges, Sentiment stamp, coordinating cardstock, scrap paper, tape
I started by putting a small amount of adhesive on the back of my card to secure it in place. I then placed the Colorbox Art Screen over my cardstock, and also taped that down to secure it.
Now the fun part–I started with each ink color, and sponging each color individually across the artscreen. Holding a piece of scrap paper over the art screen holes that I “am not” using, I sponged the color I wanted in the openings.
Before I removed the tape, I heat set it. Once removing the tape, the second photo is what it looked like. I then took the sponges for each color and blended across each diagonal, adding a little color to the edge as well.
Using a sentiment stamp, I sponged differing colors across it, in the same order that I used on the background. By the time I finished putting each color on the stamp, they are not as “wet” as when they were first inked. I huffed on it, then stamped onto a smaller piece of white cardstock. This will make the ink moist enough to have vivid colors. I then added embossing powder, and heat set that. I sponged each of the colors around the edge of this card, and double matted it with two coordinating colors. Mount to the background and that’s it!
I said it was simple! Hope you enjoy. Have a great day!
Paula


Leave a Reply