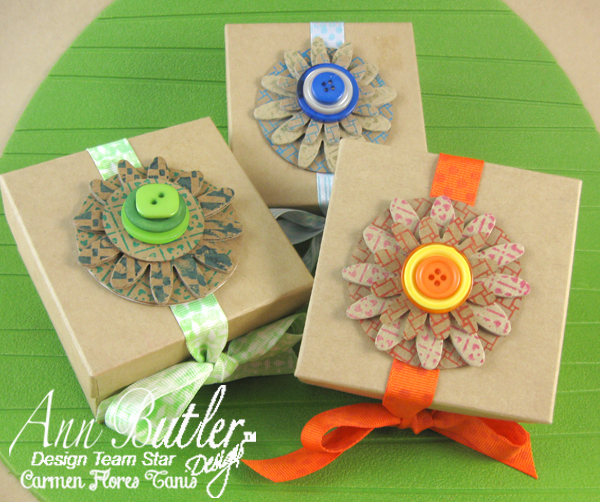
Hi everyone! It’s Carmen and today I’m going to share with you a fun and easy way to take a plain jewelry box and make it a super festive favor box by adding a little bit of stamped cardboard. I love to craft with cardboard – you can get it for free and the plain kind comes in so many different color variations and thicknesses. And if you cut the cardboard into large shapes, the large area of the 3″ Ann Butler Background Basics Stamps work really well for stamping in one take which is a real timesaver if you’re making a lot of these for a party or event. Here’s how:
Materials:
Ann Butler’s ColorBox® Background Basics Stamps by Clearsnap – 3″ Basket 1, Checks 1, Picnic 1
Ann Butler Crafter’s Ink by Clearsnap: Deep Woods, Evergreen, Ocean Breeze, White, Berry, Canyon
Cardboard
Ribbon
Assorted buttons
Kraft paper jewelry boxes
Beacon Fabri-Tac Permanent Adhesive
Tools:
Sizzix die cutter & flower and circle dies, scissors
Instructions:
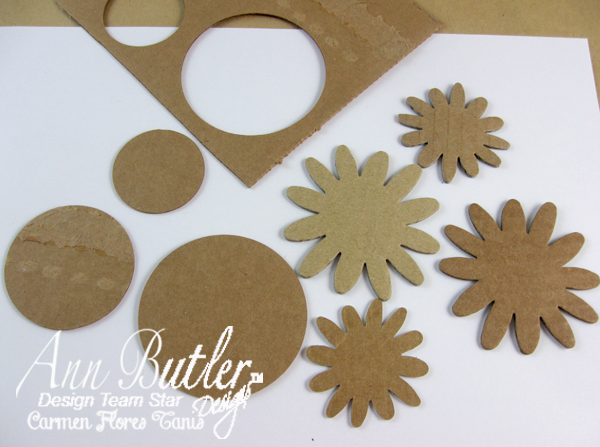
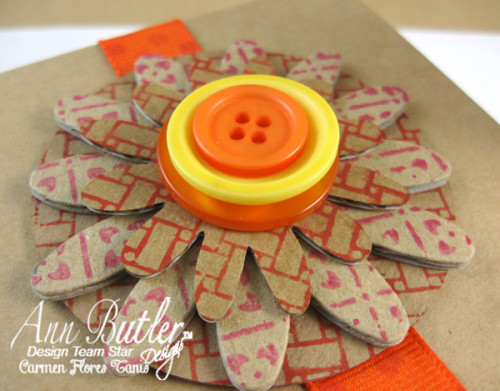
1. Use the die cutter machine and dies to cut the cardboard into various sized flower and circle shapes.
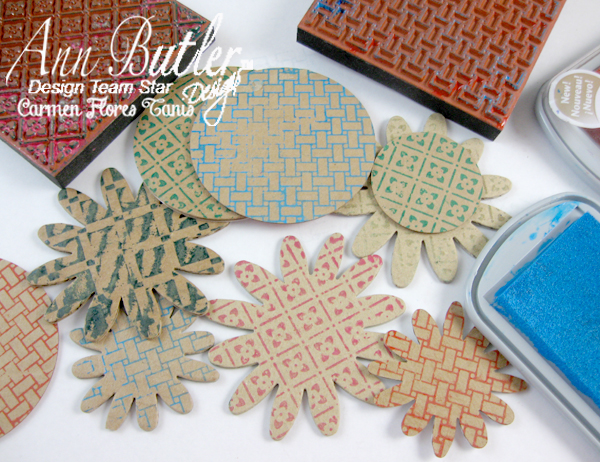
2. Stamp the cardboard shapes. I love how the Ann Butler inks look against the cardboard!
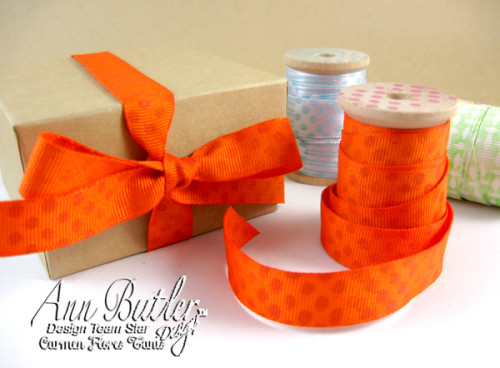
3. Cut a length of ribbon and around the box placing the box on the side. (I used a ribbon that I stamped a while back ago with Ann Butler stamps and inks.)
4. Build a little stack of shapes from large to small and adhere everything together with drops of Fabri-Tac Adhesive in between the layers. Glue buttons to the top of the cardboard shapes to finish.
How fun is that? Try making these in different color combinations for holidays, showers and weddings. And instead of cardboard try using white matte board for a totally different look. Happy stamping!

Leave a Reply