Hi, y’all – I am Chantal Johnson and I am so thrilled to be sharing a few embroidery inspirations using hand dyed seam binding, along with tips for successful stitching with y’all. Today, it’s all about hand dying, stamping on fabric and manipulating the ribbon into a beautiful bow secured by French knots…. Let’s get inkin’ and stitchin’ (said with my Texas accent)!
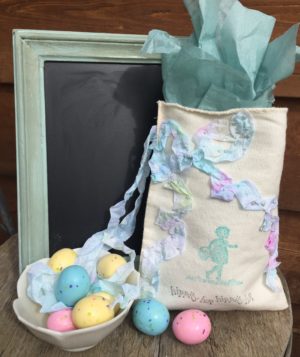
Ready for Spring!
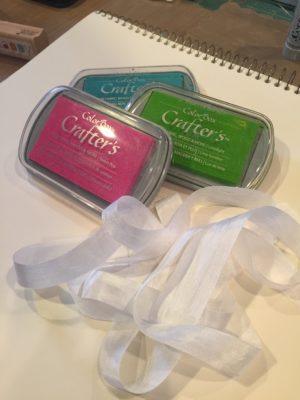
A few of the supplies for this project.
Step 1
Cut 2 -3 yards of white seam binding. Cut a little more than needed due to the manipulating of the ribbon.
Step 2
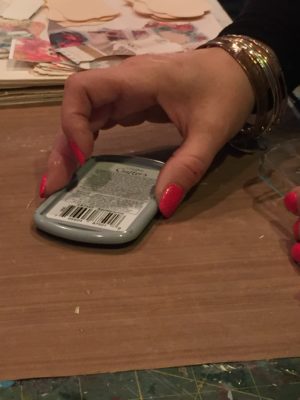
Ink onto the non-stick craft mat, these inks are wonderful and “juicy” which allows the ink to go onto the craft mat.
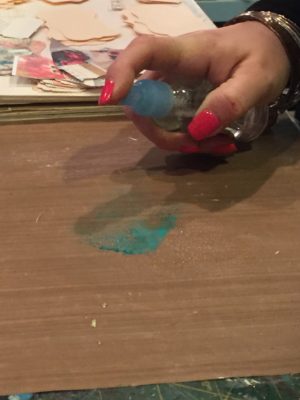
Spritz each color – let the colors blend a little bit.
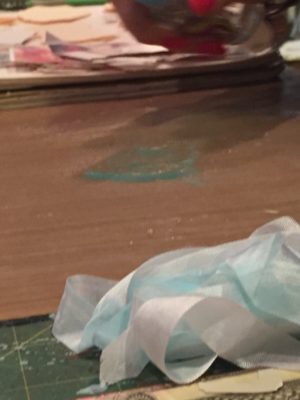
First color done.
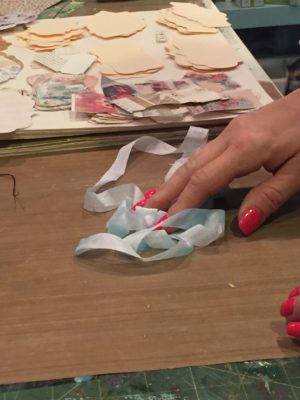
Gathering up the last little bit of ink.
On a non-stick craft mat, press Aquamarine ink onto the mat; sprits with water and then drag the ribbon through. Repeat with each of the colors, sprits with water each time.
Step 3
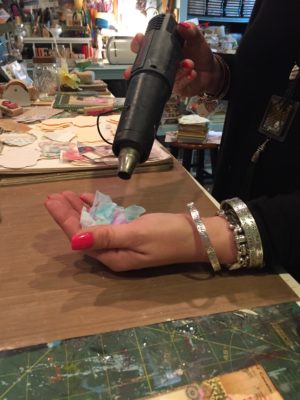
Crinkling and heating.
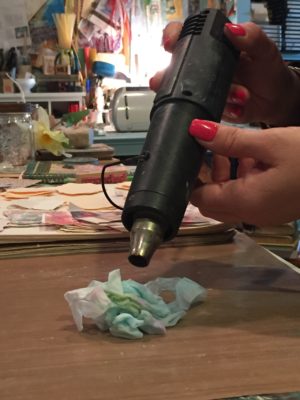
When it gets warm, lay it on the nonstick craft mat.
Crinkle the ribbon in your hand and then using the heat gun, heat till dry or set aside to dry in the sun or on the counter, making sure it stays crinkled.
Step 4
Place a piece of cardboard inside the linen bag. *This will protect the interior and the back when you stamp the images.
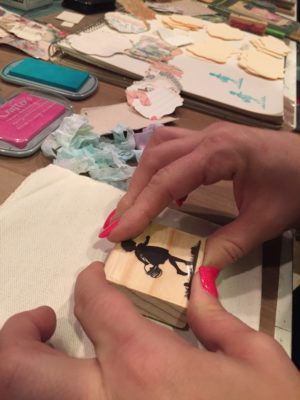
Stamp images with ColorBox Crafter’s Ink by Ann Butler in coordinating colors with the seam binding.
Step 5
Manipulating the Ribbon into a Bow
Begin with tying the ribbon into a bow keeping the tails even.
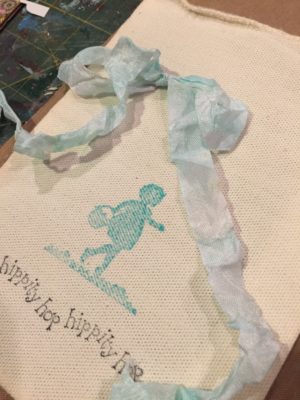
Step 6
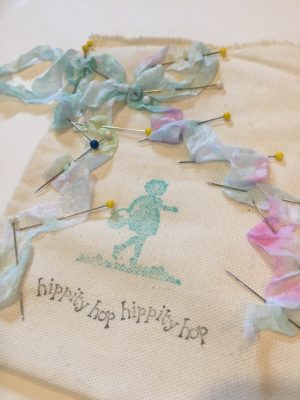
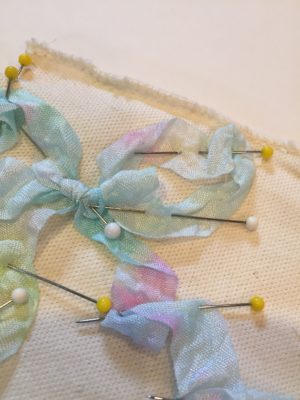
Lay the Bow tied ribbon onto the bag and begin to manipulate (move) the ribbon to the desired shape, twisting and/or overlapping to create interest and texture. Secure with straight pins, being sure not to pin through the back of the bag.
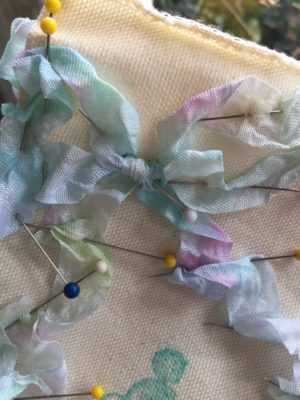
Step 7
Stitching
Secure the thread with a small knot in the back of fabric.
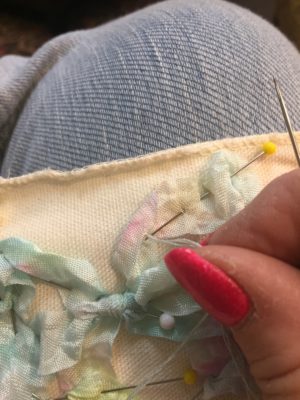
Hold thread firmly with left hand and wrap once around the needle.
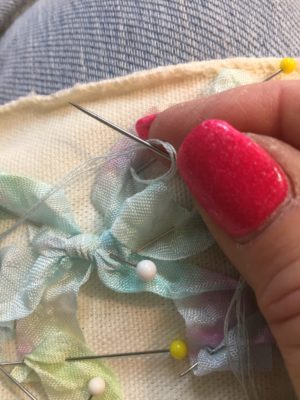
Holding the wrapped needle close to the base of the fabric, pull through without releasing tension of the wrap.
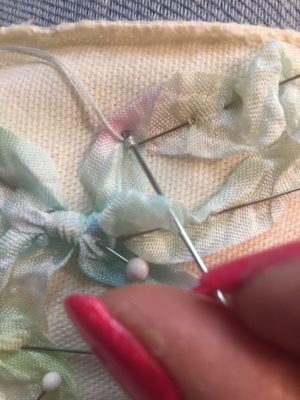
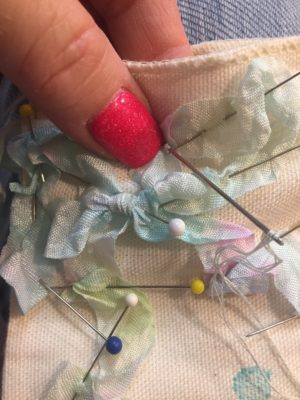
Once pulled through, your knot will appear on the top of fabric.
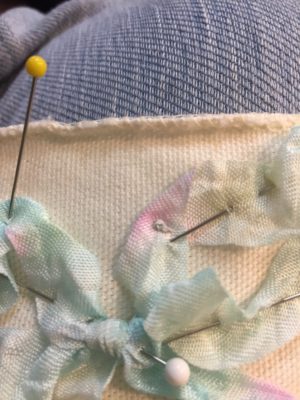
Repeat as needed to secure the thread.
**If your knot doesn’t pull all the way through and there is a loop of thread and you cannot remove the stitch, just do one more small knot coming through the looped thread and pull securely. See photos.
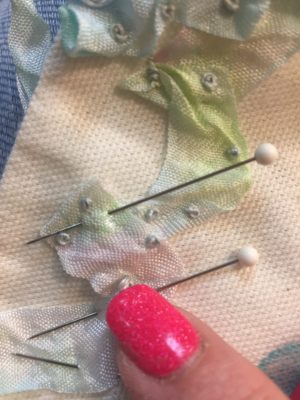
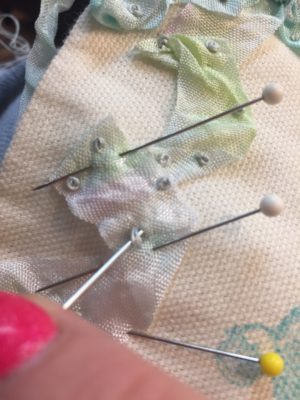
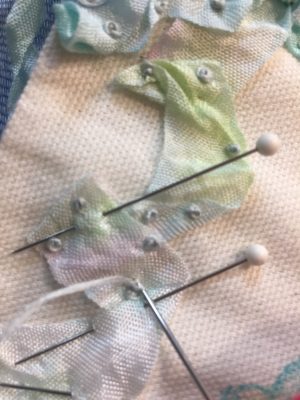
Once you have secured the ribbon, remove pins along the way and when you have finished the last knot, look back on the beautiful Ribbon Bow you have made!!
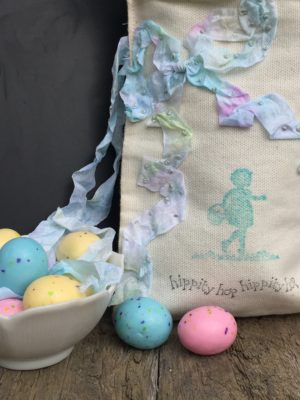
A few variations for this Ribbon project:
- To secure the ribbon, you could also use tiny seed beads and a thin beading needle or a combination of French knots and beads.
- This can be done on a fabric surface, pillows, canvas, or even clothing.
- The ribbon color choices can reflect anytime of the year/special occasions such as Christmas, Valentine’s Day or July 4th and any home décor style – just choose the color of ColorBox Crafter’s inks by Ann Butler that best suit your project!!
Success in Stitching Tips:
- When cutting thread, keep it at a manageable length, so as not to tangle.
- For French knots, the wider the needle, the larger the knot; the more wraps around the needle, the higher the knot.
- When manipulating the ribbon by securing French knots, try to keep the knots somewhat close together so as to not pull the fabric (from behind) by taking wide stitch placements.
- The ribbon could also be manipulated to a letter, flower or any desired shape.
- Practice makes perfect – keep at it and your knots will look amazing!!!
- A great resource for embroidery stitches is A-Z of Embroidery Stitches from the publishers of Inspirations Magazine.
This post may contain affiliate links, when you make a purchase, we earn a commission at no extra cost to you – this helps to keep this web site up and to continue to bring you awesome projects like this one!
Ann Butler Design Products used:
Ann Butler’s Crafter’s Ink by Clearsnap in Berry, Limelight, Aquamarine
Other Products:
- Linen bag, pre-made
- White seam binding, 2 -3 yards
- Focal Stamp and Sentiment stamp, your choice
- Small piece of cardboard (to use as a protector inside of bag)
- Non-stick craft mat
- Spray bottle, filled with water
- Heat tool
- DMC embroidery floss 928 or coordinating color
- Embroidery needle
- Straight Pins
- Scissors
Follow Ann on Social Media:

Chantal Johnson has been the recipient of God’s great love and has been given creativity as one of her many gifts. Her heritage is one of Southern hospitality and European style but her heart is pure Texan!! Her home, as well as her art, resounds with sentiments from a joyful, grateful spirit to that of faith and hope mixed with a touch of wonder. Her creative path began as a little girl with her mother introducing every form of creative arts from thread and fabric, yarn and hook to paper and paints. She loves all things that can inspire others to find joy in the everyday.
As a mixed media artist and designer, her many passions include but not limited to gardening, interior decorating, crocheting, cooking, swimming, sewing, jewelry design, paper arts and antiques. But being with her children, husband and family bring her the most joy. Most days you will find her creating in her Art Studio that she and her husband designed.
Chantal lives in Rowlett, Texas and is married to Scott. They have three children, 3 dogs and 5 sweet little hens. Her work has been published in Belle Armoire Jewelry, Somerset Studio, Somerset Home, Sew Somerset, Apronology, Haute Handbags, Belle Armoire and Green Craft. She is currently on the Ann Butler Design Team, the Friends of ICE Resin® Team, and a design contributor for Bella Crafts Quarterly. For teaching engagements, you may contact her directly at chantal515@verizon.net. Visit her blog at chantaljohnson.blogspot.com or become her friend on Facebook to see her latest inspirations and see tn daily living.


Leave a Reply