Your cart is currently empty!

Mixed Media Home Decor with EZ-De’s

Today I am sharing a fun and easy project to help SPRING happen, at least in my home! I used a variety of products and feature the fabulous ink and stamps from Ann Butler Designs! I am IN LOVE with these products and enjoy creating with them. I used three different sets. I used two of Ann’s designs from the EZ-De’s Stamp line & the other is from Unity Stamps.
Other products Used:
SmoothFoam/Craft Attitude: Scrapbook Attitude/Kaiser Crafts/Connie Crystal/John Bead Dazzle-its/Golden Paint/Prima Flowers/Beacon Adhesives/Dreamweaver Stencils/Worldwin Paper/Xyron Sticker Maker
1. To create your own master piece you start by painting the substrate, ie, foam board. Pain the hexagon shapes from Kaiser crafts at the same time.
2. While this was drying the photo was printed Craft Attitude Film. Being in the SPRING mode, the Dreamweaver Tulip card was chosen to make larger. Before printing the image was flipped so when attached to the substrate it would be facing preferred direction.
3. The letters for S P R I N G were stamped in Orange and cut out. They were then run through the sticker maker.
4. Braid the Love Knots from John Bead. Helpful Hint: coat the ends with an adhesive so when they are cut to length they stay braided. (Beacon Zip Dry was used on this project.
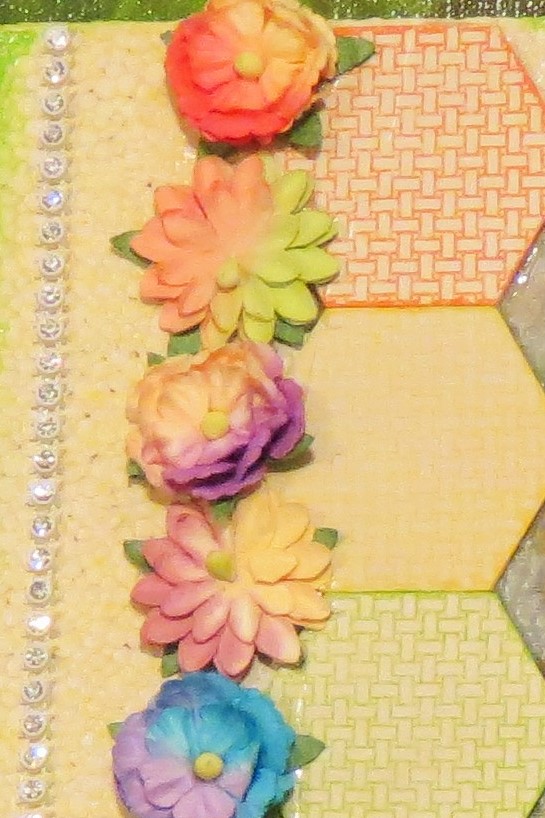
5. Add a punch of color to the flowers with some of Ann’s Ink. Make a water color of sorts with a small amount of water adding ink color from the pad with a brush. Apply directly to the flowers and let dry.
6. Using a spray adhesive apply the Craft Attitude Film to the substrate. Press firmly then peel the back from the film.
7. Stamp the now dry hexagons with the matching shape stamp. This was done using three colors. The clear stamps and clear handle make it EZ to align. Each piece was then edged with the same color of ink to make the image POP!
8. It is difficult to see but there are stamped squares from Doily Picnic down the left side in yellow ink.
9. Go around the entire piece with the green ink and just lightly go over the foam edge.
10. Attach the Hexagon Pieces to the left of the tulip photo.
11. Attach the Crystal Sheet from Connie Crystal towards the bottom of the piece. The pointed part was created by cutting sections/pieces of the Crystal Sheet and filling in. (see above)
12. Frame out the rest of the photo with the Lovely Knots braid. One corner was tied to add more interest and to make the braid go around the corner. The Braid was also just touched with the green ink to add the color.
13. Add the small flowers to the left of the hexagons.
14. Add the single line of Crystal Sheet over the yellow stamped images on the left.
15. Attach the letters to the right side and add Crystal Sheet pieces to fill in the P/R.
16. Add the final flower on the bottom right after tapping it on the orange ink pad.
17. Place the piece in your home or give as a gift!

Happy Spring! Kristi Kristi Parker Designs
Comments
3 responses to “Mixed Media Home Decor with EZ-De’s”
Kristi I love this project and that you used the ink on the flowers! Thank you for sharing!
Such a lovely project. love the colors
great project and nice showcasing of the Ann Butler Inks…


Leave a Reply