Your cart is currently empty!
Inked and Stamped Card Holder
Hello everybody, Vishu here today with my very first post an Inked and Stamped Card Holder. Now, before I begin let me tell you I am in love with these stamps so many possibilities and saying “your mind is the only limitation” holds so true for them.
My fellow team members have got my creative juices flowing and I hope my project can do the same. I have not done detailed tutorial before so I am wishing myself some luck 🙂

I made this card box to fit 4 X 5.5″ card.
First I cut 2 pieces of 8 X 7.5″ white cardstock, inked them with Ann Butler Designs Crafter’s ink


Then I stamped them with Ann Butler Designs faux quilt stamps and I have to confess, creating a custom background with these stamps is a piece of cake because of their no edge design I did not need any guide to place the design next to each other.

Now comes the scoring part, so score both the pieces as shown

Cut and remove the portions shaded green.

Round the corners shaded in pink.


Attach the two pieces together by overlapping one flap with the other. Don’t skimp on adhesive, you want the spine to hold together.


Apply adhesive along the shorter sides of the longer flap. I like to use a runner adhesive, because it’s less messy. Fold in the flaps, pressing the adhesive into place.

Then I added the velcro mini dots to hold the two sides together.

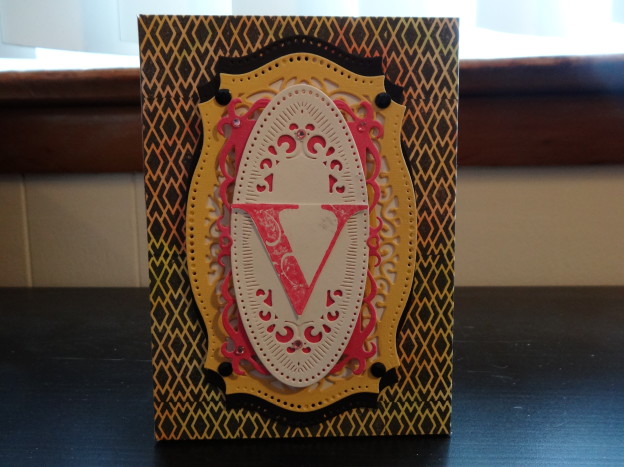
Decorated the top of my box with some spellbinder dies and Ann Butler Designs EZ-De’s stamps I just love these alphabet stamps their size and the flourish detail. Finally no project is complete without some bling.

These card boxes are a great gift to pass on some handmade goodness.
I filled my box with four cards and matching envelopes, here is a sneak peak.

That’s it for me today and hope you enjoyed the post, don’t forget to stop by tomorrow for some more creative fun.

Comments
7 responses to “Inked and Stamped Card Holder”
Vishu, just love this card box project. I so enjoy hand designed templates and WOW… you really showcased Ann Butler Inks, by Clearsnap and perfect presentation of the Ann Butler Stamps
Congrats on first tutorial. Easy to follow. Great design.
Love the box, Vishu! Great job!
Wonderful tutorial , Vishu! I love how you constructed the box and then added the Velcro closure. So clever!
How neat! Is it really this siempl? You make it look easy.
Vishu, What a great tutorial! Stunning project!!!!
Vishu this is a stunning project that showcases my stamps perfectly….thank you!
Leave a Reply