Happy holidays everyone! Tammy here, back with a fun Christmas DIY ornament tutorial. I have been seeing clay ornaments all over Pinterest this year, so my daughter and I decided to attempt to make our own Custom Stamped Christmas Decorations. They were so easy to make and we had a blast making them together.
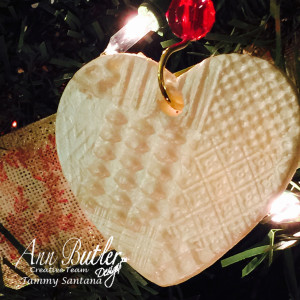 I really love how these turned out, I think they look like mini cable knit sweaters.
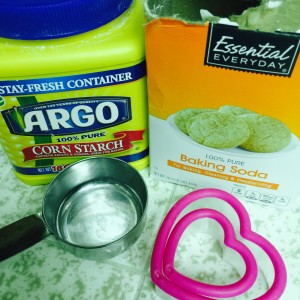
Supply List:
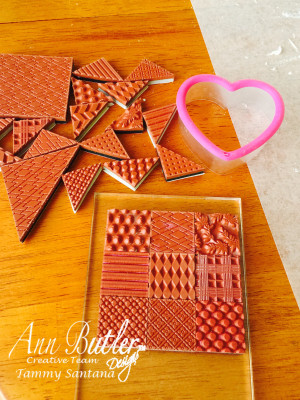
- Ann Butler Designs 1″ Faux Quilting Stamps from Unity Stamp Co
- Ann Butler Designs Iridescent Powders and Paints from Earth Safe Finishes in Pearl and Russet
- Baking Soda
- Corn Starch
- Water
- Heart cookie cutter
- Rolling Pin
Clay recipe: Add 1/2 cup cornstarch, 1 cup baking soda, 3/4 cup water, to a saucepan and heat on stove top over medium heat until dough reaches a mashed potato consistency.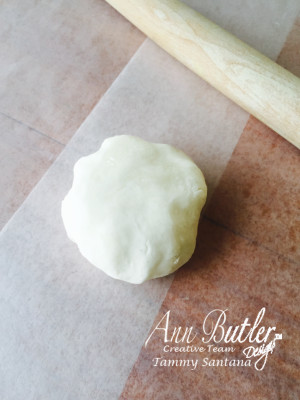
Remove from heat and cool until you can roll into a ball. 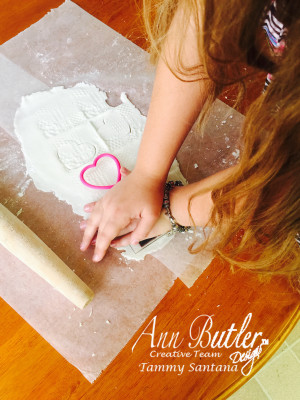
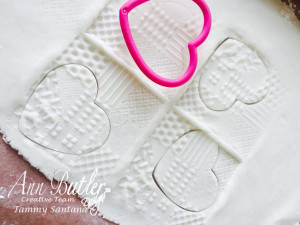
Use a rolling pin to roll dough to about a 1/4 inch thickness.
I used Ann Butler Designs 1″ Faux Quilting Stamps from Unity Stamp Co to create texture on top of the ornaments and a heart shaped cookie cutter to cut them out.
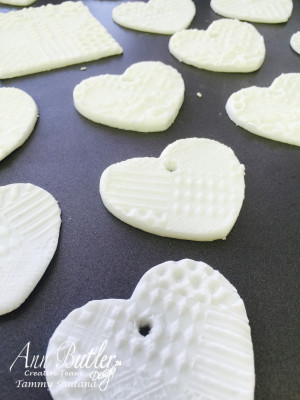
I added a small hole to add a ribbon to later. Bake at 175 for about an hour turning half way through cooking time. Make sure ornaments do not brown during baking process.
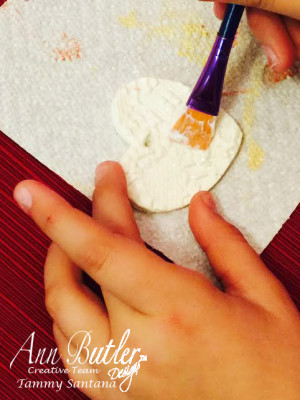
I painted the ornaments with Ann Butler Designs Iridescent Powders and Paints from Earth Safe Finishes in Pearl and Russet
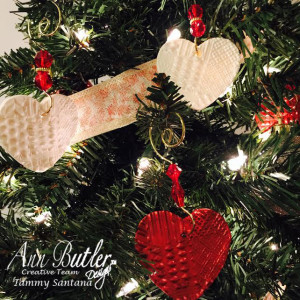
How cute are these ornaments with the stamped ribbon I made to coordinate with them? I love the custom look of the decorations on my tree, and it is so easy to color coordinate your decorations when you make them yourself 🙂
Tammy

Leave a Reply