Your cart is currently empty!

Creating a Layered Background with Stamps
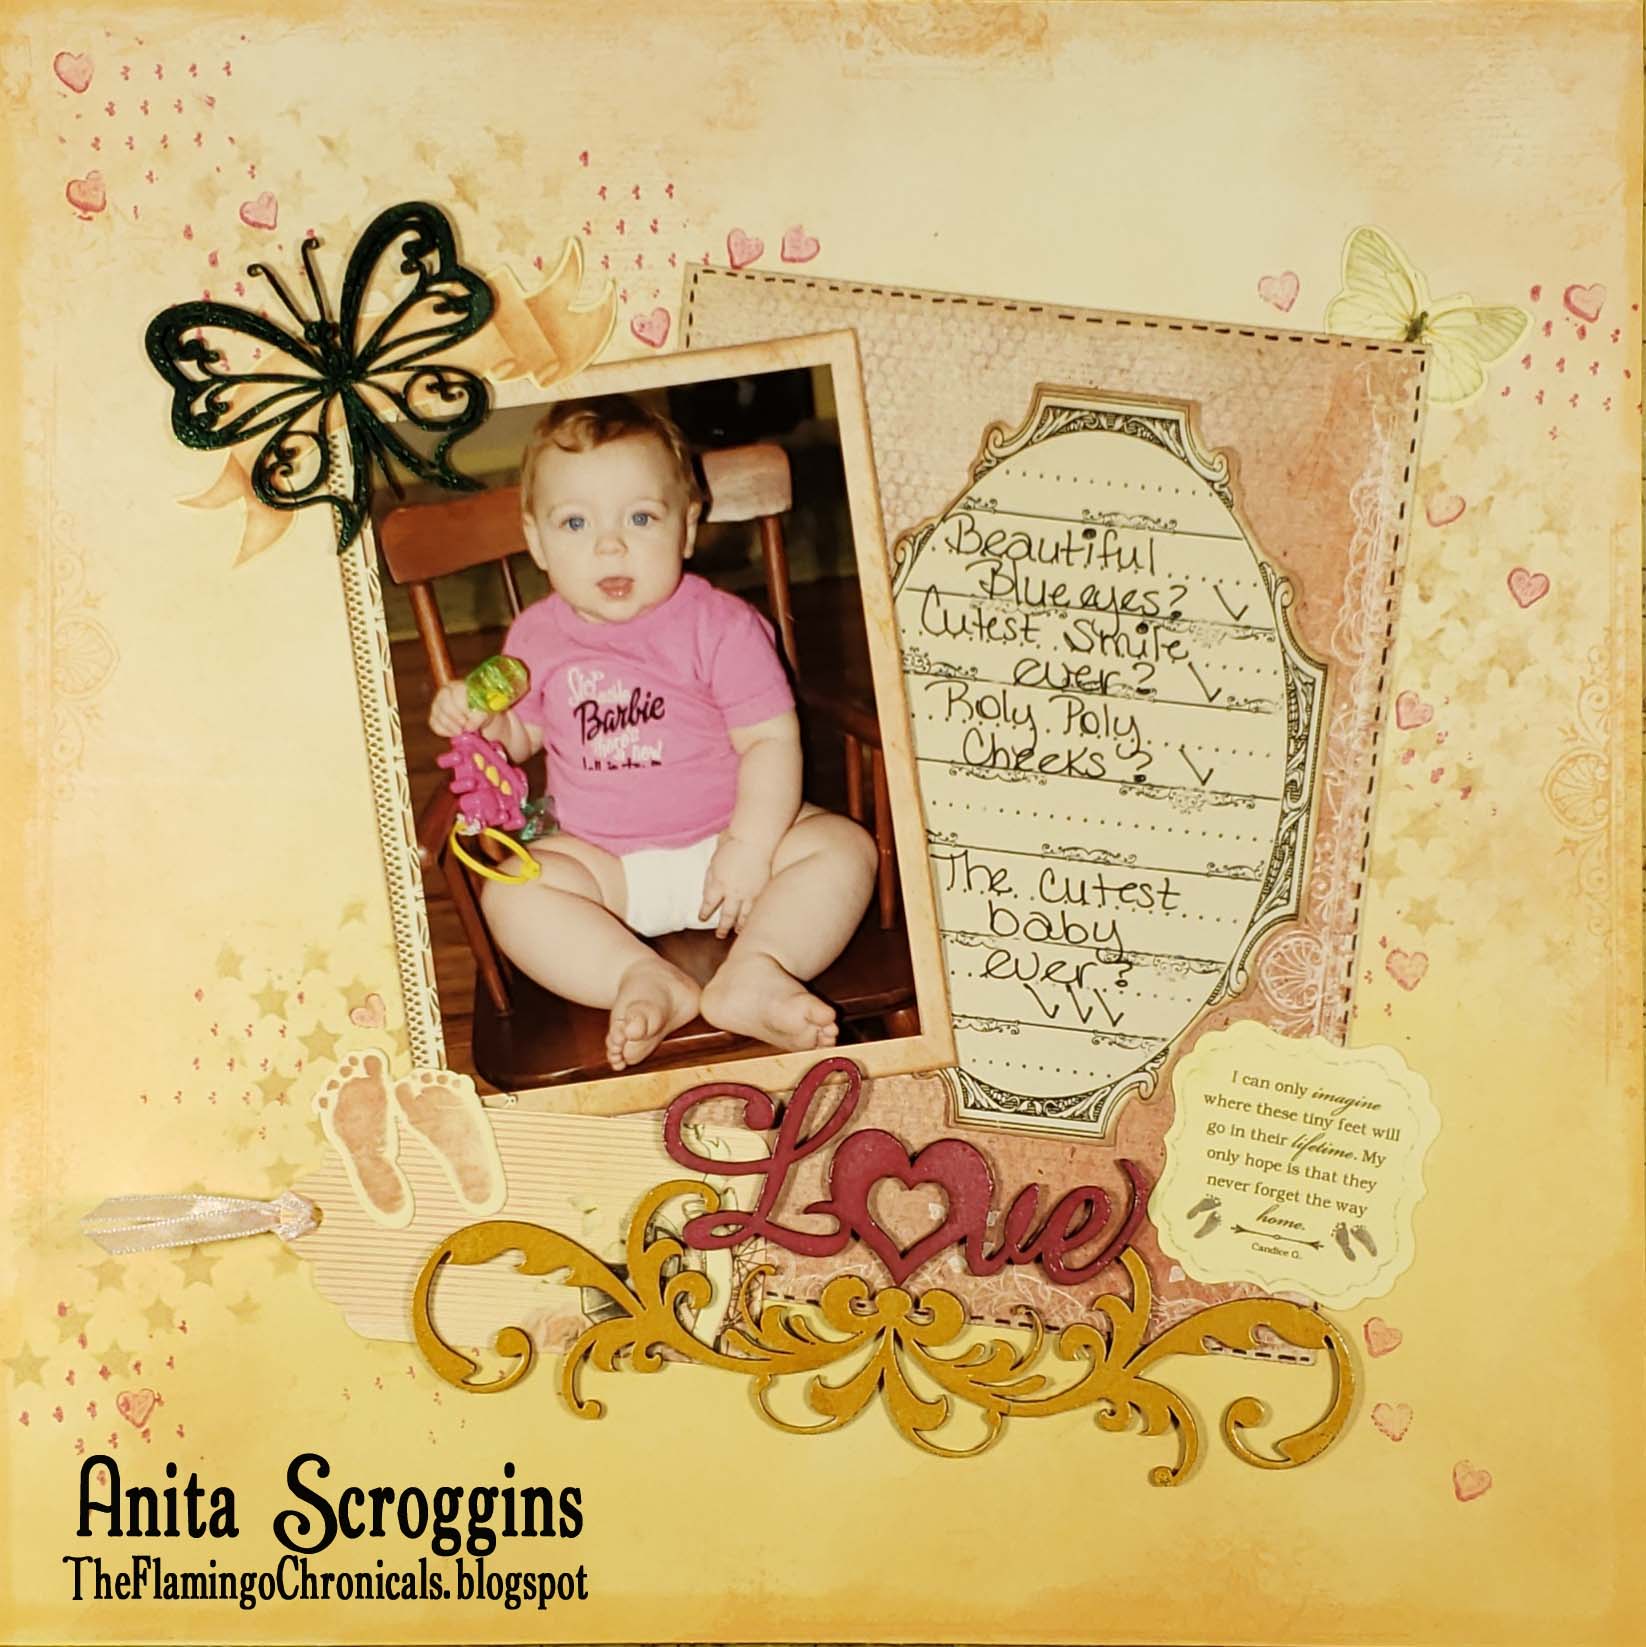
Create a the look of a layered scrapbook page using stamps, inks, and stencils.

I love the look of layered scrapbook pages but I do not like the bulk that usually comes with that. Using stencils, stamps, and inks is a great way to have layers of color and texture without adding bulk to your albums.
Step 1: Create your layers

Start by using a stencil, an ink dauber, and Desert Sand ink to create the first layer of the background. Sponge ink randomly across the stencil, moving the stencil to different locations on the page. Because Ann’s ink is designed for more porous surfaces, when it is used on paper you will need to dry it. I like to use tissue paper to blot the ink, and you can also use a heat gun.
Step 2: Keep building your layers


Add a little bit of detail for the second layer by punching a shape in scrap cardstock and then stamping over the shape. Move the stencil around the background to add small pops of color. Be sure to dry the ink when you are done with this layer!
Step 3:


Cover a piece of chipboard with the same ink and sprinkle with clear embossing powder; set it with a heat gun.
Step 4:


To add another pop of color and finish off the layered background I used a small heart stamp. Add some detail by using a black pen to make faux stitching around the edges of the cardstock.
This post may contain affiliate links, when you make a purchase, we earn a commission at no extra cost to you this helps to keep this website up and to continue to bring you awesome projects like this one!
Ann Butler Designs Products used:
Ann Butler Crafter’s Ink by Clearsnap: Desert Sand, Berry
Ann Butler Stamps by Unity, Doily, 2″ Square
Ann Butler Art Screen by Clearsnap, Stars
Partner Products:
Other Products:
- Patterned paper
- Die cut accents
- Journal pen, Black
- Chipboard pieces
- Heat Gun
- Ribbon
Follow Ann Butler Designs on Facebook and Instagram for tons more stamped, inked and stenciled inspiration!


Leave a Reply