Your cart is currently empty!
Category: Home and Garden
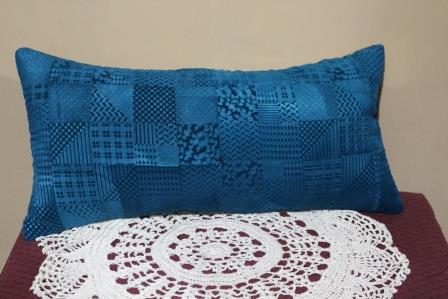
Velvet Embossed Stamped Pillow
Create a beautiful Velvet Embossed Stamped Pillow with a Faux Quilted design quickly and easily. This Velvet Embossed Stamped Pillow is an old technique that is quick and easy and the results are always beautiful! Let’s get started… Step 1: Lay Faux Quilting stamps out into a pattern. Step 2: Spray the back of the velvet…
Thanksgiving Napkins – Stamped & Stitched
Hello friends, Donna here with some Thanksgiving Napkins – Stamped & Stitched. With Halloween just a week away, it is time to think about Thanksgiving and your tablescape. So, I whipped up a few designs to get a head start. These are easy and surprisingly fast to do. These Thanksgiving Napkins – Stamped & Stitched…
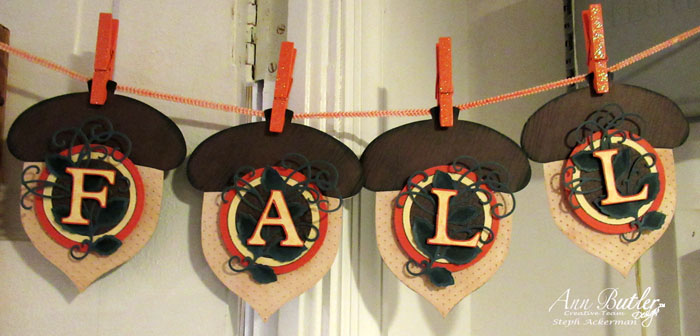
Inked and Stamped Fall Acorn Banner
Hi everyone, Steph Ackerman here today getting ready for Fall with a Inked and Stamped Fall Acorn Banner. I created an Inked and Stamped Fall Acorn Banner using an assortment of Ann Butler’s stamps and inks. Step 1: Emboss the acorns with a Cuttlebug embossing folder. Then use Desert Sand Ink over the embossed acorns for definition.…

Mouthwatering Watermelon Stamped Dish Towel
Hello Friends, Donna here with you today to share a FUN Mouthwatering Watermelon Stamped Dish Towel! It’s Summertime and with all the gatherings for picnics and barbecues you need to have some cute dish towels! What better way to say Summertime Fun than this Mouthwatering Watermelon Stamped Dish Towel? Shall we get started? Step 1:…
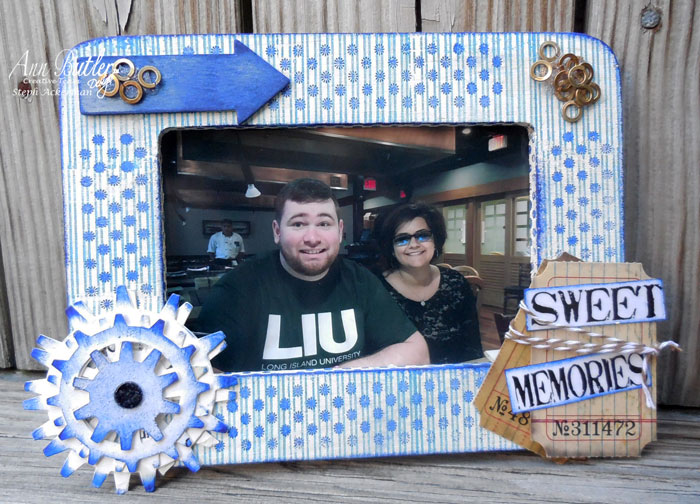
Altered Frame with Ann Butler Designs
Hi everyone, Steph Ackerman here today with an altered frame. A plain wood frame is the perfect starting point for anything you can imagine. I wanted to document a night out with my son and his girlfriend after his college graduation so I decided an altered frame was in order. Step 1: I began by…
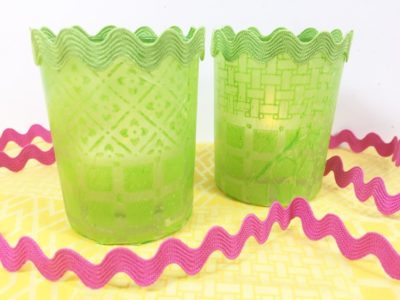
Quick and Easy Faux Quilted Festive Votives
Good Morning faux quilting fans! Beth here on the blog today to share my Faux Quilted Festive Votives featuring Colorbox® Background Basics stamps by Ann Butler and a bright monochromatic color scheme. Here’s how I made it STEP ONE: Load the Colorbox® Background Basics by Ann Butler stamps with Colorbox Crafter’s® Ink by Ann Butler…
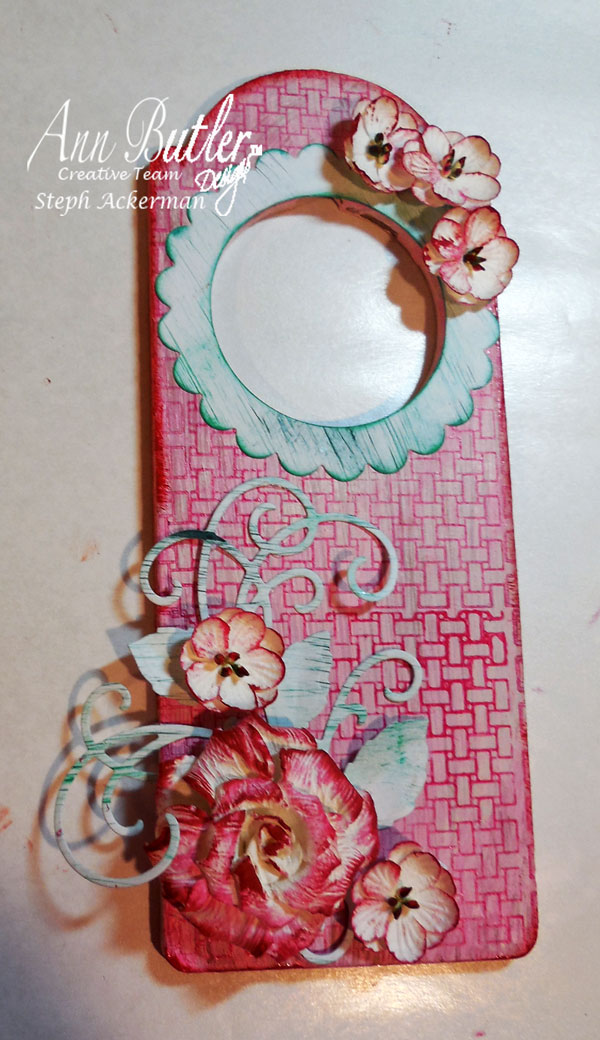
DIY Pink-a-licious Door Hanger
Hi everyone Steph Ackerman here with a DIY Pink-a-licious Door Hanger. What little girl wouldn’t love to have her own pink-a-licious door hanger? Step 1: I started with a chipboard shaped door hanger in a dingy color and painted Gesso over the chipboard. I wanted the final colors to really stand out and Gesso would allow me…
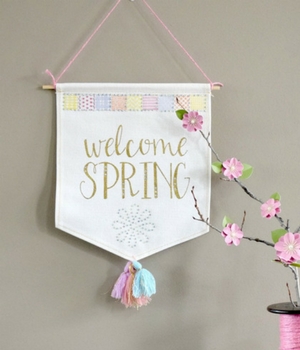
Stamped Spring Bling Banner
Welcome, spring is coming! Donna, here to show you how to take a store-bought spring banner and turn it into a Stamped Spring Bling Banner! I love to find inexpensive things and make them my own. I found this banner at a local retail store and knew I could do something to bling it up. This…
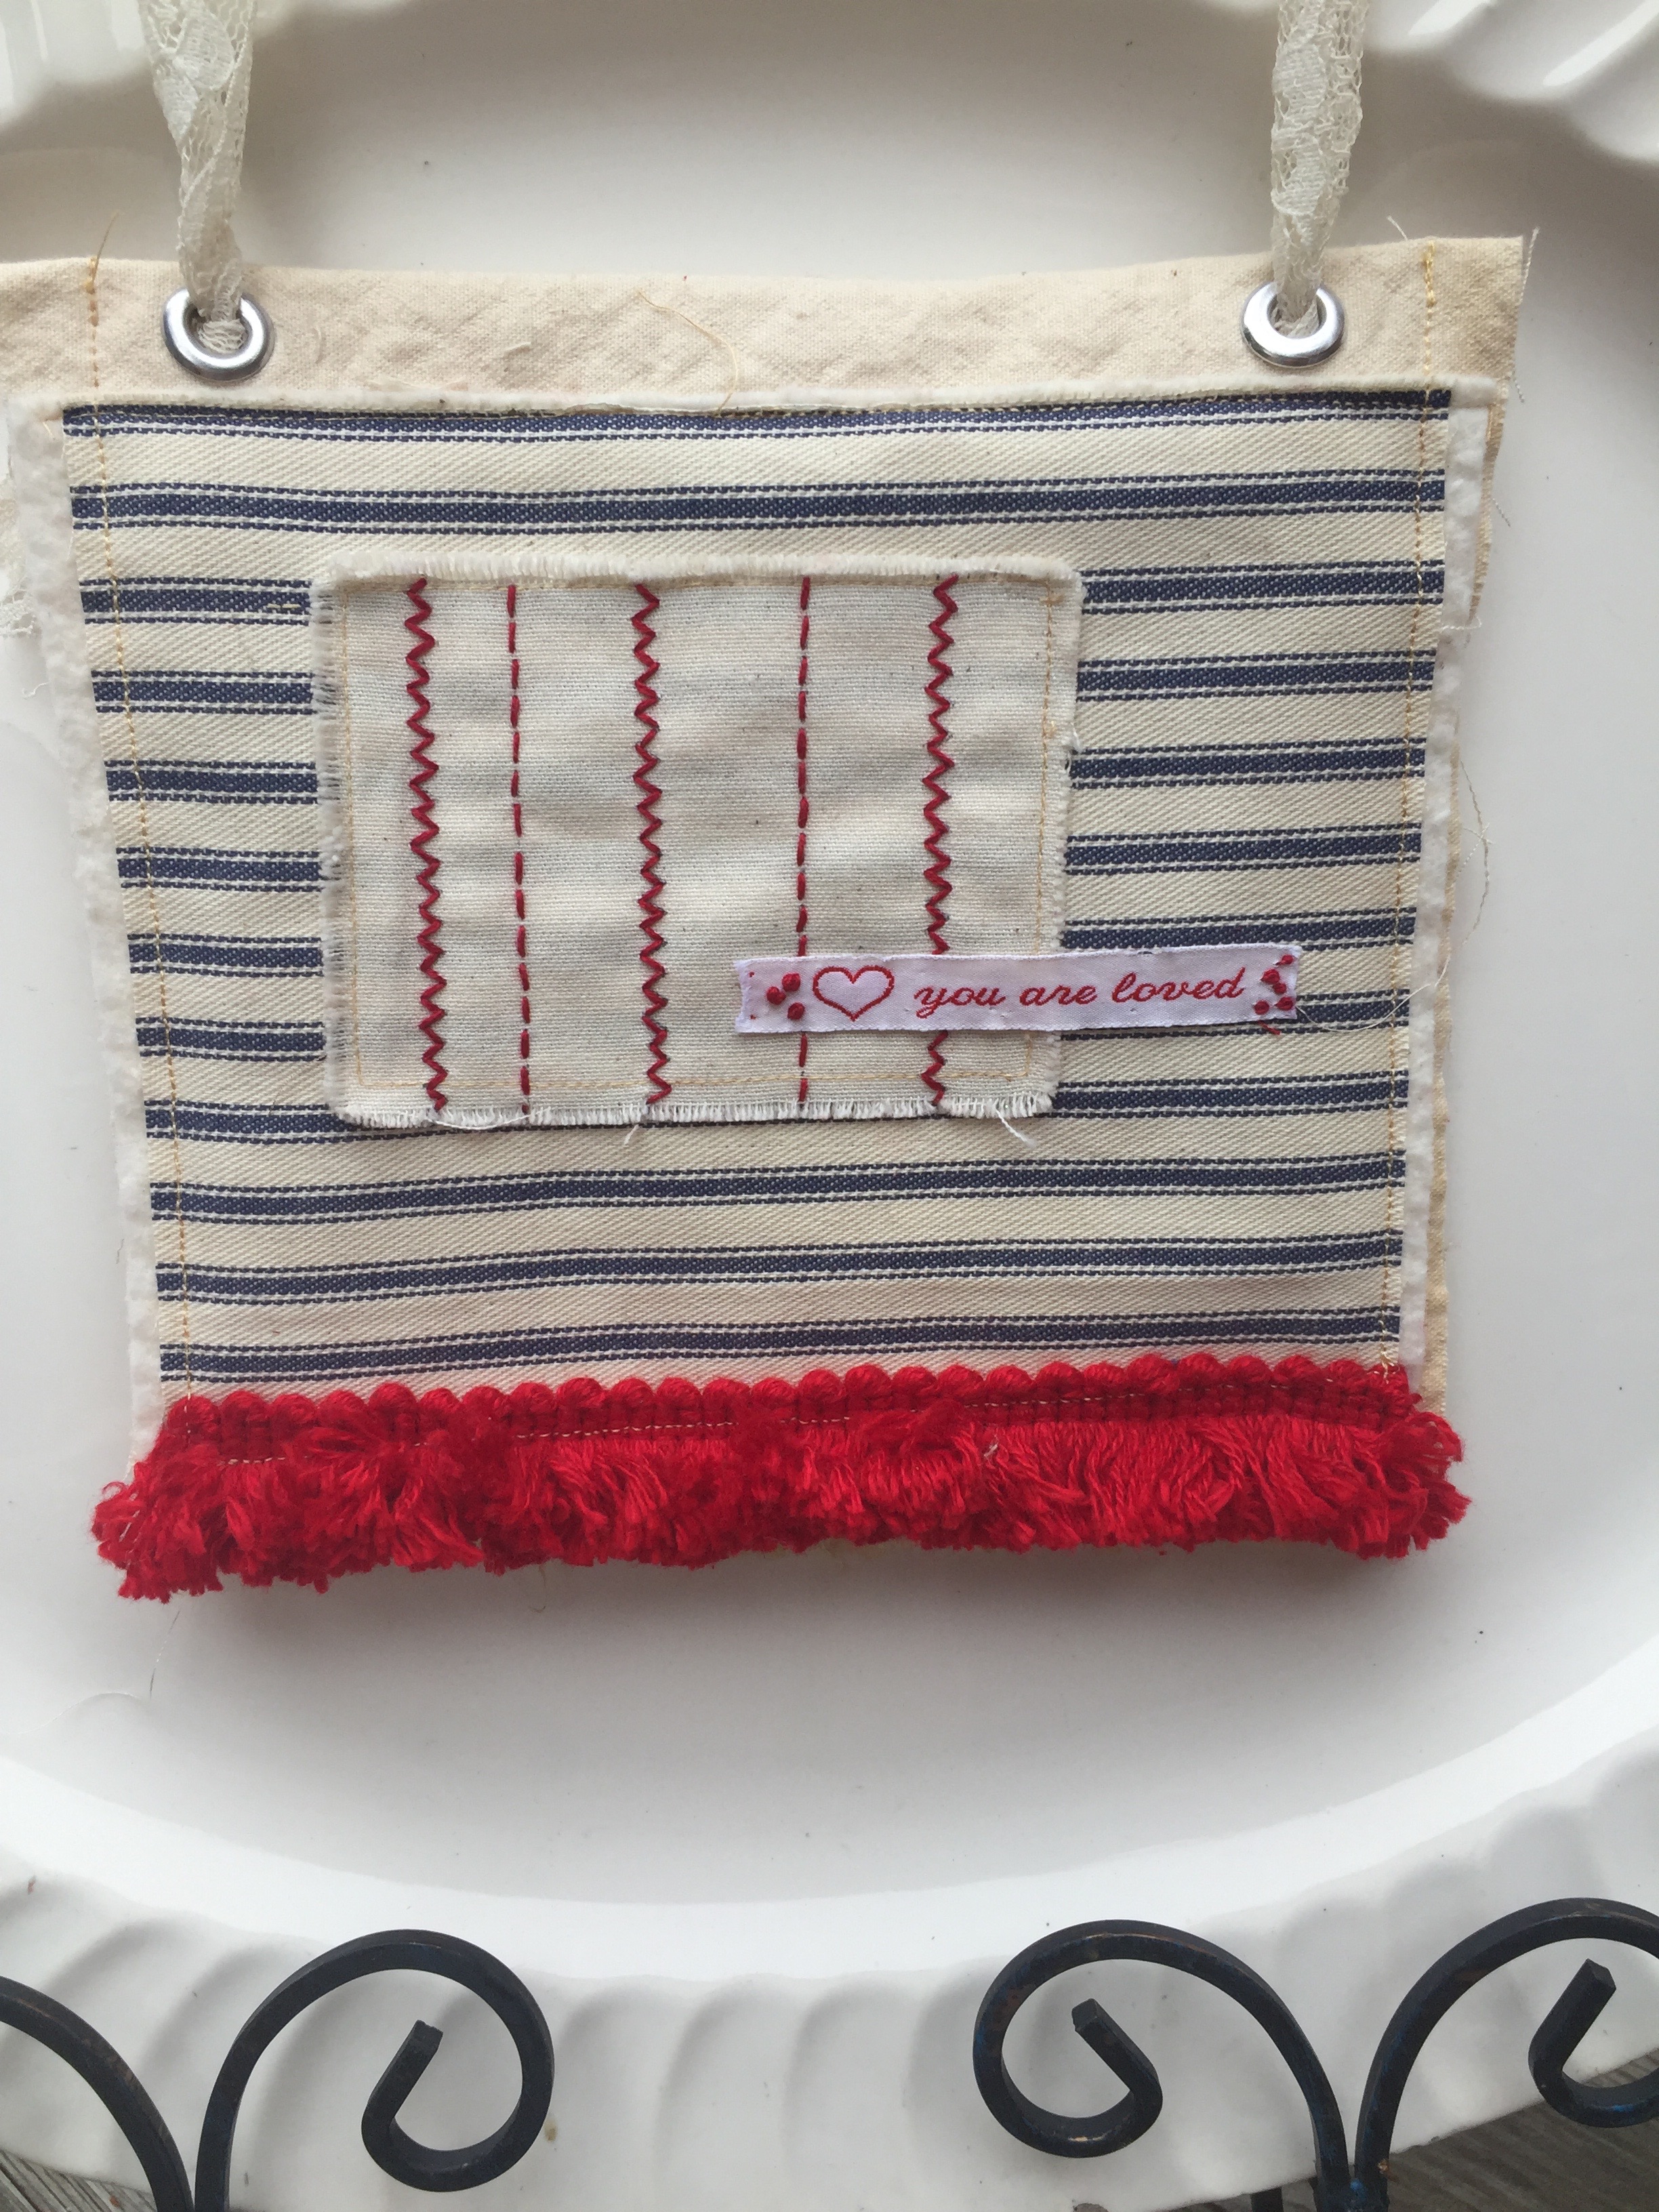
Bohemian Embroidered Banner with Faux Stitching Stamps
Hi, y’all – I am Chantal Johnson and I am so thrilled to be sharing a few embroidery inspirations with this Bohemian Embroidered Banner along with tips for successful stitching with y’all. This little love banner can be created in just a few hours. This is a great piece for beginners and seasoned stitchers alike.…
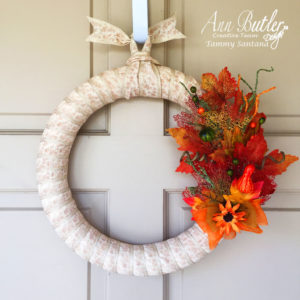
Rubber Stamped Fall Wreath
Hi, everyone, Tammy here with you today with a fun Rubber Stamped Fall Wreath tutorial featuring Ann Butler’s Faux Quilting Stamps. I just love Fall colors and I love to create unique home decor items for my home. This wreath is one of a kind since I stamped the ribbon to add additional interest. Here…