Your cart is currently empty!
Category: DIY and Tutorials
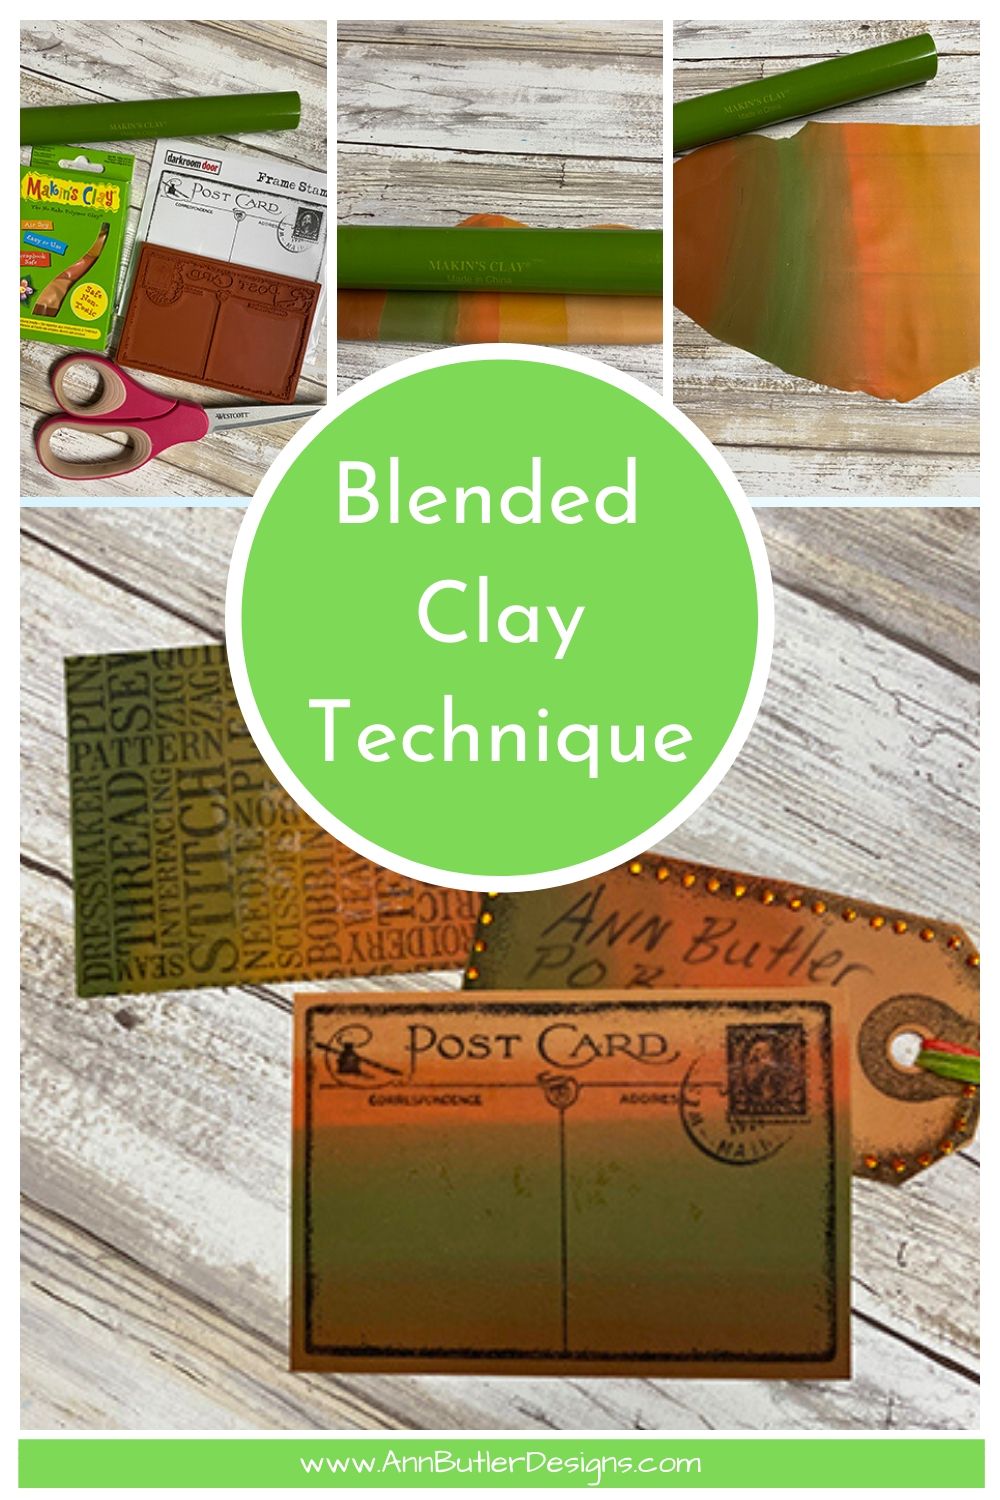
DIY Blended Makin’s Clay® Postcards
I love Makin’s Clay®, it is a No Bake Polymer Clay that is oh so easy to use! I created this Blended Clay Technique to create Postcards for a workshop at a trade show years ago and I still LOVE this technique…it is quick and easy and always has fabulous results! Please note: This post…
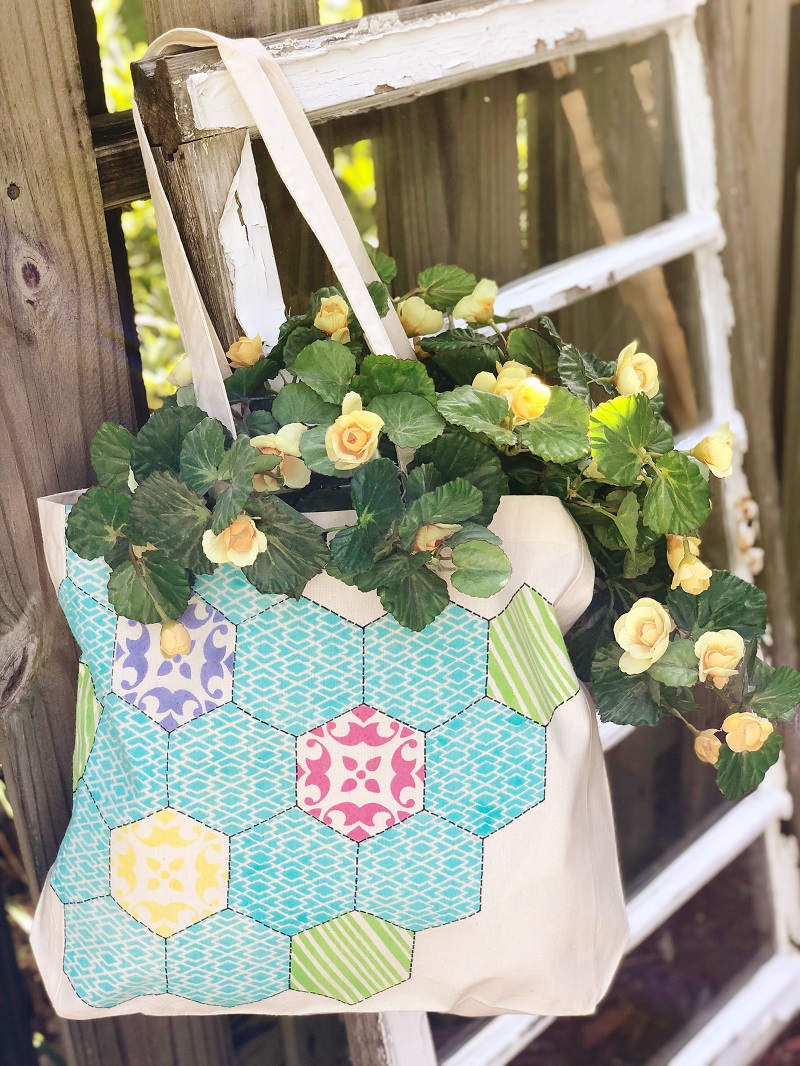
Faux Quilted Stenciled Market Tote
Good Morning y’all! Beth here with @creativelybeth to share the Faux Quilted Stenciled Market Tote that I created with the brand new Ann Butler Designs Hexagon Stencil from StencilGirl! Make this quick and easy project in just about an hour and go to the market in style! Here’s how to create a Faux Quilted Stenciled…
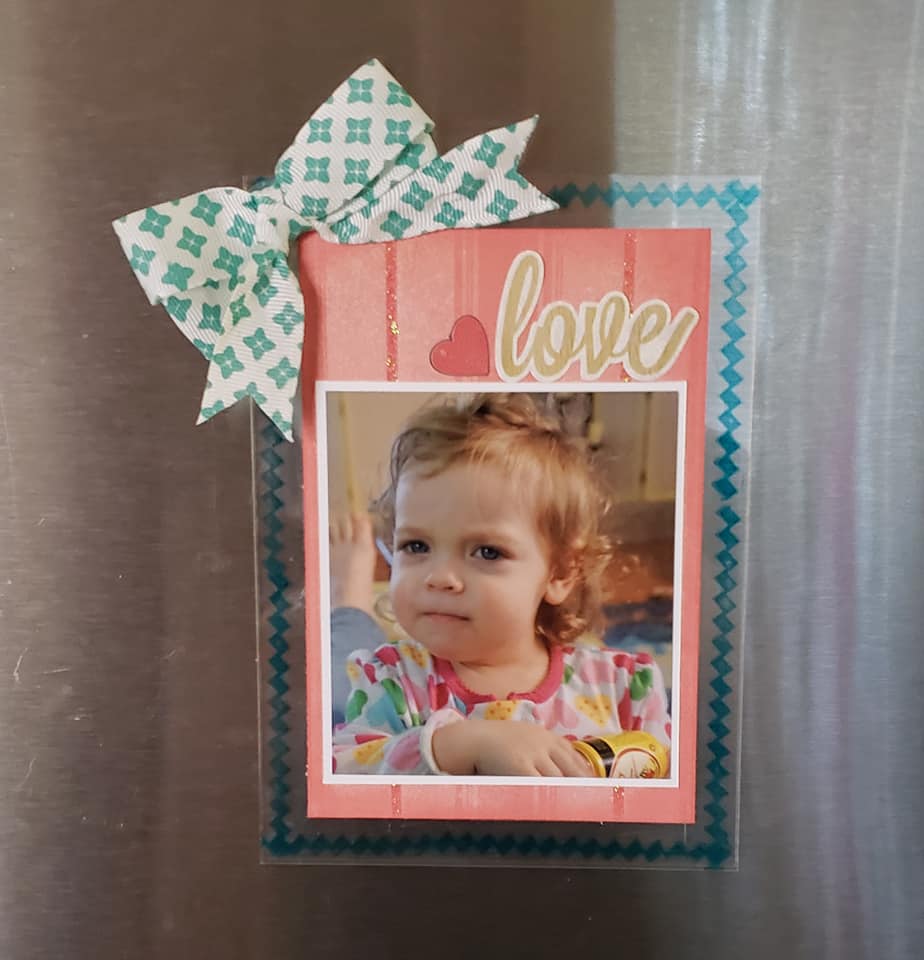
Favorite Photo Fridge Magnet
Do you have a favorite photo you would love to see smiling at you everyday? Make this cute fridge magnet to show off a favorite photo. It’s getting close to Christmas and I am already thinking of fun gifts to give to the grandparents. At this stage they have everything so I usually focus on…
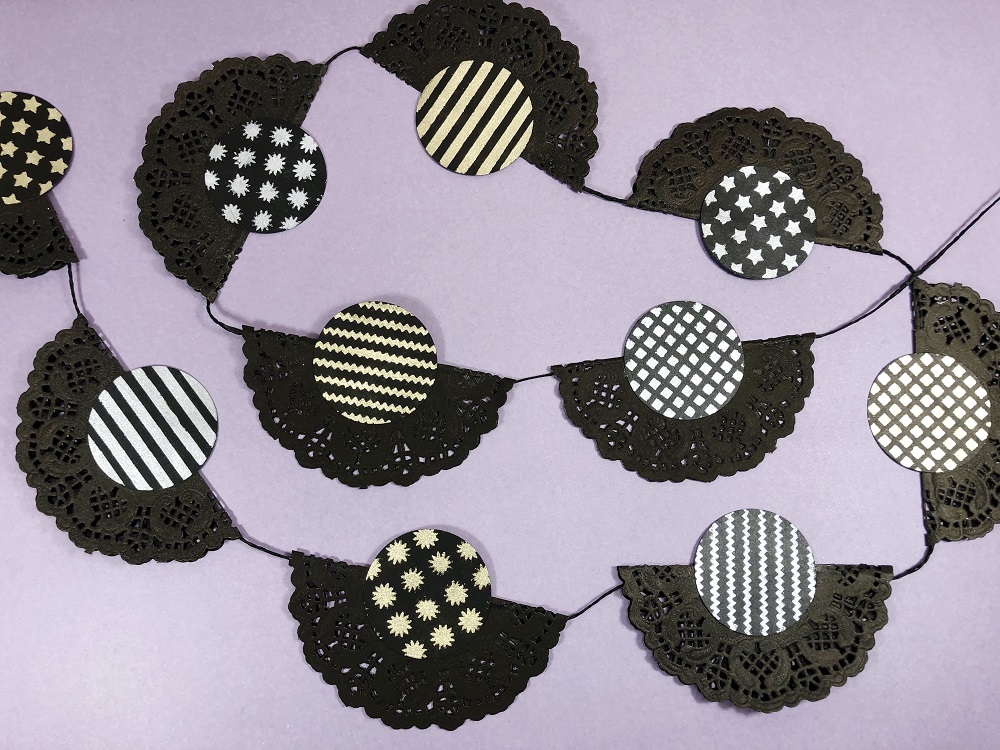
Quick and Easy Stenciled Glam Banner
Good Morning Y’all, Beth with @creativelybeth here to share a quick and easy stenciled glam banner featuring Ann Butler Designs NEW Assorted Circles Stencil from StencilGirl! I love how the Ann Butler Designs Iridescent Powders from Earth Safe Finishes really POP off of the black cardstock! Here’s how to make a Quick and Easy Stenciled Glam…
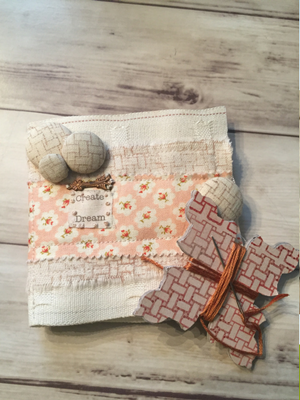
Hand Stamped Sewing Accessories
Hey y’all, this is Chantal. Today, we are continuing to create beautiful accessories for our sewing and embroidery supplies. Our pin and needle holder (made from drapery tape), featuring Crafter’s Inks and Background Stamps by Ann Butler, is a great way to have pins and needles ready for your projects and for me, it is…
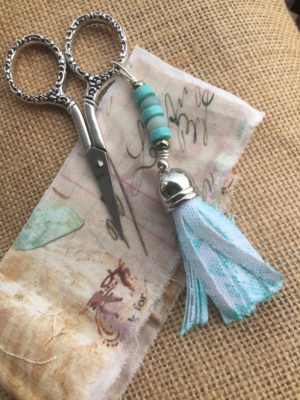
Fabric FOB with Crafter’s Ink
Hey y’all, this is Chantal. Today, we are taking a little break from stitching to check on our supplies and how we store and organize them with beauty and creativity. We can make beautiful accessories for our “tools” such as scissors, pins and needles and even our threads. This little tassel and beading project, featuring…
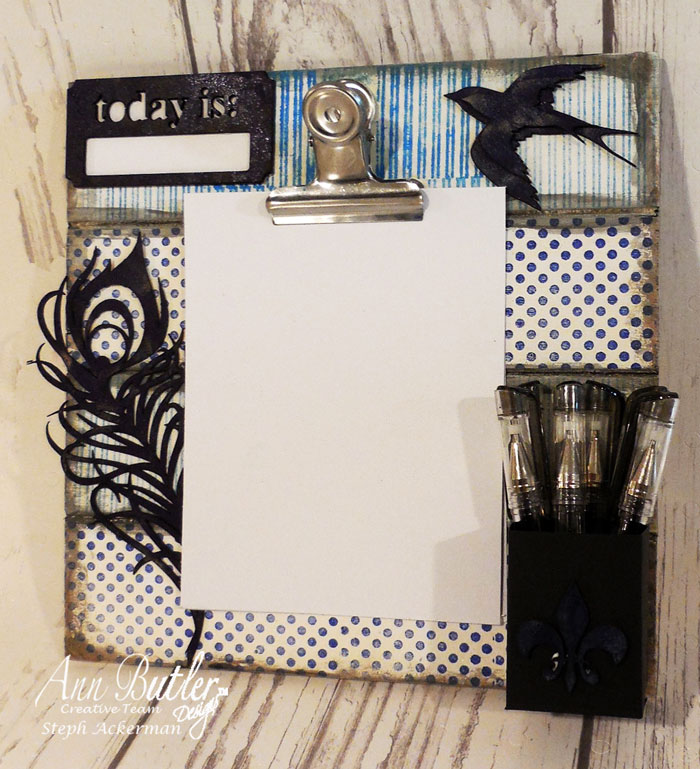
Stamped Altered Clipboard with Crafter’s Inks
Hi everyone Steph Ackerman here with a Stamped Altered Clipboard with Crafter’s Inks by Ann Butler. This would be a great gift to make for someone, or better yet, make two and keep one for yourself! Let’s get started Stamped Altered Clipboard with Crafter’s Inks: Step 1: Begin by painting a clipboard with white paint. Step 2: Use…
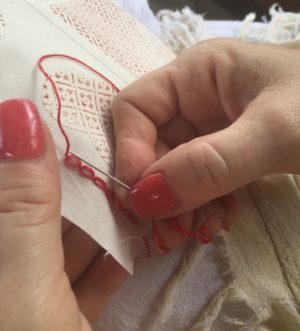
Red Work Inspired Sampler Part 1
Hi y’all! It’s Spring in Texas and that means it’s time for sitting outdoors, sipping sweet tea (well, that’s really all the time) and stitching!! I love Red work and was drawn to create a Red Wok inspired Sampler with Ann’s Crafter’s Inks and Background Basics Stamps. There’s something about stitching outdoors- the sound of the…
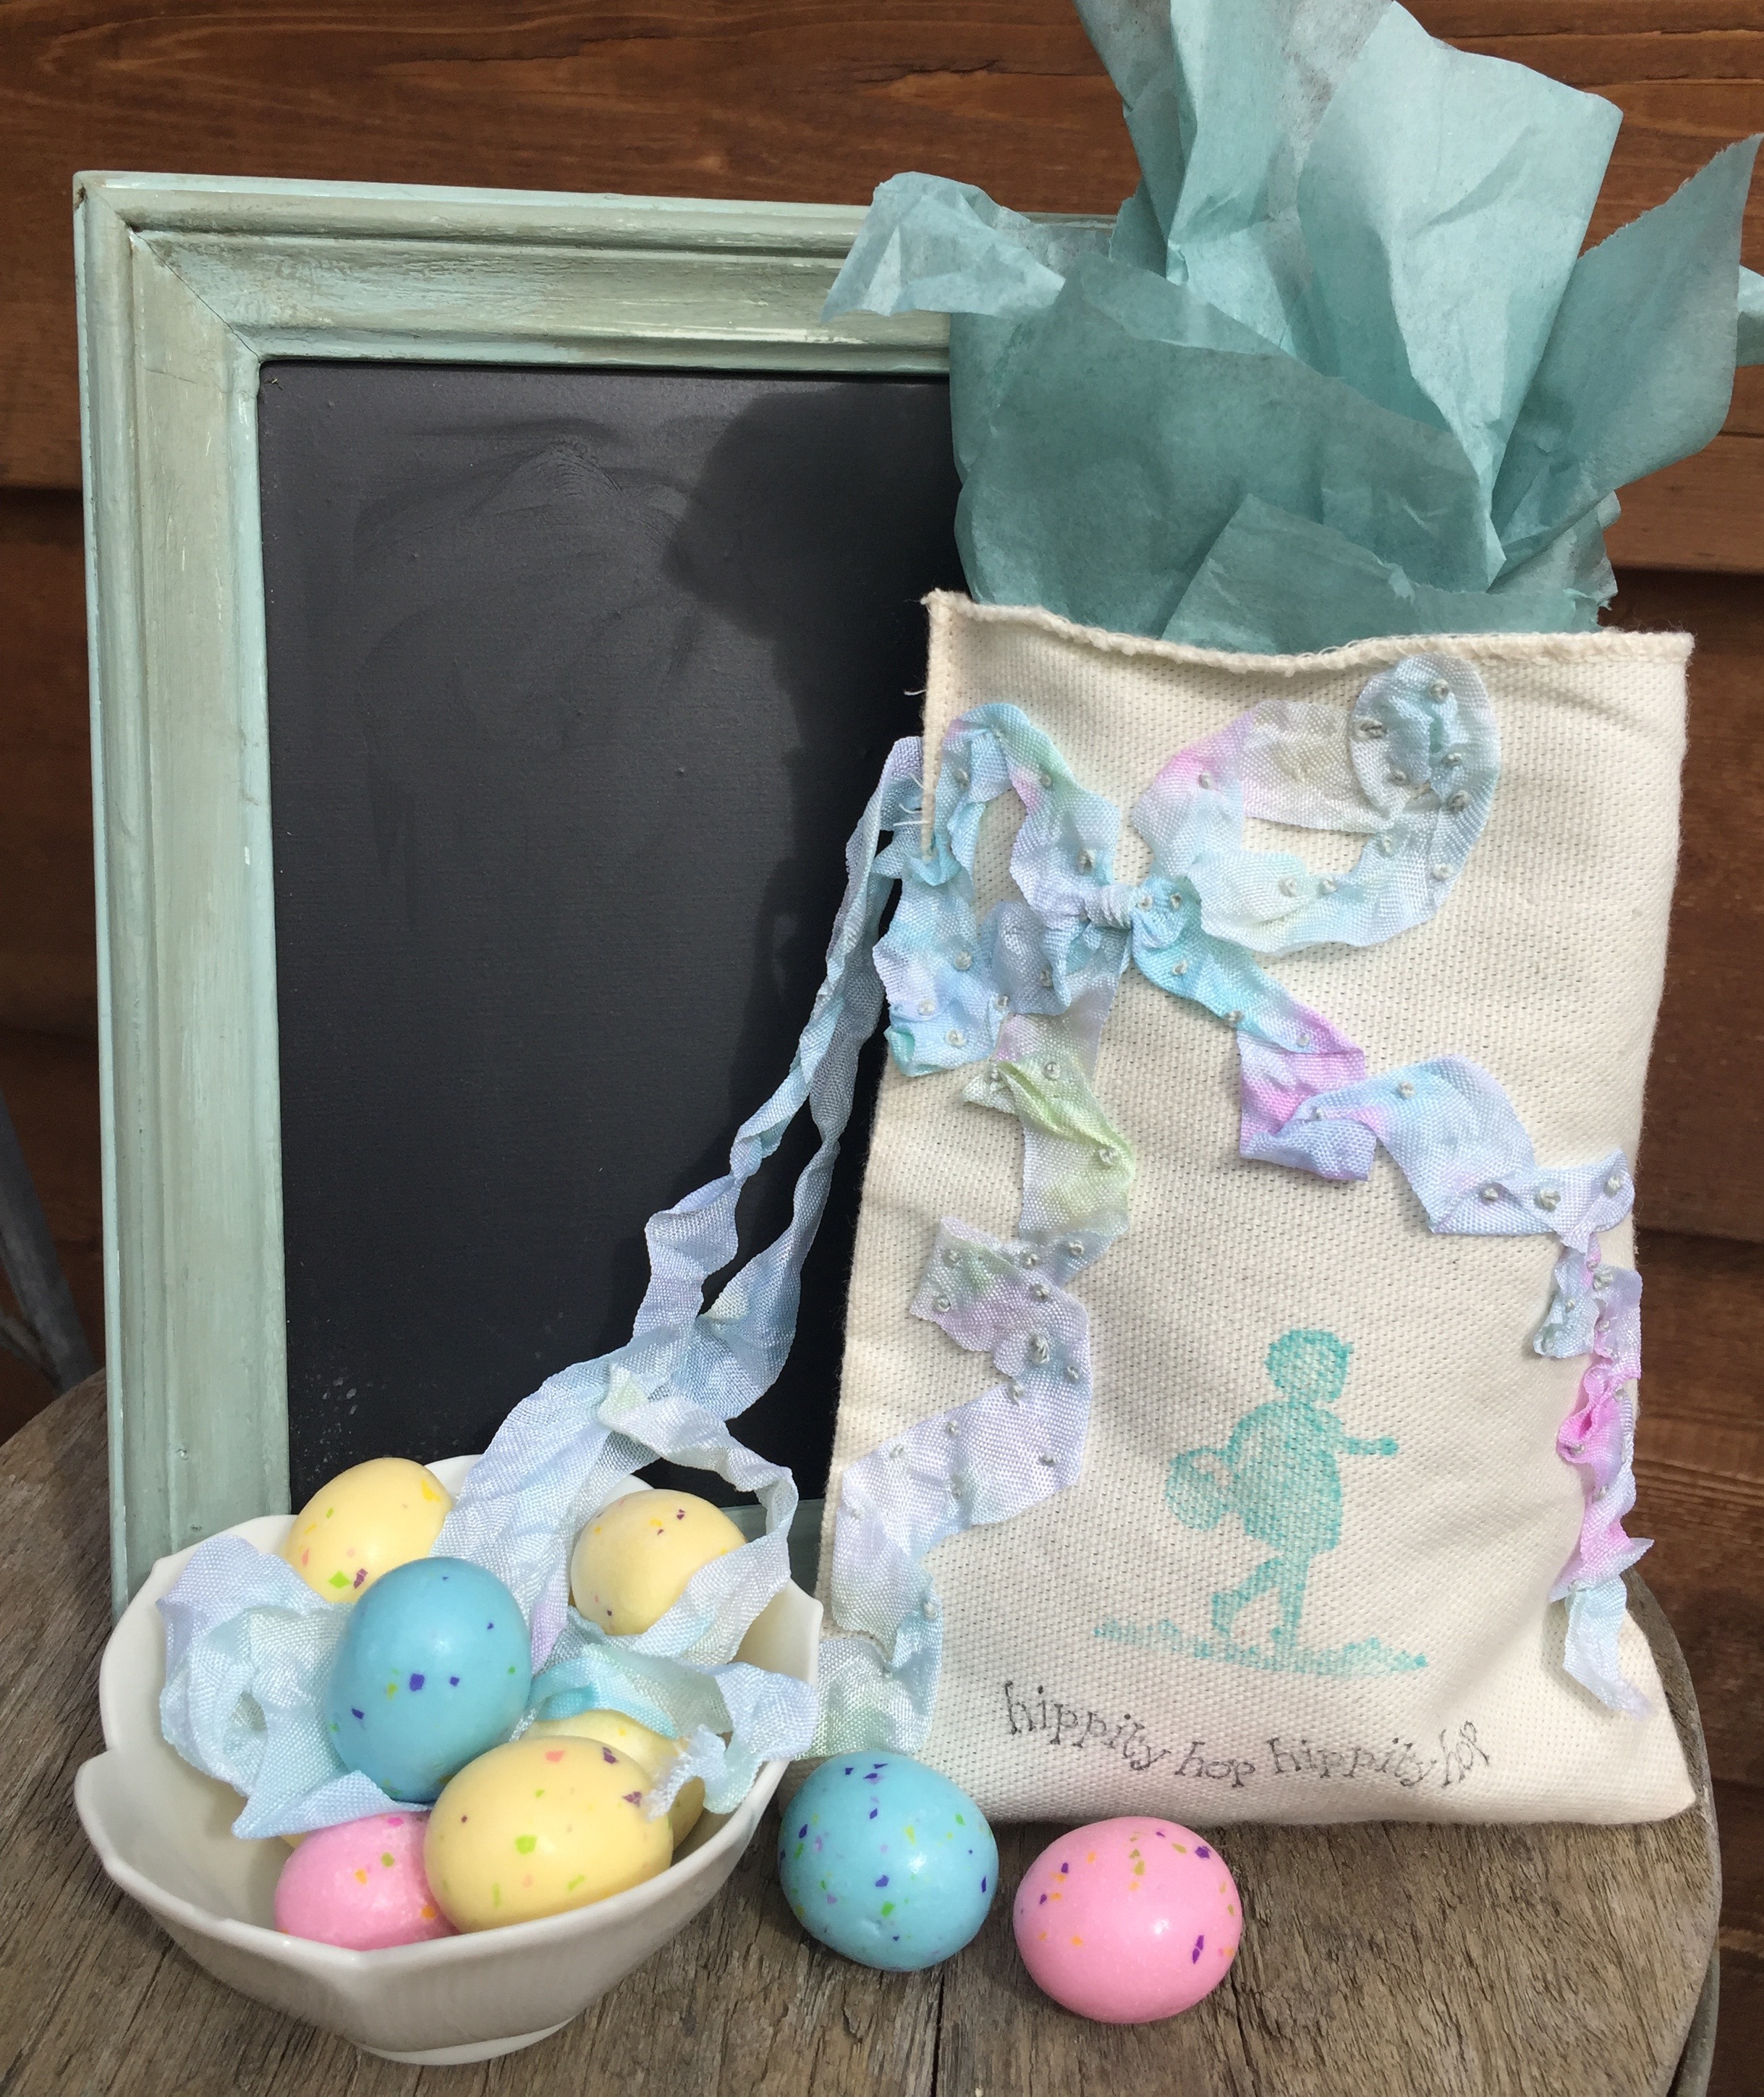
Ribbonry and French Knots with Hand Dyed Seam Binding
Hi, y’all – I am Chantal Johnson and I am so thrilled to be sharing a few embroidery inspirations using hand dyed seam binding, along with tips for successful stitching with y’all. Today, it’s all about hand dying, stamping on fabric and manipulating the ribbon into a beautiful bow secured by French knots…. Let’s get…
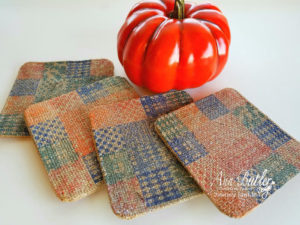
Fall Faux Quilted Burlap Coasters
Hi everyone! Tammy here with you today with a fun Fall themed burlap coaster set tutorial. I love when the leaves start turning Fall colors, it always makes me want to create fun Fall projects with rich colors. These coasters are the perfect project to add a little Fall decor in your home. Here is…