Hi everyone! Paula here today with a fun way to repurpose an old or outdated table.
Supplies:
Piece of furniture to alter/paint
Primer paint
Paint (I used a product called Wood Icing Furniture Glaze) in Black
Ann Butler Art Screen in Waves
Painters tape, paint brush, dropcloth to protect floor
I found this old table at a sale many months ago. When I saw it, I knew I had to do something with it! It sat in my garage what seemed like “forever”. I have had this idea for some time to use either Ann Butler Faux Quilting stamps or Ann Butler Art Screens. I opted for the art screen in the Waves pattern. Here’s how I did it:
1) Original table
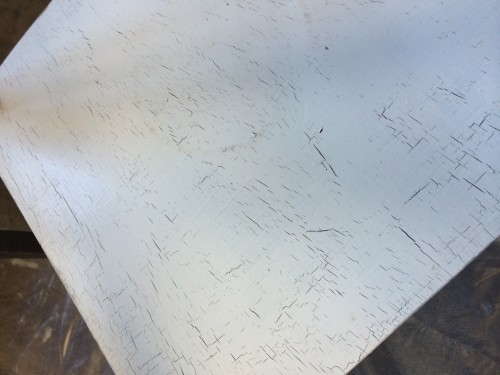
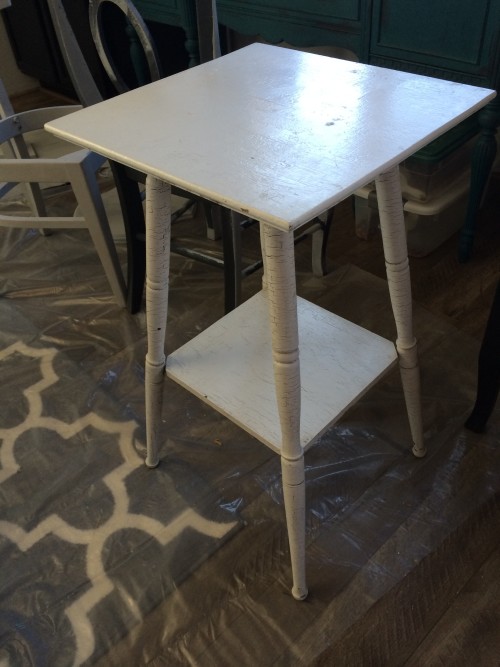
This original table looks like it had some type of crackle paint on it. It was looking pretty rough. I started with a base primer coat. I didn’t sand it. I just cleaned it well before painting. Let dry.
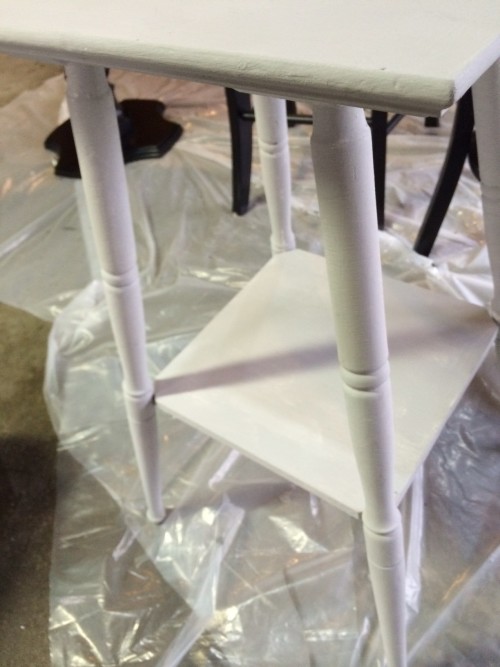
2) After the primer coat dried, I started painting the bottom portion of the table with the Wood Icing Glaze. This took two coats for the look I wanted, which was a really deep black. Because I needed to do areas in different stages, after the first coat was done, I started working on the top.
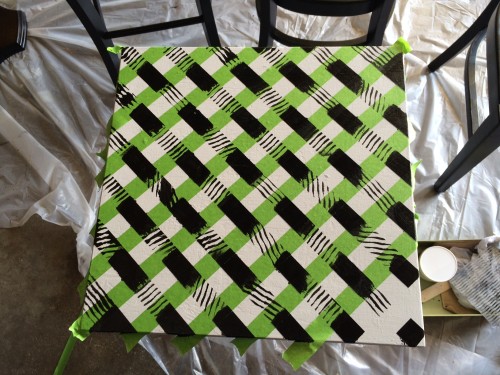
3) This is the fun part. You can do any design you wanted, but I wanted a fairly even pattern. I started by laying strips of painters tape diagonally across the entire top, covering the whole surface.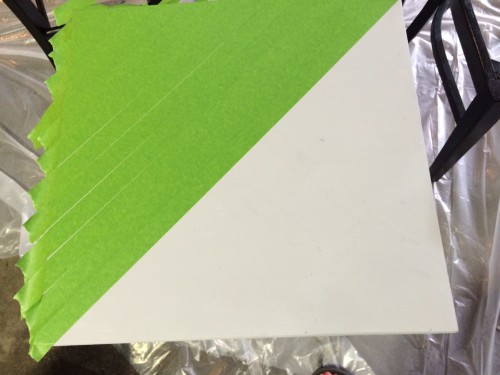
Yes, this looks really odd, but bear with me. After covering the whole top, then I started removing every other strip. I only did this in order to keep the lines even.
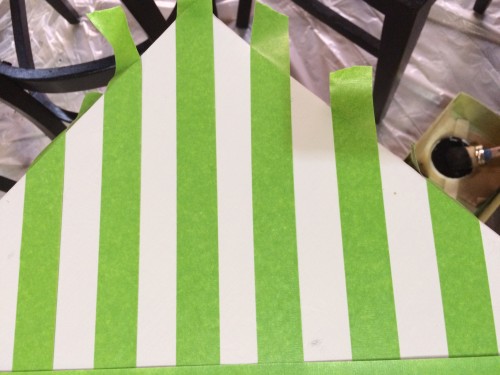
4) Once I had strips in one direction, then I started the entire process with the painters tape in the opposite diagonal direction. Then, once again, I removed every other strip.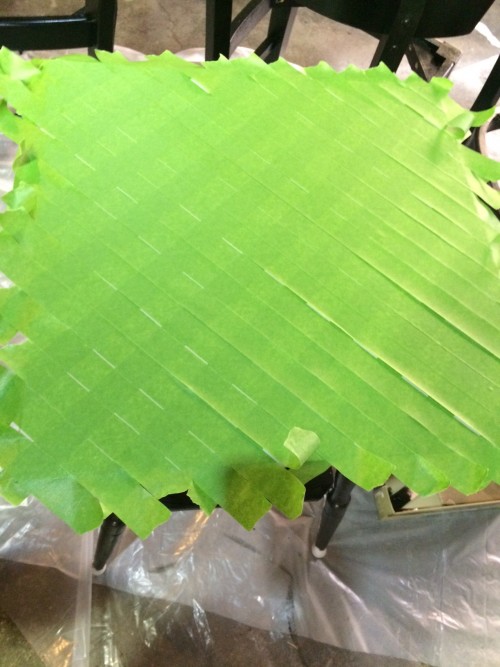
5) Now time to paint. I used Ann Butler’s Wave Art Screen, almost as a stencil, and applied the wood glaze to every other square. I rotated the position of the art screen each time I moved it. The other squares were painted with solid glaze. Let the paint / glaze dry for 24 hours before removing the tape.
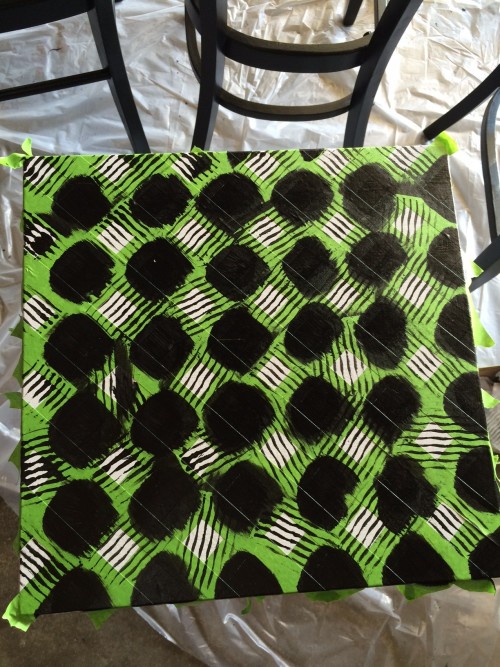
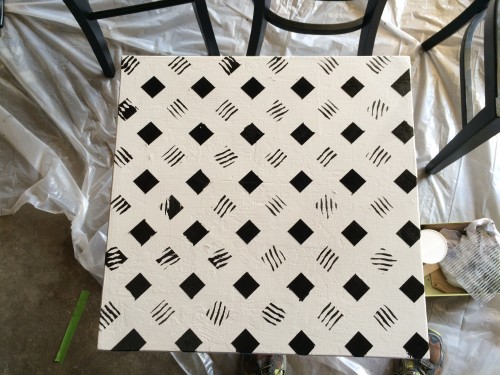
6) That’s it. After the top had dried completely, I had to go back and finish painting the edge, and doing touch-ups. Again, I always let it dry in between coats / steps for at least 24 hours. Yes, this project was an “over-time” piece.
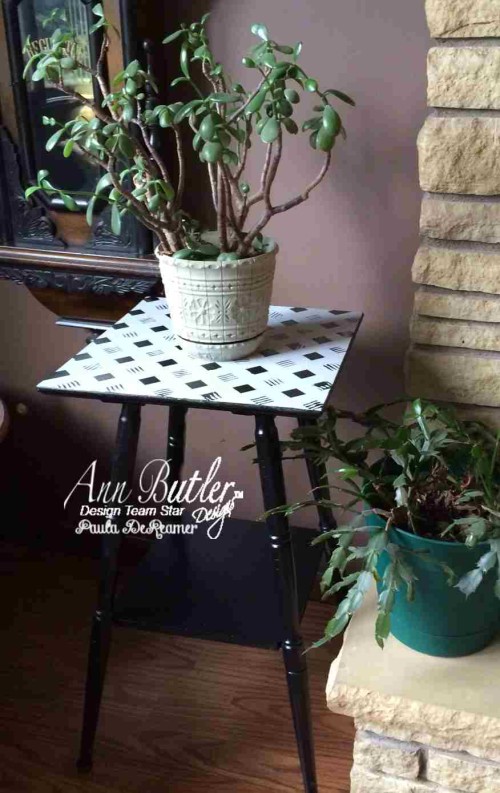
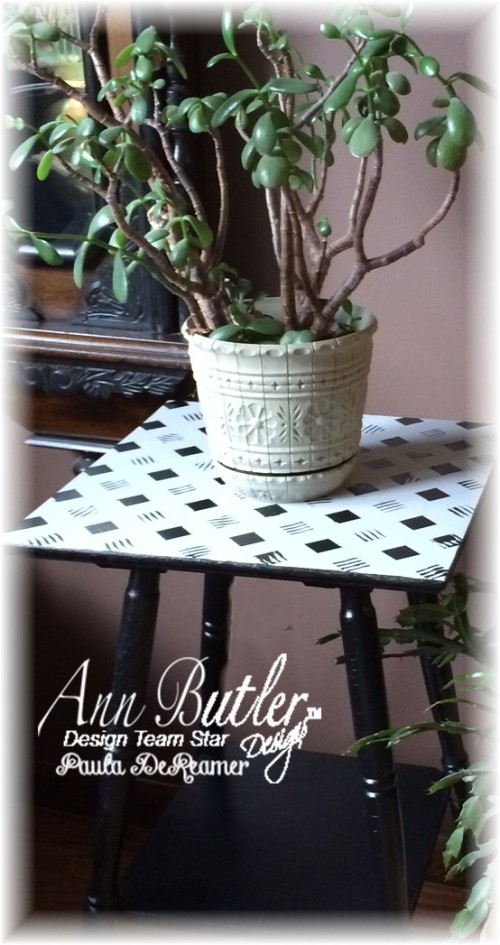
I hope you like it! It now sits in my living room with a plant on it. Thanks for stopping by! Have a great day!
 Paula
Paula

