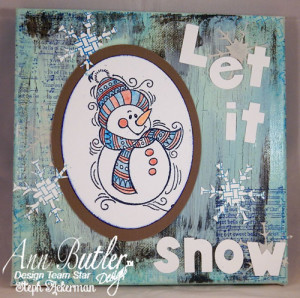
Hi everyone! Paula here today with a cute little Polka Dot Snowman Card project. No major snow here in the Midwest yet, but we have had flurries; just enough to start thinking about these fun little guys. Recently, I joined a holiday gift swap and the person I am sending to loves black and white polka dot.
Let’s get started.
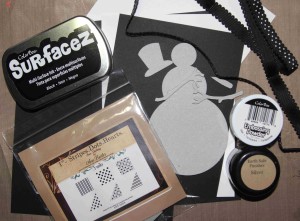
Supply list:
- Ann Butler Designs Faux Quilting Stamps -1″ Stripes, Dots, Heart
- Ann Butler Designs Iridescents Paint from Earth Safe Finishes in Tangelo
- Ann Butler Designs ColorBox Art Screens: Waves
- ColorBox Surfacez Ink by Clearsnap in Black
- Black cardstock, white cardstock
- ColorBox Clear Embossing Powder
- Ann Butler Designs Iridescent Powder from Earth Safe Finishes: Silver
- Chipboard snowman die cut
- Gesso, Gel Medium, embossing ink
- Miscellaneous embellishments: cheesecloth, ribbon, stickers , embossing folder to create ‘dot’ background, adhesive, glue dots, marker
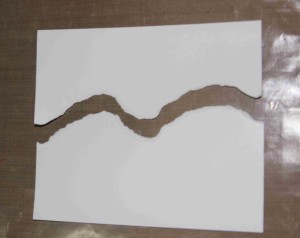
This card is approximately 5×7 in size. To start, I created the “snow” effect first, because that would need to dry. Take a piece of white cardstock, approximate width of the card and rip in half (we’re creating a snow bank of sorts).
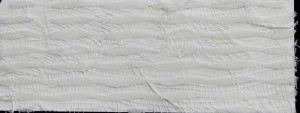
Using one half of the ripped cardstock, flip it and adhere to the back of the second piece. This is just to create a bit more dimension. Apply a thin layer of gel medium to the piece, then apply a layer of cheesecloth. I kept adding a little bit of medium and scraps of the cheesecloth to get the desired look, as I did not want this really thick. Set aside to let dry.
Once this is dry, I added another dimension by adding gel medium, using Ann Butler Designs Wave Art Screen. Lay the screen on top of the piece, use a spatula to apply gel medium, then slowly remove. I applied glitter to the this later to give that little sparkle. Set aside to dry.
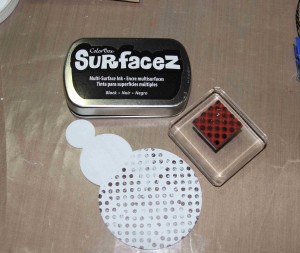
To create the snowman: Add a thin layer of gesso to the snowman chipboard pieces (you could also use a white paint; I just happened to have it sitting on my desk). You just want to add a base layer. Once that dries, stamp the bottom portion of the snowman in Black ColorBox Surfacez Ink.
Next emboss the entire snowman by putting clear ink over entire snowman and ColorBox Clear Embossing Powder. You will then heat set the embossing powder with your heat tool.
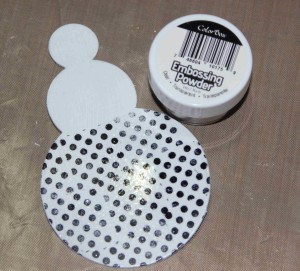
Use the Black Surfacez Ink to color the hat, buttons, and arms. I used both a sponge and direct to paper to get the color I wanted. I painted the carrot nose using the Ann Butler Designs Iridescents in Tangelo. Apply the clear embossing powder to all these pieces.
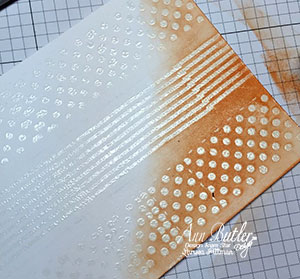
For the background, cardstock, use a dry embossing folder. I used a dot pattern to create the ‘snow’ falling look. Using my finger, I added Ann Butler Designs Silver Iridescent Powder give a little dimension/shading to the embossed pattern.
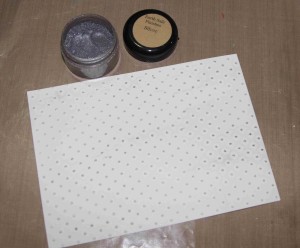
Time to assemble: Adhere white snow fall /embossed dot background to black cardstock. Complete the snowman by adding eyes with a marker, adhere coal buttons and carrot nose with glue dots to the snowman base. Attach snowman to the cardstock. Adhere the snow bank to the bottom of the card, slightly overlapping the bottom of the snowman. Add sticker sentiment.
Note: I did add the clear glitter to the black stickers, but in the photo, they almost appear a different color – they really are not green/goldish.
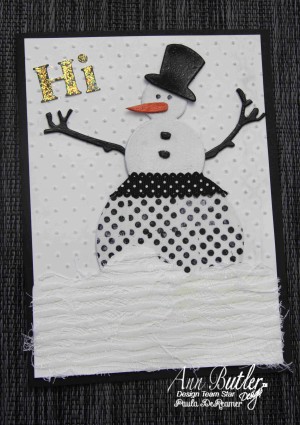
That’s it! Hope you enjoyed this card. Thanks for stopping by!
Paula

