Hello, my dear friends and welcome to my Mixed Media Fancy Tag post. This is a small tutorial for a tag made with Ann Butler Designs stamp, stencil and paints and the result is a very adorable and fancy tag.
So here we go!
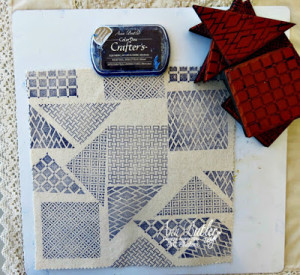
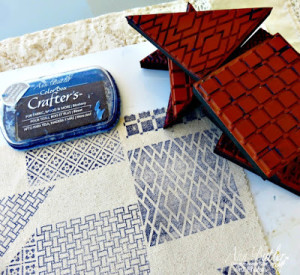
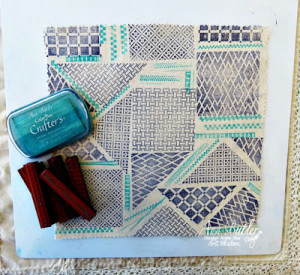
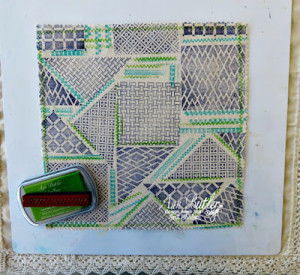
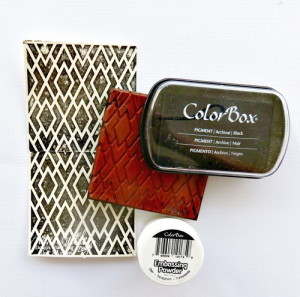
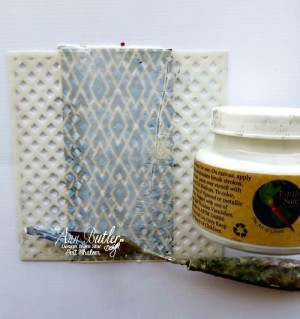
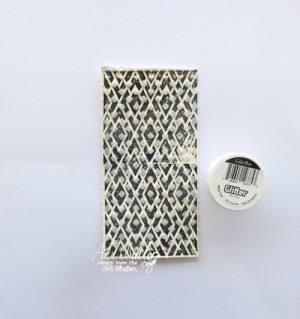
1. Stamp Ann Butler Designs Clearsnap Background Basics Diamonds 1 stamp with Crafter’s ink in Night and heat emboss it with Clearsnap clear embossing powder as shown. Use any solid thick cardstock to make your stamping on as we are going to add more layers and it should be thick to keep all those layers.
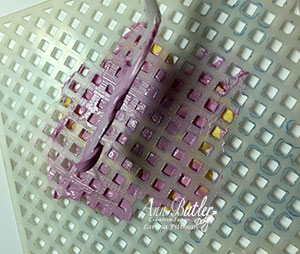
2. Use Ann Butler Designs Clearsnap Lattice Art screen and Earth Safe Finishes Gel Medium to make the stenciled image over your already stamped cardstock. The gel medium will be clear after it dries, so you just add as much as you want over the stamped background.
3. Add a thick layer of Clearsnap Winter Frost glitter over the wet gel medium and now let it dry for a pretty long time.
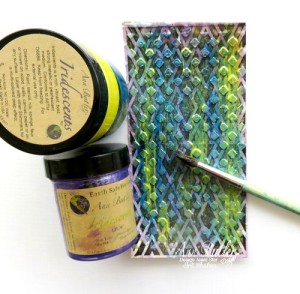
4. Take a couple of your favorite Ann Butler Designs Iridescents paints (Sunshine, Lilac, Emerald) and paint over the dry stenciled area. Wait for it to be dry and your fancy background is all done.
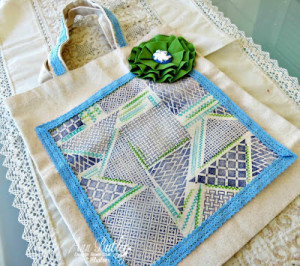
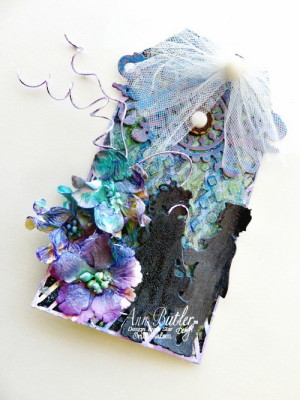
5. And this is your finished tag: I didn’t add the next steps as they are so easy to follow without any step by step photos.
I made a die cut with a vintage clock die and painted in with Lilac Iridescents paint. Then it was added on the top of my tag and embellished with a metal button.
All flowers on the side were also painted with the very same Lilac and Emerald paints.
The retro kids die was heat embossed with black thick embossing powder.
The tulle tie was added and a few paper string pieces in Lilac color were the final touch for this art tag.
Enjoy, Irit Shalom.