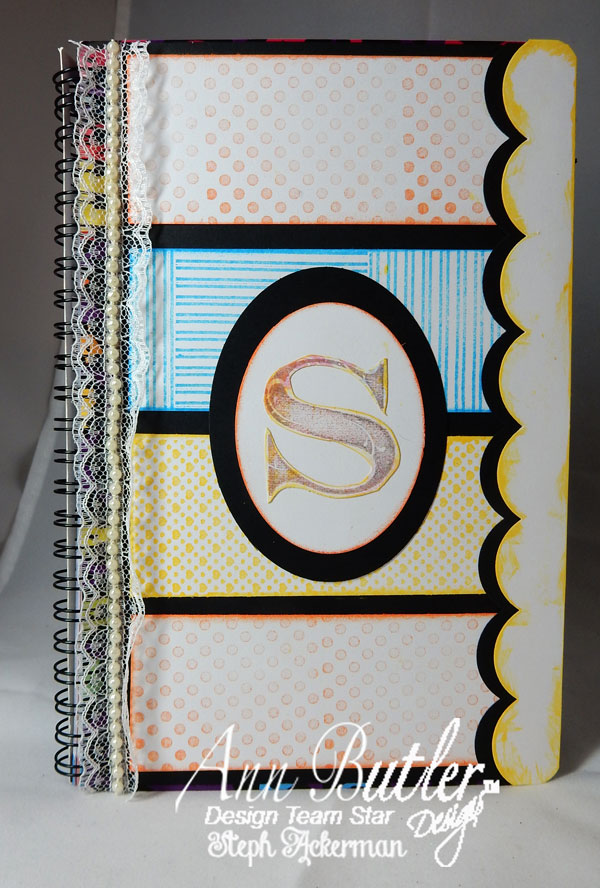
Hi everyone, Steph Ackerman here today with a DIY Monogrammed Stamped Planner using Ann Butler Design’s products.
You’ve seen all the planners on the market. You’ve seen all the amazing ways people have been decorating their planners. But what if those planners aren’t what you want? What if they aren’t your style? Let me show you how easy it is to create your own planner.
Supplies:
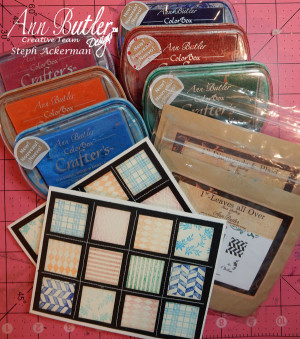
- ColorBox Crafter’s® by Ann Butler – Tangelo, Sunshine, Desert Sand, Aquamarine
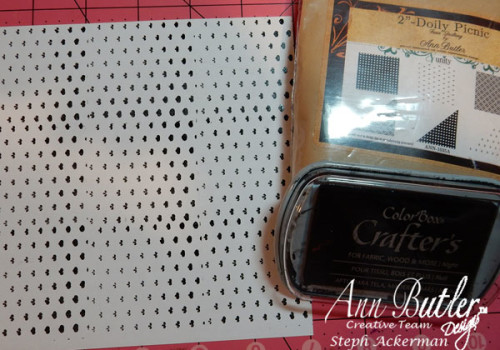
- Ann Butler Designs Faux Quilting Stamps from Unity Stamps – 2″ Stripes.Dots. Hearts.
- EZ De’s Stamps – Flourish 2″ABCs
- JoyClair Stamps – Butterfly Kisses
- Beacon Adhesive– Fabri-Tac
- May Arts Ribbon
- Spellbinders dies
I picked up a planner in the dollar store (it’s amazing what you can find there) and thought it would a fun DIY project.
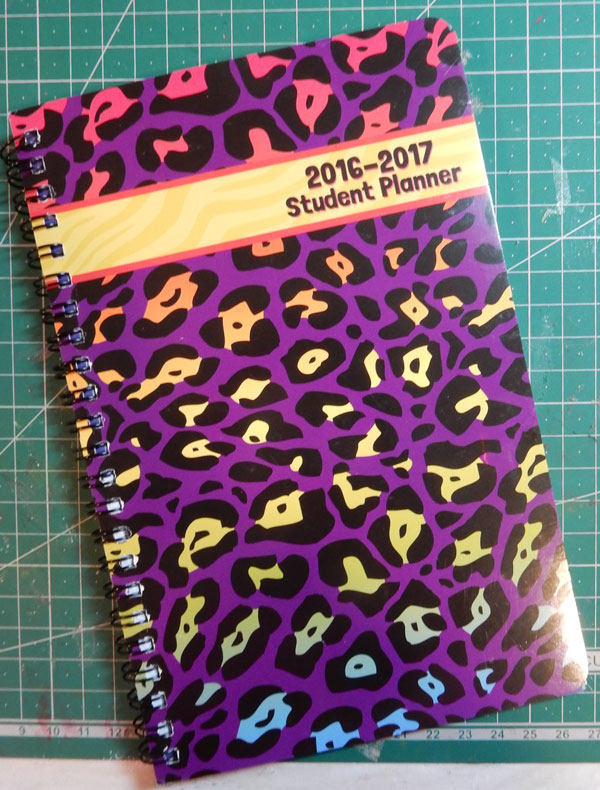
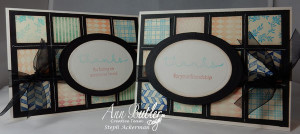
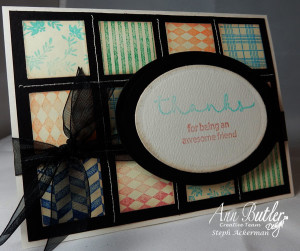
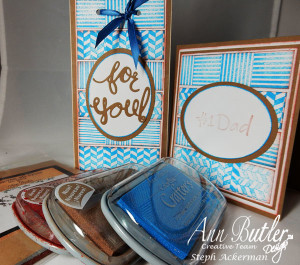
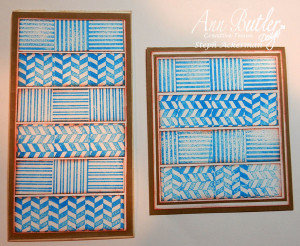
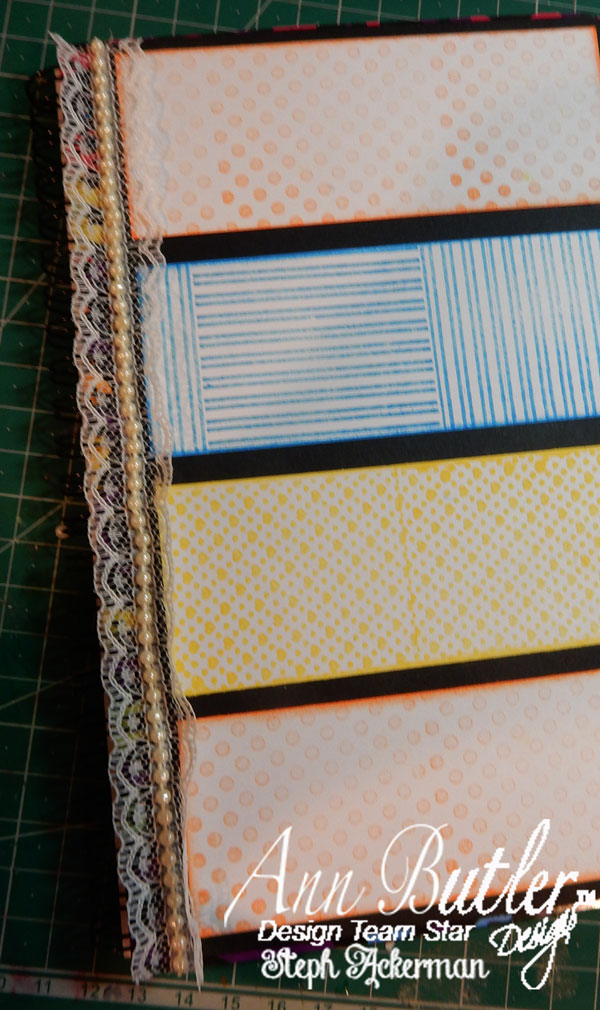
I covered the front cover with black cardstock, then went to work designing the cover. Using 3 stamps from the 2″ stamp set, I stamped them in 3 different colors.
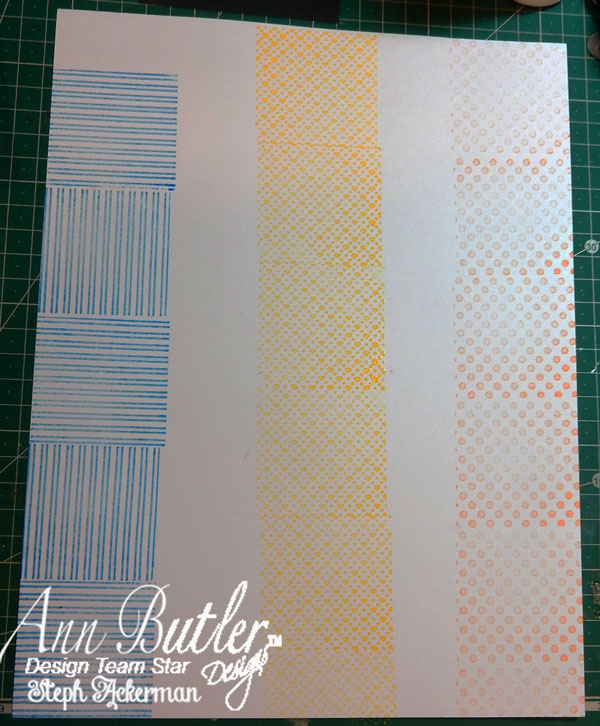
I cut the strips to fit the cover, inking the edges of each strip before adding them to the front.
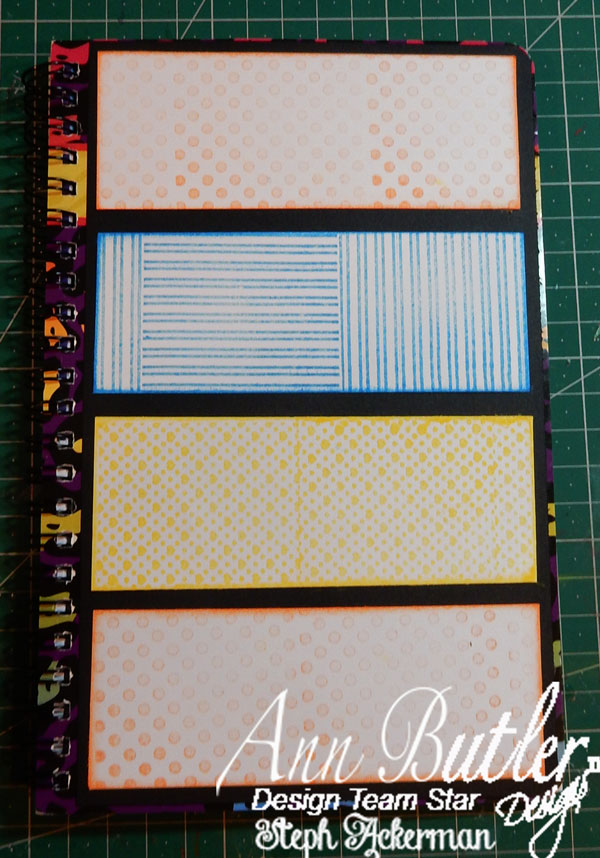
To finish off the left edge, I used Fabri-Tac to adhere a strip of May Arts pearl lace.
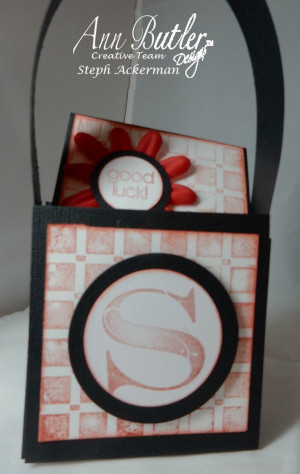
To finish off the right edge, I used a double layer of Spellbinders dies. For the center, I then used oval dies and added a stamped initial in the center.
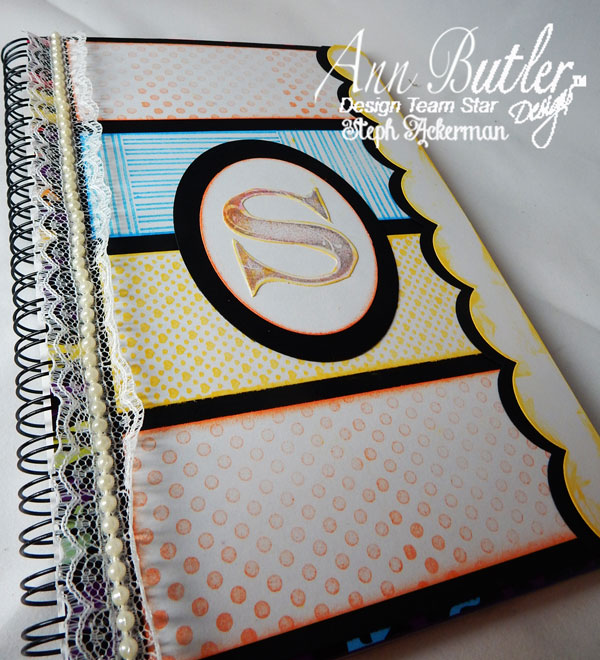
This is a really great way to personalize planners for yourself and all your friends. Think of all the variety of planners you can create.
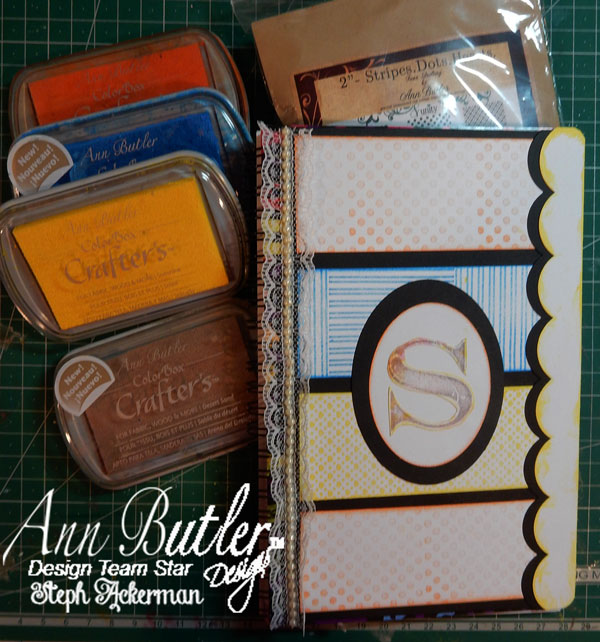
I hope I’ve inspired you to create your own DIY Planner today.
Thanks for stopping by today.
