Your cart is currently empty!
Author: Donna Braaten-Budzynski

Inked and Stamped Halloween Wood Pumpkin
Hello friends, Donna here to bring you some fun fall decor. Fall is in the air, nights are cooler and the leaves are changing. Well, they are here in Minnesota! I spotted this gem at Target for $3! I knew it would be fun to do something with it. So, I Inked and Stamped this…
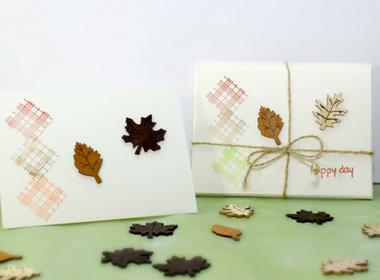
Super Easy Stamped Fall Gift Card Set
Hello Friends, Donna here with you today to share a Super Easy Stamped Fall Gift Card Set. I know, I know….you may not have wanted summer to end, however it is on to crisp fall weather. Why not celebrate with some Stamped Fall Gift Cards? They are fun to make, fun to give and fun…

Hand Stamped Quilted Barbie Blanket and Pillow
Hello, Donna here to share a Hand Stamped Quilted Barbie Blanket and Pillow! My granddaughter had asked me to make her Barbie a blanket and a pillow a few weeks back. How could I refuse when she looks at me with her big brown eyes and asks in her sweetest voice “MeMe PLEASE! Will you…

Canvas Stamped Gift Wine Bag
Hello All, Donna here to share a great Canvas Stamped Gift Wine Bag! This will impress and look great as you hand this Canvas Stamped Gift Wine Bag over to your hostess! This bag is so easy for even a beginner to make and very little time. No store bought bag for you! Yours will…

Quick and Easy Stamped Shabby Tote Bag
Hello friends, Donna here with you again to show you how to make this FUN Quick and Easy Stamped Shabby Tote Bag! You could use this Shabby Tote Bag for the library, diaper bag or for the groceries and so much more! There are so many uses for this Quick and Easy Stamped Shabby Tote…

Mouthwatering Watermelon Stamped Dish Towel
Hello Friends, Donna here with you today to share a FUN Mouthwatering Watermelon Stamped Dish Towel! It’s Summertime and with all the gatherings for picnics and barbecues you need to have some cute dish towels! What better way to say Summertime Fun than this Mouthwatering Watermelon Stamped Dish Towel? Shall we get started? Step 1:…
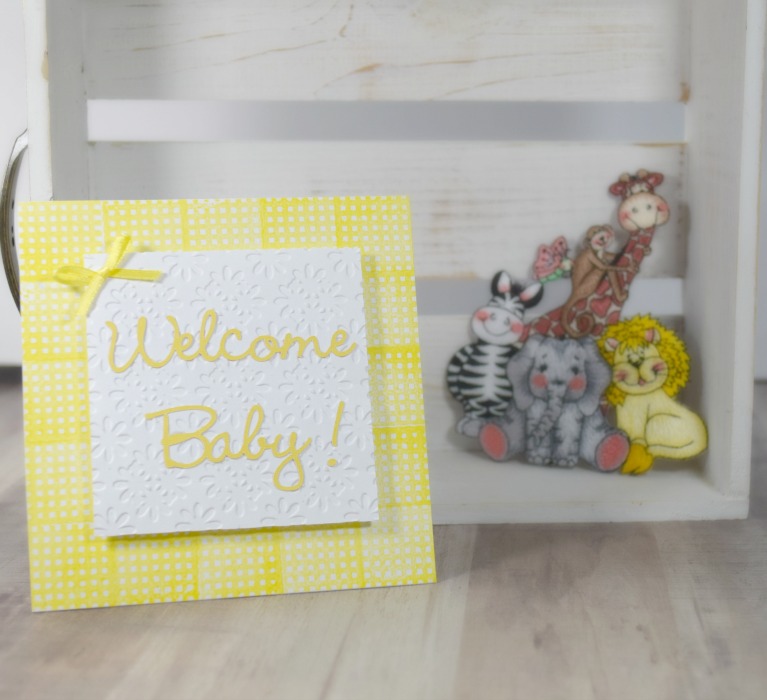
Welcome Baby Card
Hi everyone, Donna here to share with you a simple and beautiful Welcome Baby Card! I don’t know about you, but I have so many babies being delivered that I needed to come up with a design for a boy or a girl. I think I nailed it with this super simple but sweet design!…
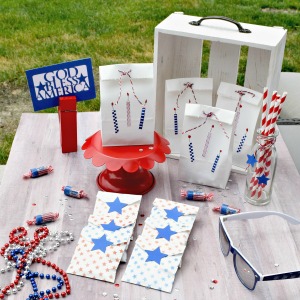
Patriotic Treat Bags
Hi everyone, Donna here to share some fun Patriotic Treat Bags! July is just around the corner and these Patriotic Treat Bags will look fantastic on your picnic table! I will show you how to make two different Patriotic Treat Bags, one larger and one smaller. They are fun and quick to make and give a…
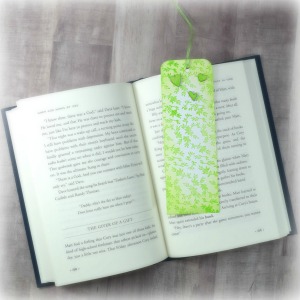
Quick & Easy Stamped Bookmark
Hi friends, Donna here with you today to show you how to make a Quick and Easy Stamped Bookmark. Summer is coming, that means relaxing and reading. You will need a bookmark and it is quick and easy to make a stamped bookmark in minutes featuring stamps and inks by Ann Butler. Let’s get started…
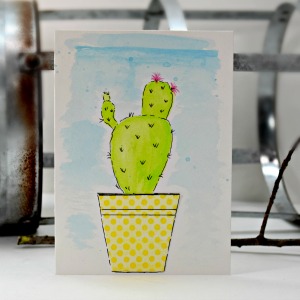
Faux Watercolor Cactus Card
Hi all, Donna here to share this fabulous Faux Watercolor Cactus Card! I had so much fun playing with Ann’s ColorBox Crafter’s Inks for this project! I have always had a fascination with Watercolor. Although I have never had the opportunity to take a class or formal training and so I pretend. I decided to…