Your cart is currently empty!
Author: Chantal Johnson
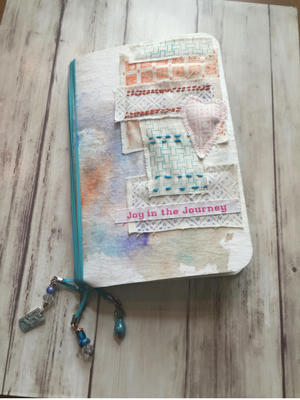
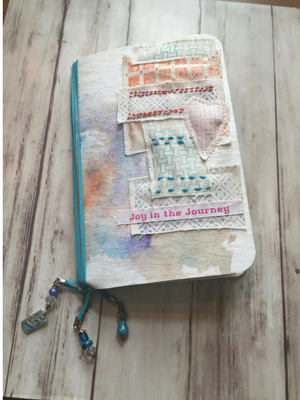
Handmade Journal using DIY Ink Techniques part 3
Hey y’all, its Chantal and today we have come to the end of our Handmade Journal using DIY Ink Techniques! Part Three is all about creating signatures, personalizing it with embellishments, adding a puffed heart and giving it a title. This is where the journal becomes yours, a work from your heart and hands. This…
Handmade Journal using DIY Ink Techniques part 2
Hey y’all, its Chantal and today we are continuing our Handmade Journal using DIY Ink Techniques! Part Two is all about stamping and stitching. With rich and vibrant colors of these Crafter’s inks and the background stamps, both by Ann Butler, this is the perfect place for some slow stitching. Typically, slow stitching or Sashiko…
Handmade Journal using DIY Ink Techniques part 1
Hey y’all, it’s Chantal, and today it’s all about joy! There is joy for me when I am able to incorporate many different art techniques with fabric, paper, inks, embroidery and even beading. This handmade journal begins with paper fabric, luscious inks and a special application that creates a water-colored, marbled effect. You could stop…
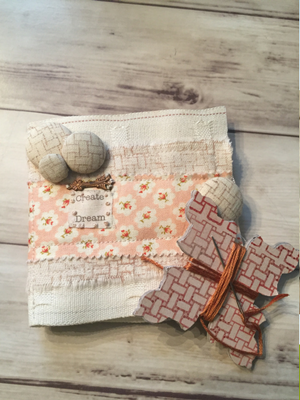
Hand Stamped Sewing Accessories
Hey y’all, this is Chantal. Today, we are continuing to create beautiful accessories for our sewing and embroidery supplies. Our pin and needle holder (made from drapery tape), featuring Crafter’s Inks and Background Stamps by Ann Butler, is a great way to have pins and needles ready for your projects and for me, it is…
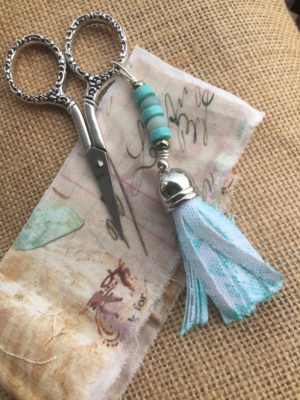
Fabric FOB with Crafter’s Ink
Hey y’all, this is Chantal. Today, we are taking a little break from stitching to check on our supplies and how we store and organize them with beauty and creativity. We can make beautiful accessories for our “tools” such as scissors, pins and needles and even our threads. This little tassel and beading project, featuring…
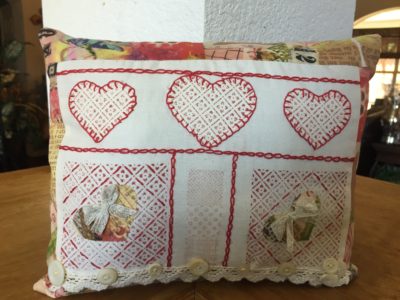
Red Work Inspired Sampler Part 4 – Finishing Touches
Hi everyone, this is Chantal here, with the Finishing Touches for our Red Work Inspired Sampler. First, may I say thank you to all of you for stitching along with me for our Red Work Inspired Sampler featuring Ann Butler’s Crafter’s Inks and Background Stamps from Clearsnap. I hope you have enjoyed learning new stitches…
Red Work Inspired Sampler Part 3 Appliques
Hi, everyone! We are half way through our Red Work Inspired Sampler, today I am sharing part 3 Appliques. I hope you are enjoying working with new stitches and stamping with our grid pattern to create our sampler. In Part 3 Appliqués are added to our sampler along with the Blanket Stitch. This stitch may…
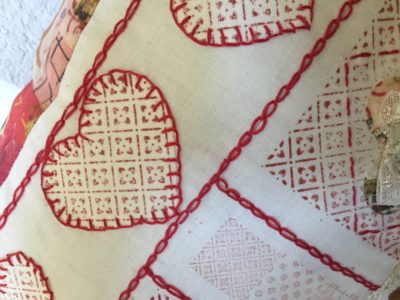
Red Work Inspired Sampler Part 2
Hi, everyone!! I hope you have had a chance to get your sampler ready for stitching….In Part 1 of our video, we used Ann Butler’s Crafter’s Inks (I love that they are “juicy” with color and show up so well on fabric!), Clorbox Background Stamps and a pencil or micron pen to create our sampler.…
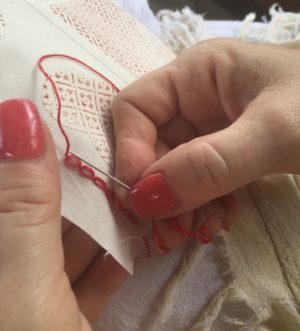
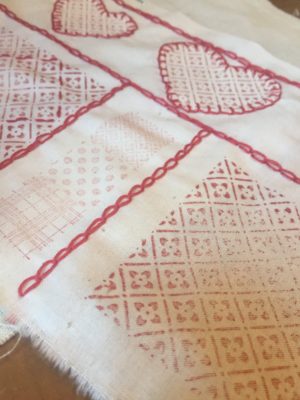
Red Work Inspired Sampler Part 1
Hi y’all! It’s Spring in Texas and that means it’s time for sitting outdoors, sipping sweet tea (well, that’s really all the time) and stitching!! I love Red work and was drawn to create a Red Wok inspired Sampler with Ann’s Crafter’s Inks and Background Basics Stamps. There’s something about stitching outdoors- the sound of the…
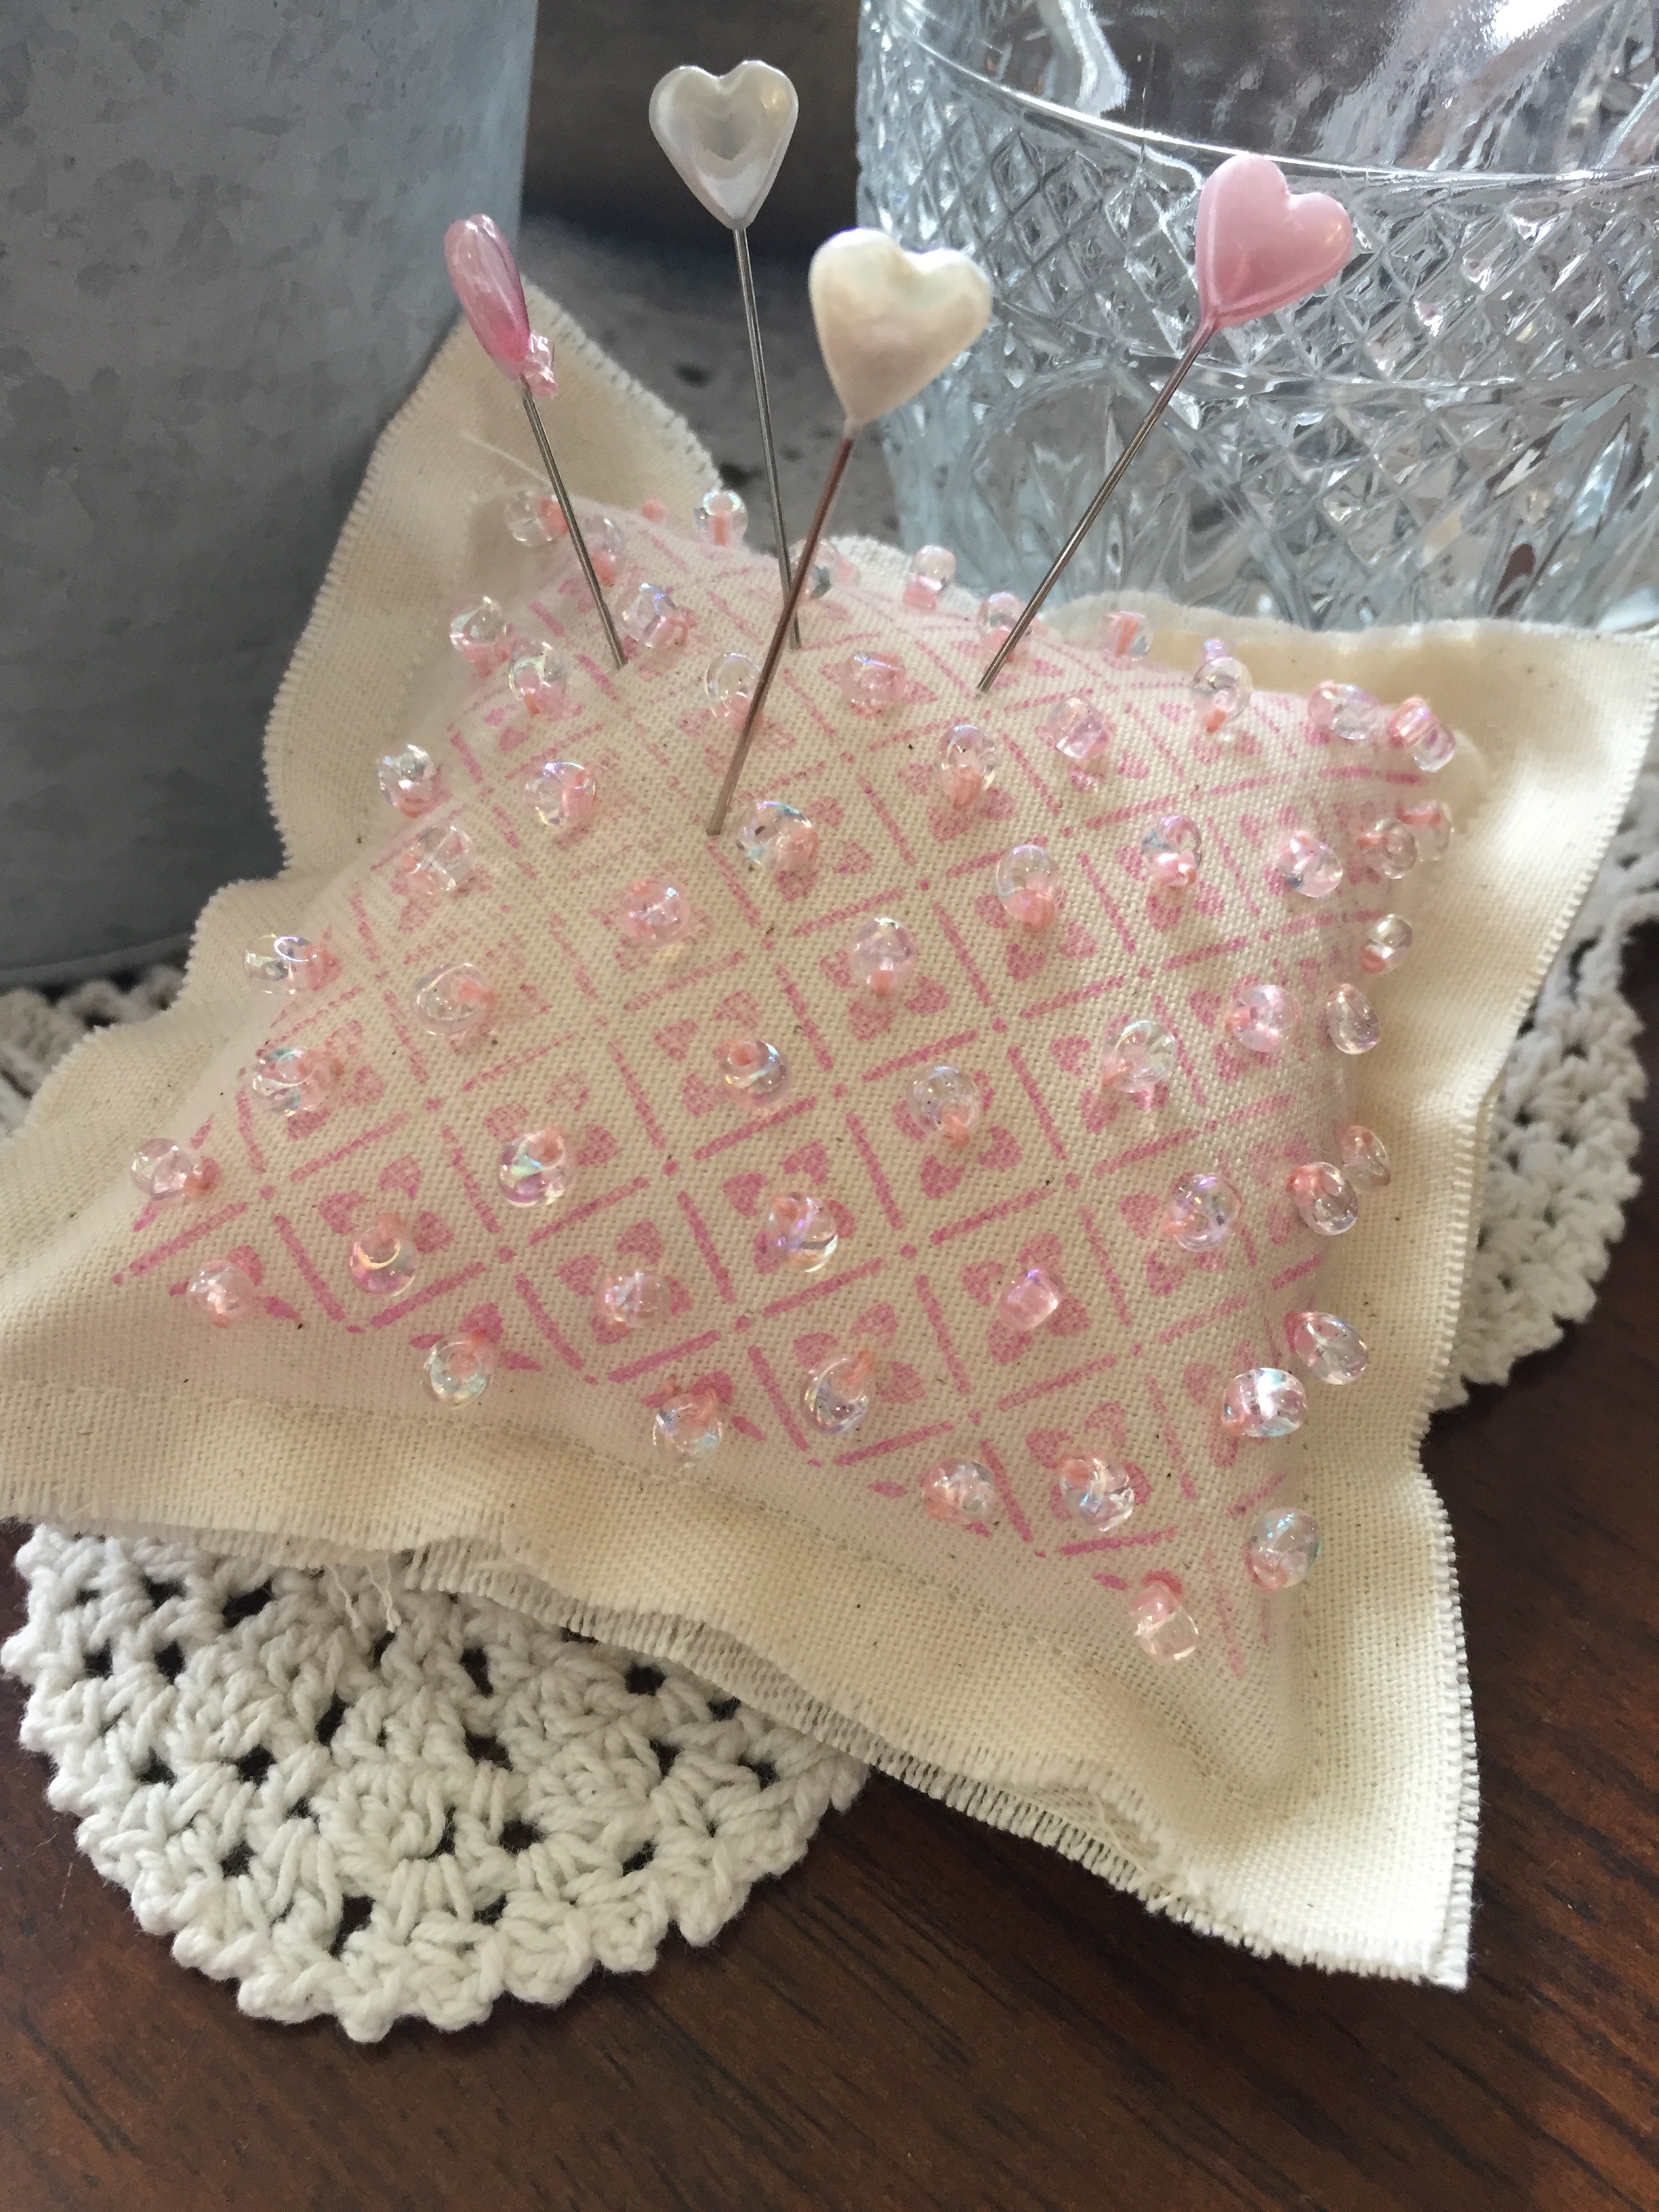
Stamped and Beaded Pretty Little Pincushion
Hi y’all, I’m Chantal Johnson, and I am so happy to be sharing a Stamped and Beaded Pretty Little Pincushion featuring amazing stamps and inks by Ann Butler and adding the technique of beading. I absolutely love when a project combines so many loves of mine. Let’s get started… Step 1: Cut two pieces of muslin…