Your cart is currently empty!
Author: Beth Watson
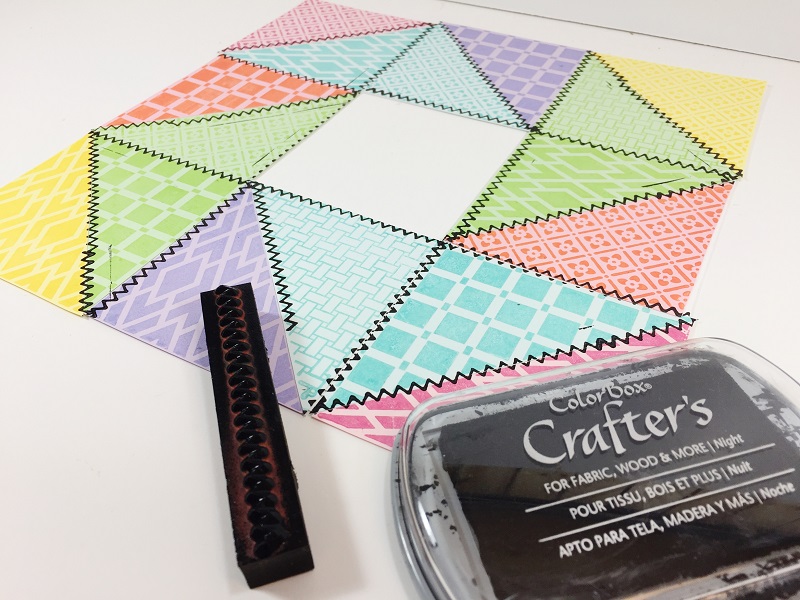
How To Make A Spring Inspired Faux Quilted Frame
Happy Spring! Beth here on the blog today to show how to make a Spring inspired Faux Quilted Frame! I love to brighten up my home decor when Spring has sprung! The daylight hours get longer and the dull, dreariness of Winter is finally over. Ann Butlers’ inks and stamps are the perfect way to…
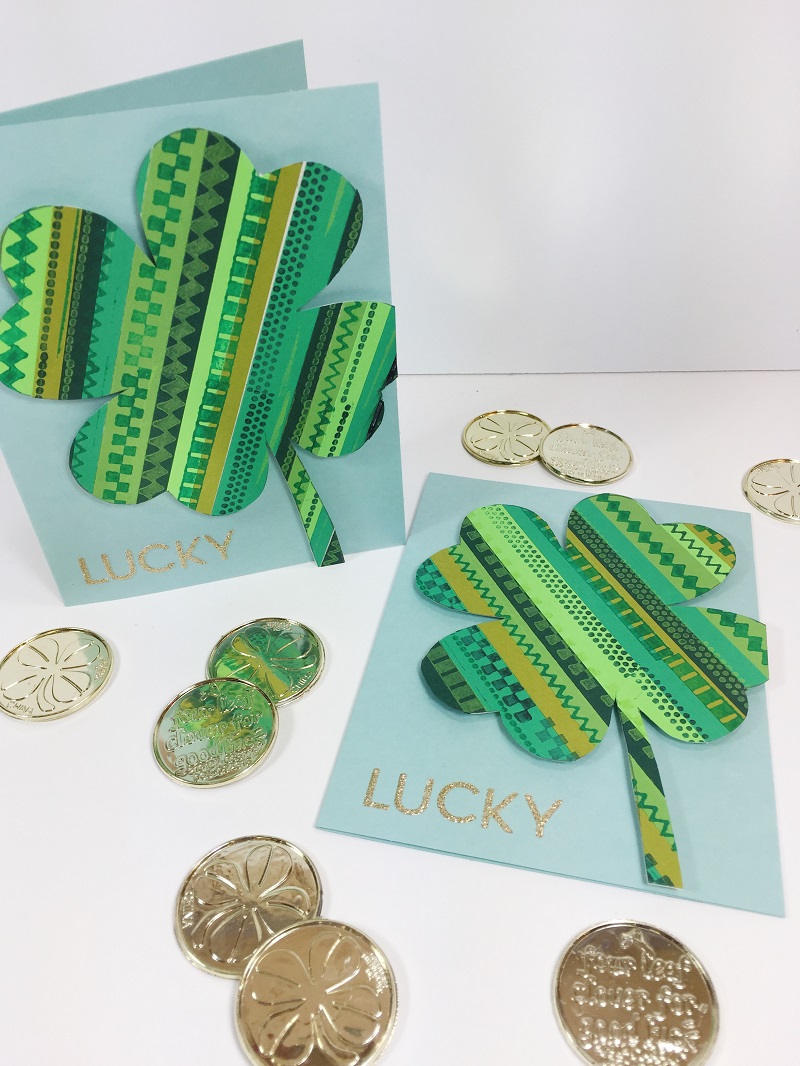
Quick and Easy Lucky Shamrock Note Cards
Happy almost St. Patrick’s Day everyone! Beth, here on the blog today to share my quick and easy lucky shamrock note cards! This set of 12 note cards went together in just under one hour, a great project for all of those last minute lucky wishes that you might want to share with your family,…
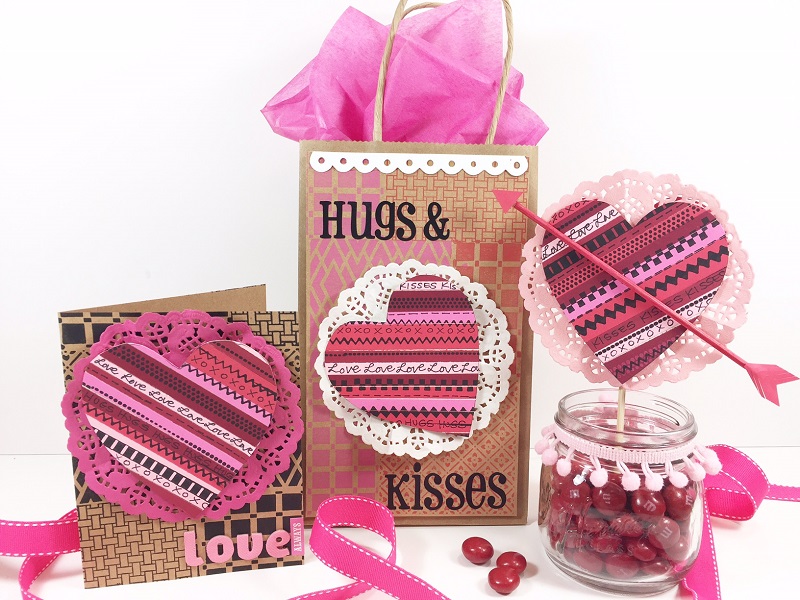
Quick and Easy Faux Quilted Valentine’s Day Trio
Happy Valentine’s Day! Beth here to share a quick and easy Faux Quilted Valentine’s Day Trio of decorations to brighten your day! I always like to craft with my stash whenever possible and create things for holidays instead of just buying them at a store. Here’s how I made it: STEP ONE: Cut strips of…
Faux Quilted Pineapple Planter
Hi faux quilting friends! Beth here on the blog to share my Faux Quilted Pineapple Planter with y’all today! I was walking through Target recently and noticed their expanded craft aisle with bright colors and cute packaging. Lots of washi tape, kids crafts and wooden items. I picked up a faceted wooden vase because I…
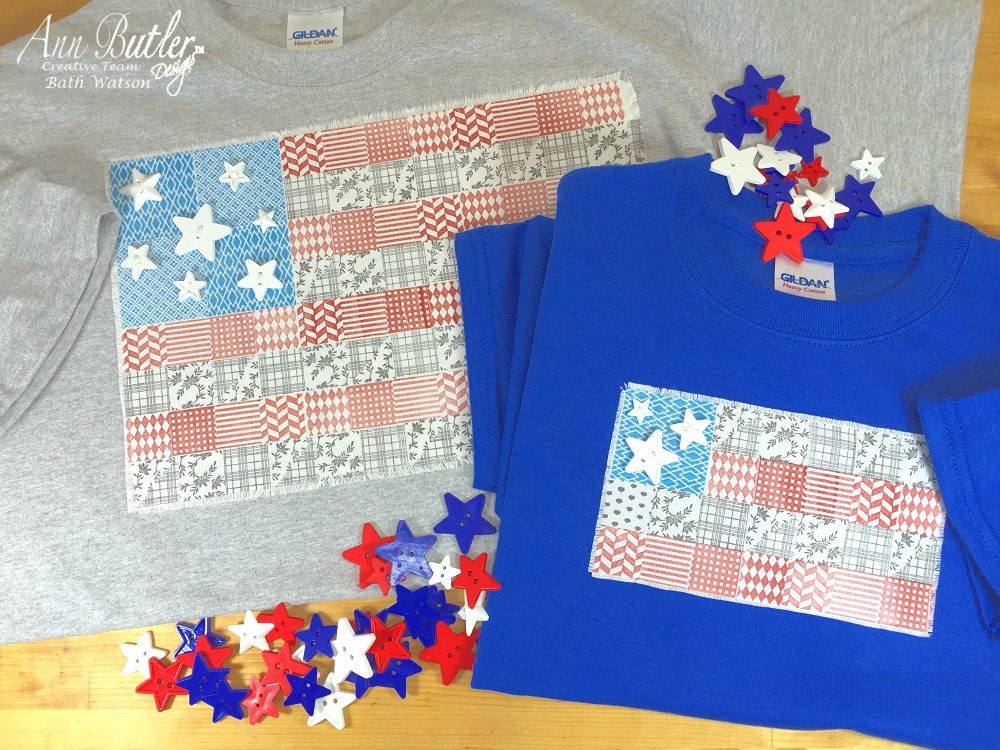
Faux Quilted Patriotic Flag Shirts
Hi Crafters! Beth here on the blog today sharing these quick and easy Faux Quilted Patriotic Flag Shirts with Ann Butler Designs! I was inspired by an actual Flag Quilt pattern that I found on Pinterest. Measure and cut a large rectangle 8″ tall by 12″ long and a small rectangle 4″ tall by 7″…
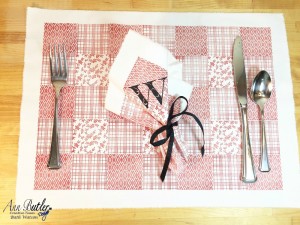
Faux Quilted Gingham Placemat with Monogrammed Napkin
Happy Monday crafty friends! Beth here to share with you my Faux Quilted Gingham Placemat with Monogram Napkin set – just in time for the Summer picnic season! It’s already the middle of May and Summer is just around the corner, so I have created a quick and easy gingham pattern that can be monogrammed…
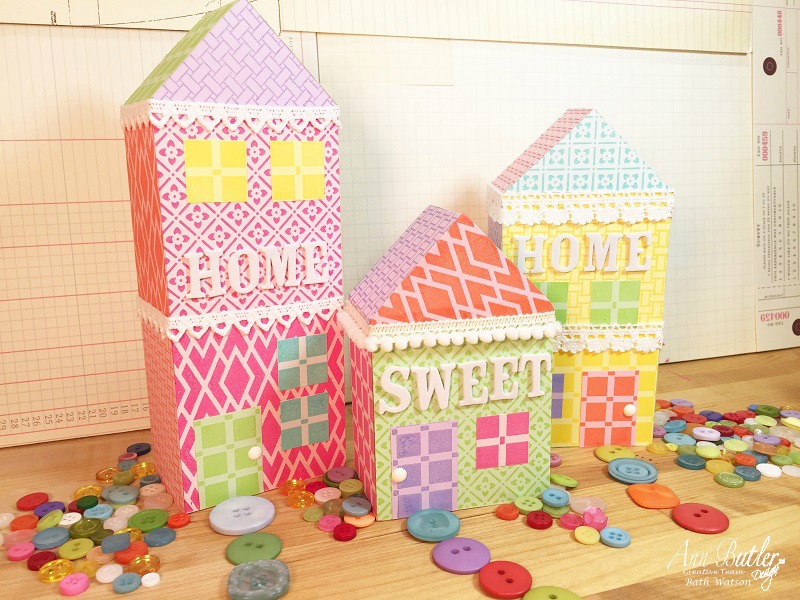
Faux Quilted Home Sweet Home
Happy Monday everyone! Beth here on the blog today to share with you a quilt block inspired Faux Quilted Home Sweet Home, houses! A great addition to your Spring home decor, plus they are quick and easy to make in just an evening or afternoon! Here is what you will need: Ann Butler Designs Crafter’s®…
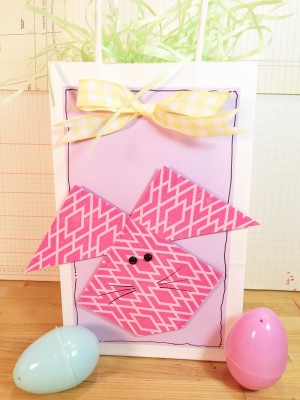
Faux Quilted Easter Bunny Gift Bags
Easter is just around the corner, so it’s a good thing that these Faux Quilted Easter Bunny Gift Bags go together in under an hour with a bunny quilt block pattern I found on Pinterest. Here is what you will need: Ann Butler Designs Crafter’s® Ink by Clearsnap – Aquamarine, Sunshine, Lilac and Berry Ann…
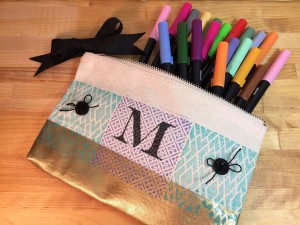
30 Minute Faux Quilted Monogram Zippered Pouch
Happy Friday! Beth here to share with you this awesome, but quick and easy Faux Quilted Monogram Zippered Pouch – make it in 30 minutes! I found the zippered pouch on clearance at my local office supply store and bought all six – SCORE. I love a deal and when it is cute and able…
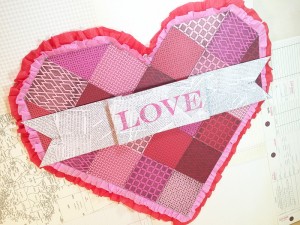
Faux Quilted Valentine Heart Door Decor with Background Basics
I love all holidays, I am a holiday celebrating kind of gal, which leads me to create unique and inspirational home decor for the holidays! Valentine’s Day is next on the holiday calendar, so I have created this Faux Quilted Heart door decor with Ann Butler Designs Background Basics stamps and Crafter’s Ink from a…