Hello Crafters! Zoey’s here today to show you how easily you can add clay to your projects!
Products I used are :
– ColorBox Crafter’s Ink ® by Ann Butler ( Deep Woods, Evergreen, Berry, Sunshine )
– ColorBox ® Background Basics by Ann Butler ( Basket 1 )
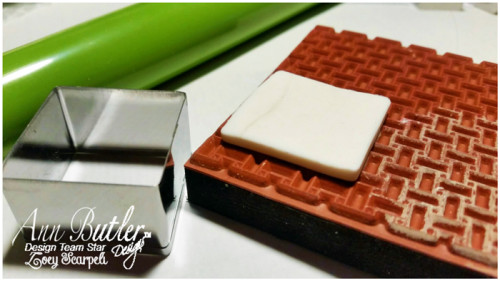
With the square shape cutter I cut out few pieces of white clay. I never worked with clay and I was amazed by how easily is to work with that product!
After I cut out the square I pressed it over the ColorBox ® Background Basics by Ann Butler Basket 1.
After doing the first square, I actually realized that it was going to be faster if I rolled down the clay and then stamp over it before cutting all the square.
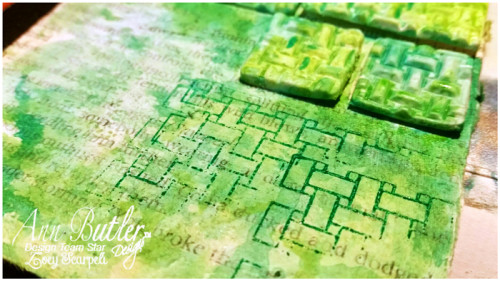
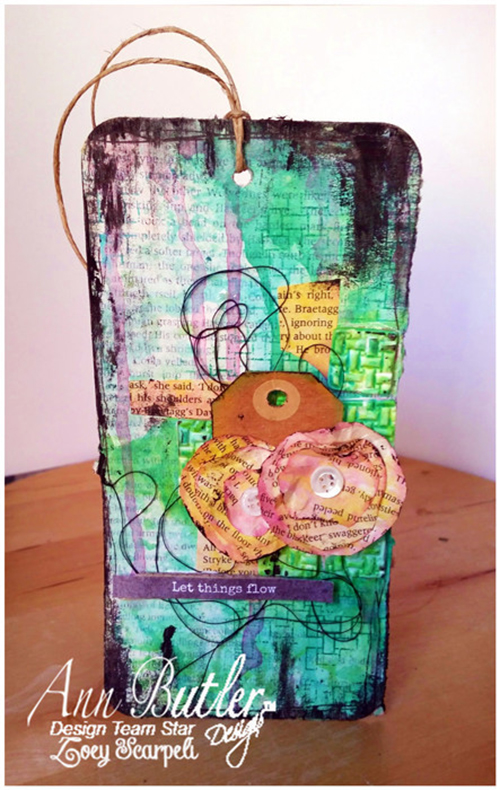
I let the clay dry and meanwhile I added old paper to my tag background and started coloring it with ColorBox Crafter’s by Ann Butler in the green shades. I smudged the ink pads over my craft sheet, spritzed water over them and then used a brush to color the background.
I also stamped with the same stamp I used for adding texture to the tiles. After making sure the clay was well dry, I glued the pieces over the background and colored the tiles as well.
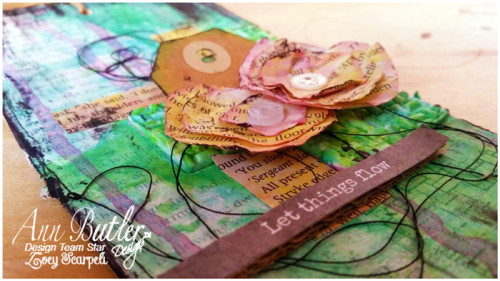
I let it air dry because I wasn’t sure the reaction with heat gun, so while I was waiting I grabbed other book pages and colored them using the same technique I did for the background, this time using Berry and Sunshine. I randomly cut circles out of the colored book page and stacked the circles to make two flowers.
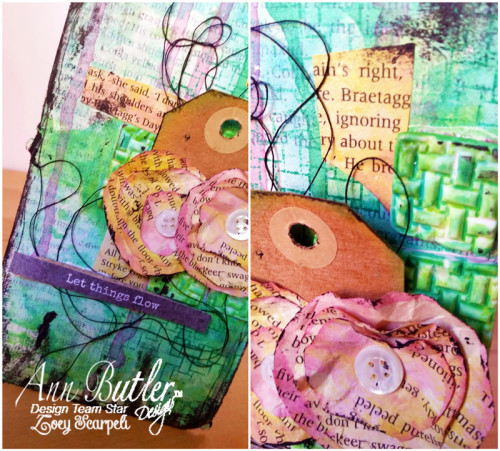
To make the flower blend better with the background, I added some strips of paper that were left over and let some Berry ink drip down the background. I also added some other details, like black floss, a small tag, two buttons and the sentiment.
I darkened the edge of the tag and added a piece of twine around the tag hole.
And here’s the finished project! What to you think about it? I hope you will like it and that you also will try to add clay to your projects! It is really easy !
Thank you for reading this post, stay happy stay creative….till next time!

Awesome Tag Zoey.