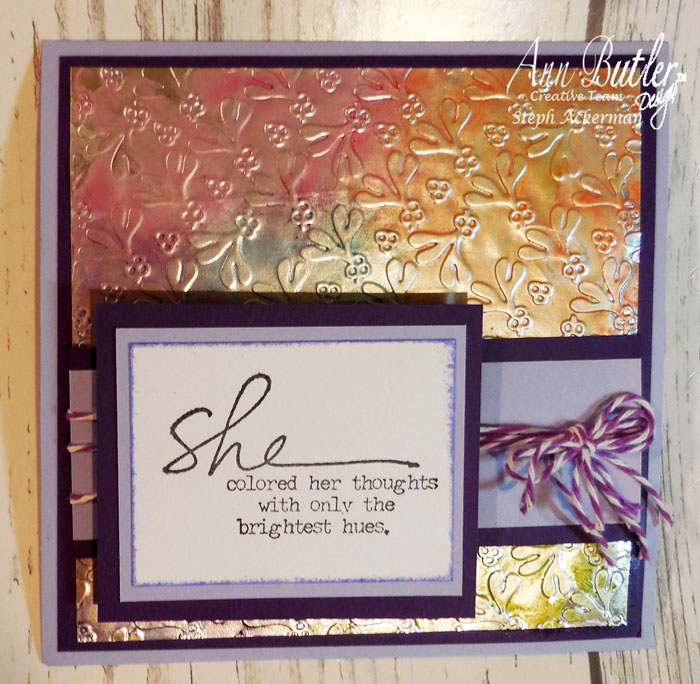
Hi everyone Steph Ackerman here to show you How to Create a Faux Metal Effect with Crafter’s Inks Re-inkers by Ann Butler and Rinea Foiled Paper.
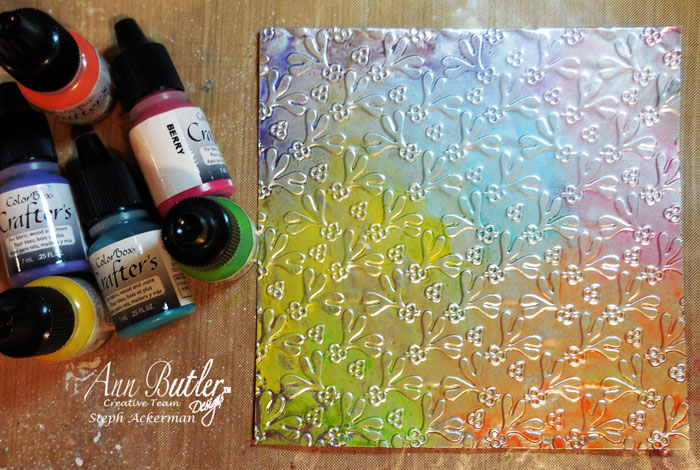
Re-inkers are fun to work with and you can achieve some amazing effects when you combine Crafter’s Inks re-inkers with Rinea Foiled Papers and an embossing folder.
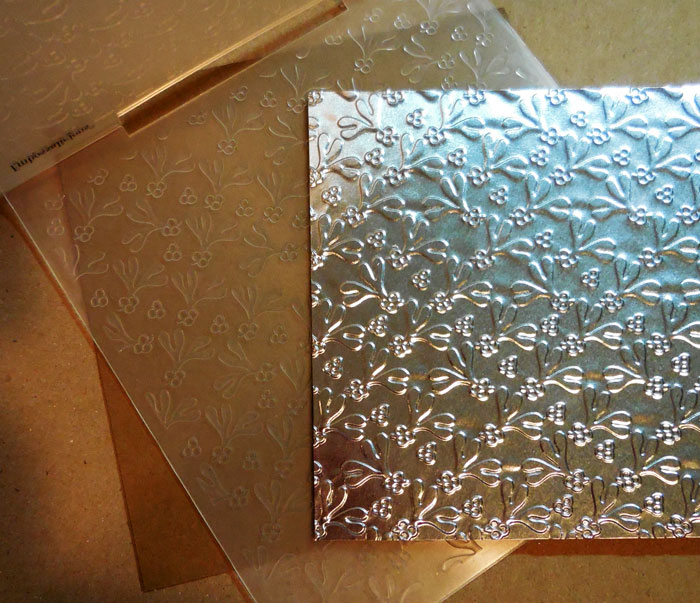
I began by cutting the Rinea Silver/Silver Glossy Foiled Paper into a 5″ square.
Then I placed it within an embossing folder.
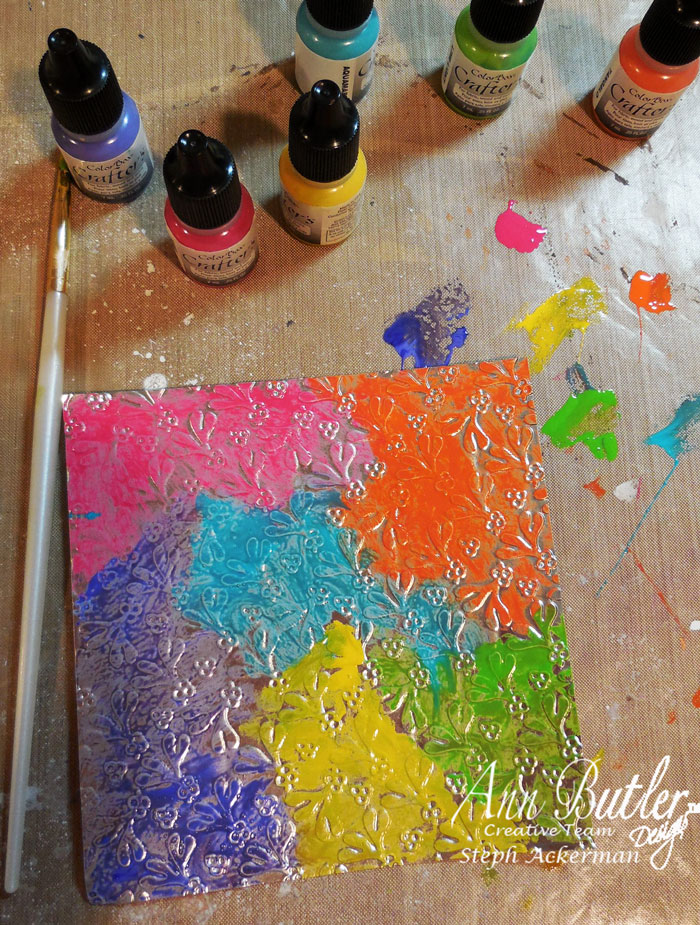
Placing drops of re-inkers on a craft mat, I used a paintbrush to pick up the colors and paint them on my embossed panel. I honestly wasn’t too careful about the color placement because I intended to mix them up a bit.
Next, I used a baby wipe to blend and soften the colors. Using too much pressure removes the color, so be sure to wipe lightly.
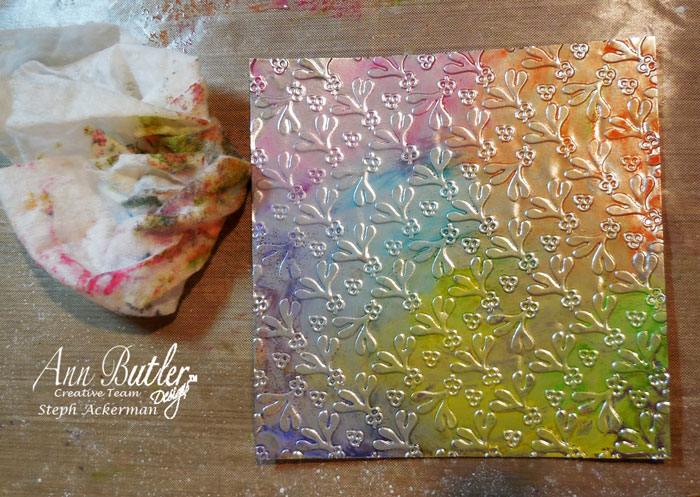
And the more you use the baby wipe, the lighter the color becomes. Allow 24 hours for the foil to dry or use a heat gun very carefully to speed up the drying process. A word of caution – the foiled paper will crinkle when heated directly, so you need to be careful and not place too much heat on the panel.
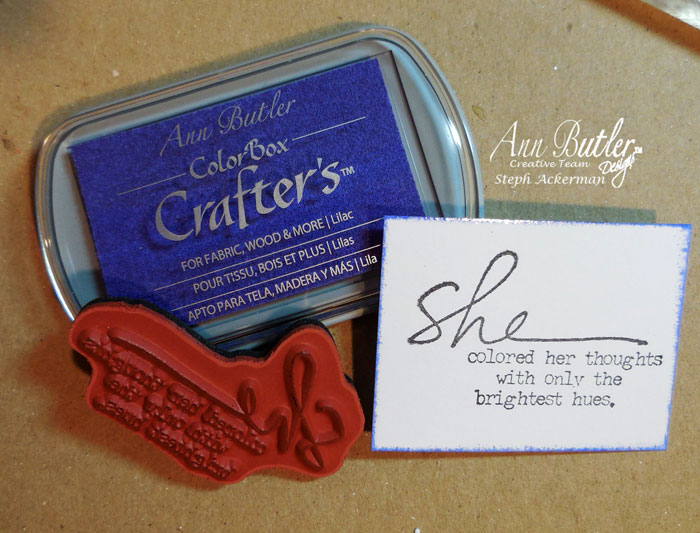
While waiting to dry, stamp the phrase on white cardstock, with Lilac Ink.
Assemble the card by first matting the foiled paper panel with dark purple cardstock.
Then add a strip of dark purple across the panel, followed by a strip of light purple.
Wrap with twine and adhere to the light purple card.
Mat the phrase in reverse – use light purple, then dark purple so there is more definition against the card.
Add to the card with foam adhesives for dimension.
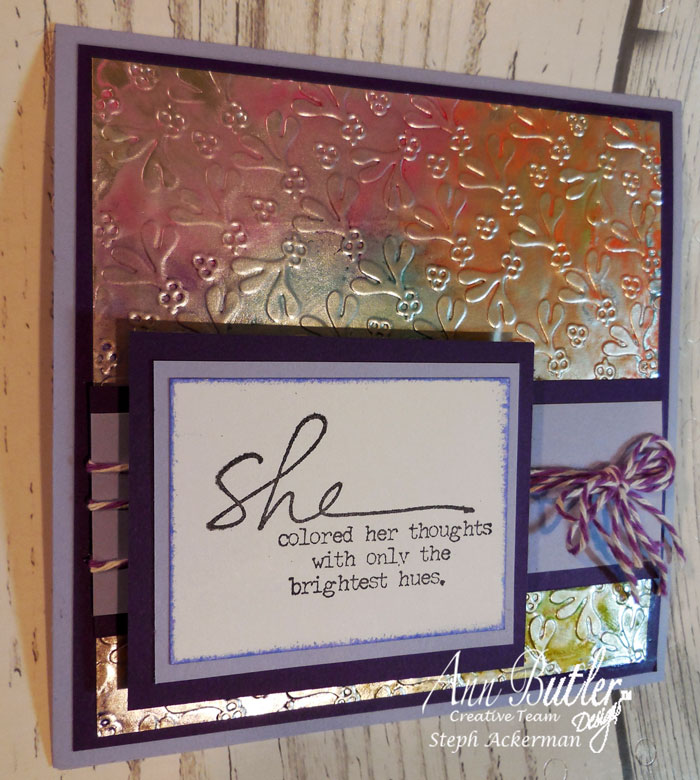
This is a fun way to create a faux metal card.
I hope you give it a try!
This post may contain affiliate links, when you make a purchase, we earn a commission at no extra cost to you – this helps to keep this web site up and to continue to bring you awesome projects like this one!
Ann Butler Design’s Products used:
Partner Products:
Other Products:
- Cardstock
- Rinea Foiled Paper
- Crafter’s Companion Embossing Folder
- Embossing Machine
- Baby Wipes
- Paintbrush
- Heat gun, optional
Follow Ann on Social Media:
Thanks for stopping by.



Leave a Reply